Looking for the best advice on how to lose 25 pounds (or more) in the fastest time possible?
Then you have come to the right place.
Here’s the truth.
Losing 25 pounds isn’t the easiest thing in the world. it requires work, effort, time and a lot of sacrifice. This is especially the case if you have a bad record of diet, exercise and lifestyle habits.
Nothing can be changed overnight.
But with the right tools and a long term plan, it can be done.
Let’s see how.

How to lose 25 Pounds – 51 Science Backed Ways
In today’s post, I’m sharing with you more than 50 science backed on how to lose 25 pounds and keep them off for good.
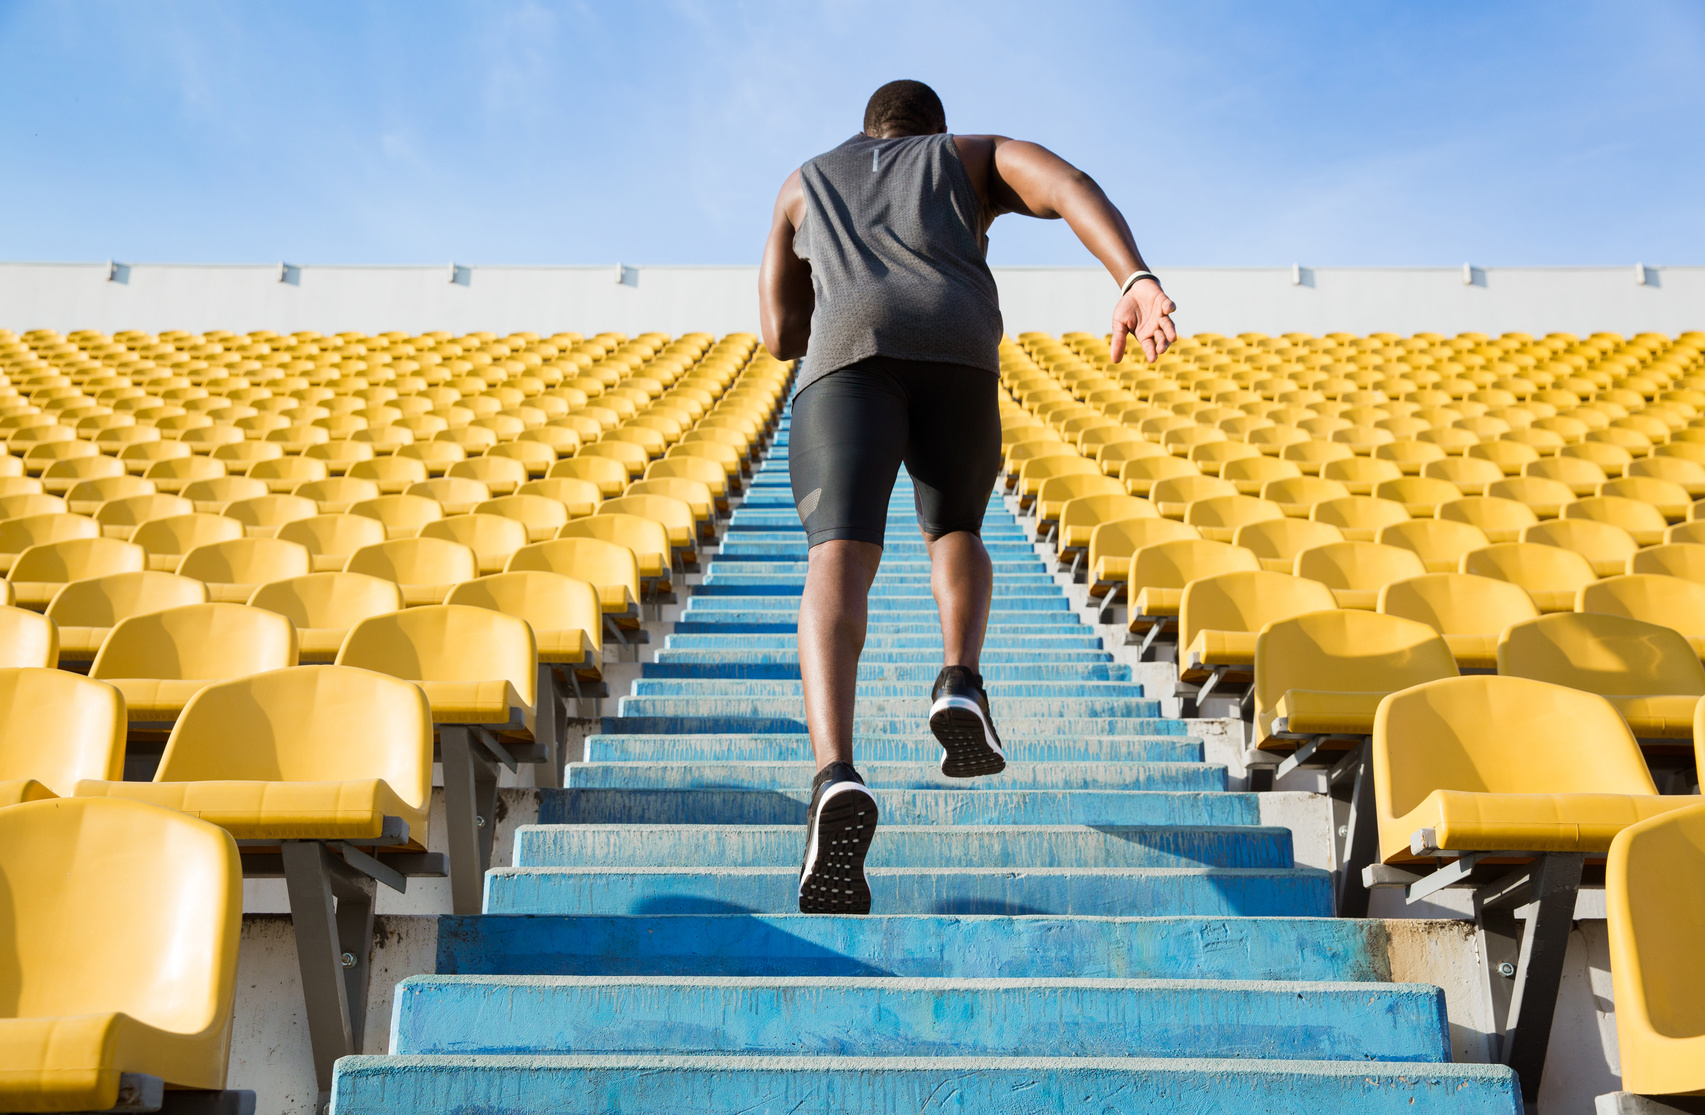
Prioritize Exercise
Whether it’s running, weight lifting, cycling, you name it, is the backbone of an effective weight loss plan.
But here’s the little caveat.
To make exercise work, it needs to be a consistent part your life.
To make that happen, you need to prioritize it.
Action Step
Choose an exercise that works best for your lifestyle, then commit to doing it at least three to four times a week.
My weight loss journey took off with a few runs a week.
Nowadays, losing weight is no longer an issue, I do all sorts of exercises, from biking, and trekking, to yoga and CrossFit.
Talk about variety!
How do you do that?
Start by putting your workouts on your calendar, the same way you do for meetings, doctor’s appointments, dates or family events.
What I’m trying to say here is, prioritize exercise, and you’ll quickly become consistent.
Develop Healthy Habits
When it comes to losing weight and keeping it off for good, building life-long healthy habits is the way to go.
When I was overweight, my lifestyle was a complete mess.
I didn’t exercise.
Didn’t eat well.
Didn’t sleep much.
It was awful.
When you break down these to their basic elements, they’re nothing but habits—something we learn by repetition.
And truth be told, our habits define us.
They can also make us or break us.
Here’s the kicker.
You need to let go of what was to make space for what will be.
Not only that, trying to change everything overnight breeds nothing but failure and setbacks.
So, what should you do?
Good question.
Action Step
When you’re trying to swap bad habits for the good, change one habit at a time.
That progressive approach works best.
Here are three simple steps to follow:
- Start small and set clear and concise rules for attainable habits
- Build a ritual around each new habit
- Stick to the ritual for at least a month
For example, if you want to eat more vegetables, add at least three different veggies to your menu each day.
Then, shift your attention to the next habit, so on and so forth.
Note: Would you like to learn how to build healthier habits? Then you should try giving the keto diet a a chance. I recommend Key Eats Keto Essentials for an in-depth, and simple, education on the keto diet and how to get started.
Start Today!
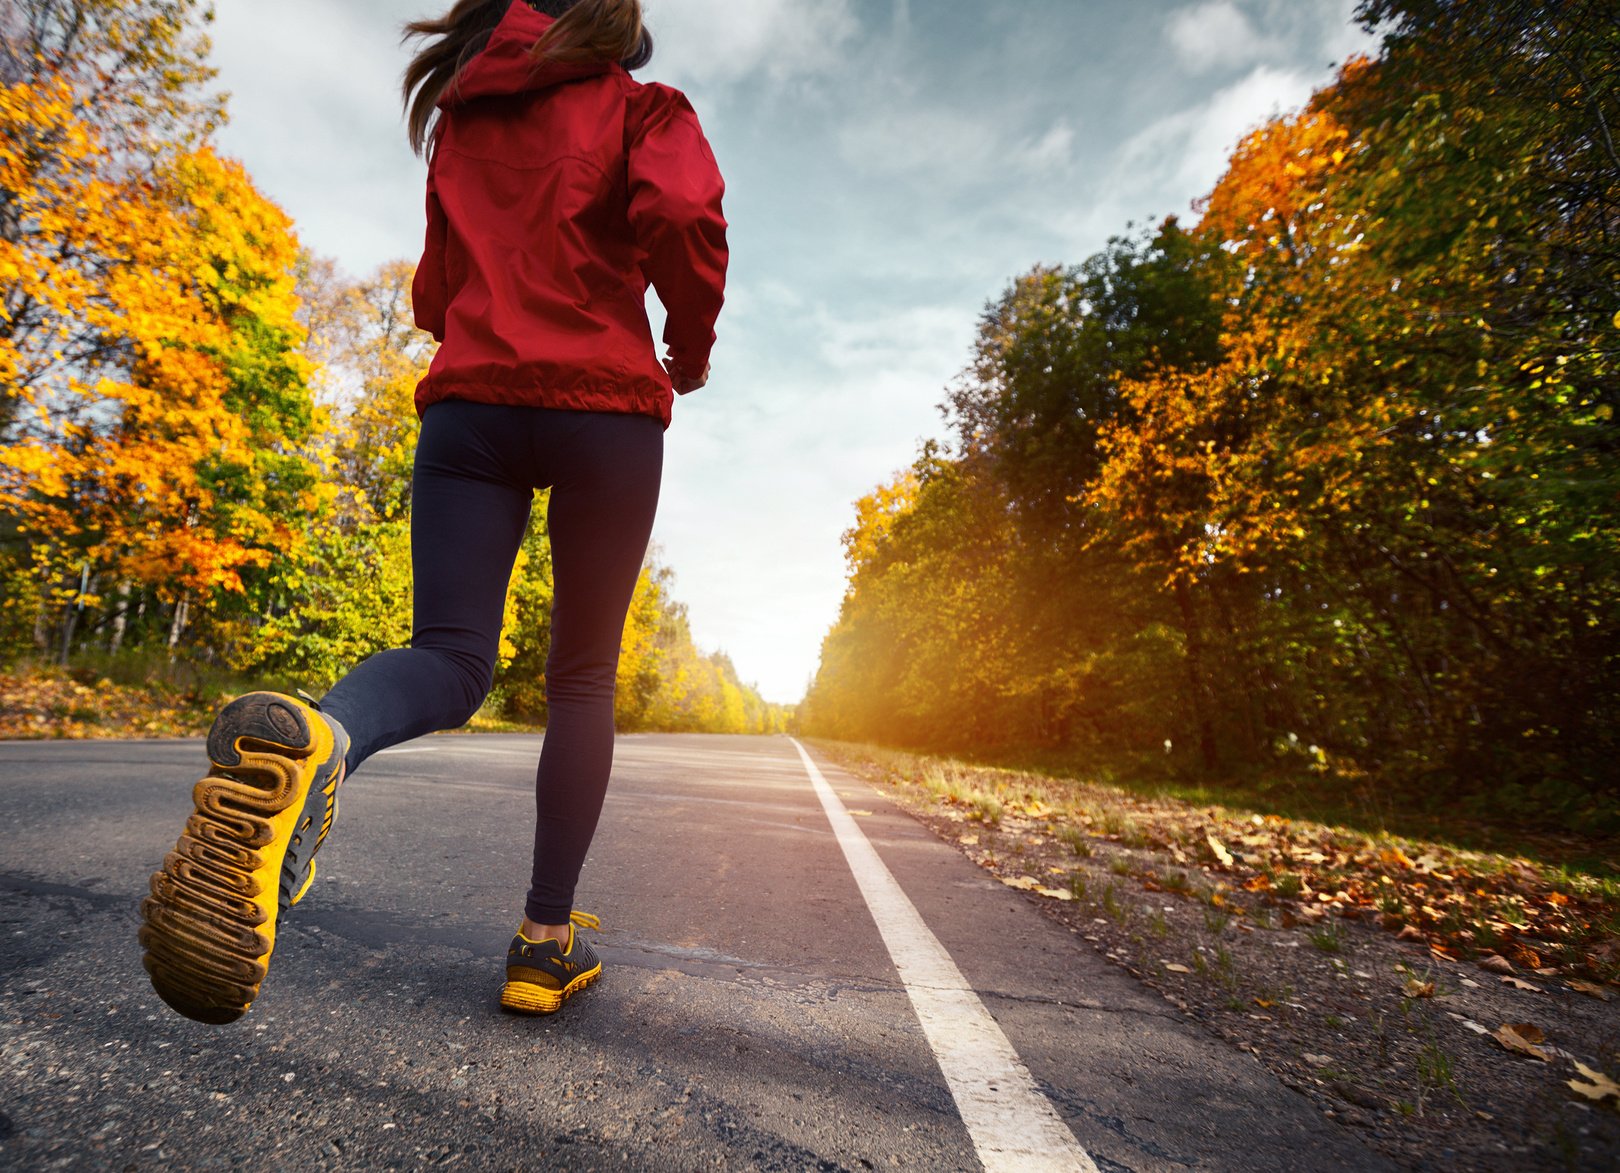
Run Your Butt Off
As previously stated, my initial weight loss resolution consisted of simply running.
Like. A. Lot. Of.It.
I committed to running for 45 to 60 minutes three times a week, and along with a diet makeover (saying no to “most” junk food), I was able to achieve my weight goal within six months.
Along the way, I also picked up tons of energy and vitality.
Talk about a win-win!
Action Step
Read these five articles to help you start running the right way:
Absolute Beginner’s Guide to Running
The 8-Week Beginner Running Program
The 30-Day Beginner Running Challenge
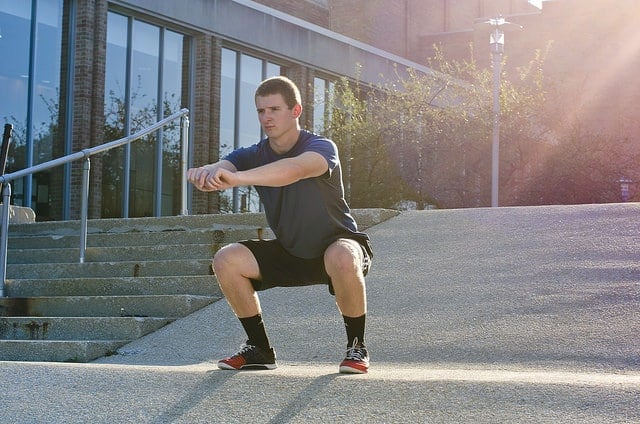
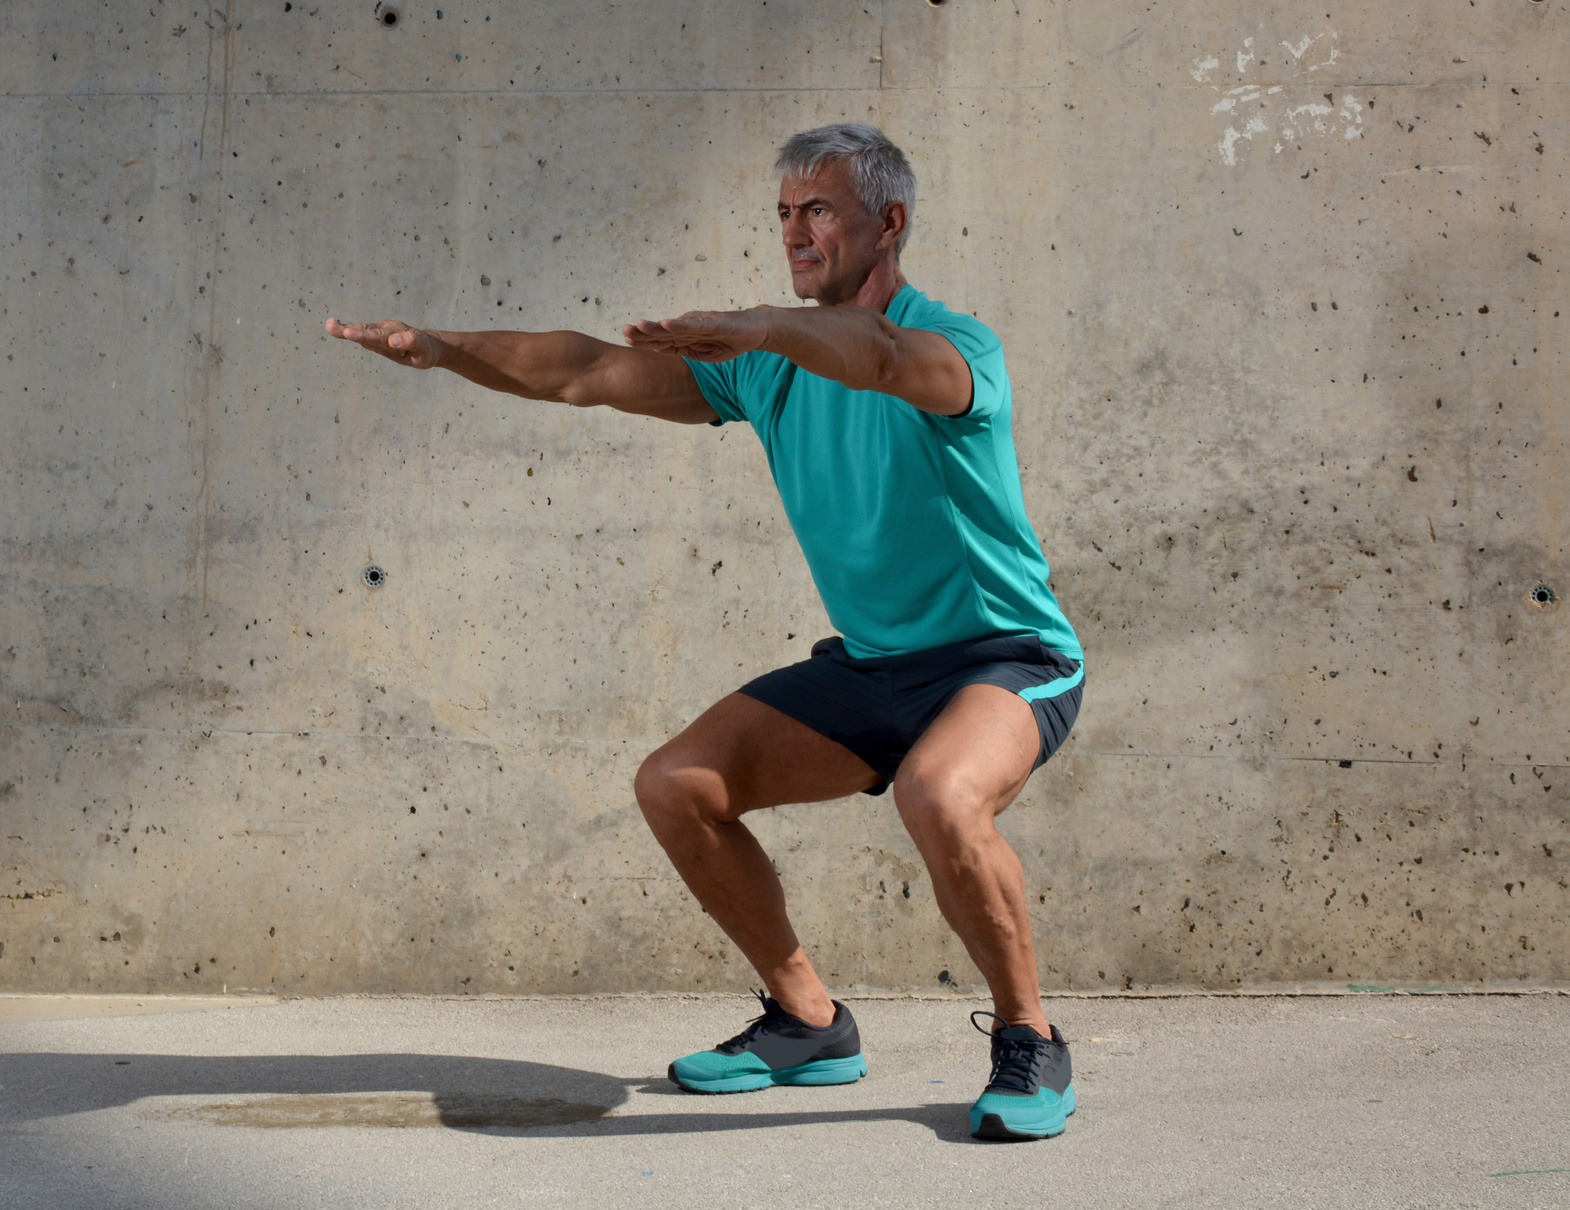
Lift Weights
To speed up your weight loss efforts, add strength training to your exercise program.
Strength training builds muscles and boosts metabolism levels.
After a few months into my weight loss journey, I was fortunate enough to discover the power of lifting weights as a means for weight loss.
Don’t get me wrong.
I’m still a proud member of the running camp, but to make the most of exercise, you gonna have to back up your cardio with strength training.
You’re missing out otherwise.
Action Step
Add at least three strength training workouts per week into your training program.
Make sure you include lots of total body exercises such as squats, deadlifts, burpees, push-ups, and pull-ups.
Exercise in the Morning
Studies show that people who exercise first thing in the morning tend to be more consistent with their training routines.
They’ve also found that people who exercise first thing in the morning train harder and longer than who work out later in the day.
As a morning runner myself, I attest to the practicality of starting the day with a run.
Action Step
To achieve consistency, get your workout done in the early morning before the rest of the world—especially your kids—start waking up.
Set Realistic Goals
Setting unrealistic goals is a recipe for disaster, both when trying to lose weight and in the rest of life too! How many times have you set yourself up for disappointment by expecting something “amazing” when “pretty good” would have been great?
There’s nothing worse than setting unrealistic goals.
It achieves nothing but slow you down and hinder your progress.
Not cool!
Action Step
Get your head out of the clouds and set weight loss goals based on reality.
With small, achievable, benchmarks like losing a pound a week, you’ll be setting yourself up for success.
If you want to learn more about goal setting, be sure to check out The Fitness Expert Next Door.
It’s a remarkable book that will teach you everything you need to know about the subject.
Build A Habit of Exercise
A valuable lesson I learned while reading The Power of Habit, is that, we’re defined by our habits.
We repeat 95 % of our physical and mental patterns from one day to the next.
This is a double-edged sword —after all, you can choose bad habits as easily as you can build healthy ones.
This couldn’t be more relevant when we’re talking about maintaining a stick habit like exercise.
The truth is, to make it a part of your lifestyle, you gonna need to turn it into a habit.
f you’re having trouble getting started, try taking up an engaging pastime like airsoft. Put on your airsoft gear and make physical activity fun!
Action Step
Build a regular exercise routine of at least three sessions a week, then do your best to stick with it for 4 to 6 weeks.
Do whatever you can to keep the habit going strong.
Run, bike, swim, hit the gym, do yoga, or walk.
The more active you become, the stronger the exercise habit gets.
Dodge Injuries
Injury can stop you in your tracks, especially when you’re doing high impact exercise such as running.
That’s what happened once I started taking my training more seriously.
A stubborn case of Iliotibial band syndrome (ITBS) had set me back weeks (maybe months).
Had I known better, I’d saved myself droves of pain.
But, that’s life.
You live.
You make mistakes.
And, you learn (hopefully).
Action Step
Approach your exercise plan with a beginner’s mindset.
As a result, build up your training slowly and listen to your body.
Notice signs of trouble or pain, back off or call it a day.
Pain is a warning that you’re either pushing too hard or skimping on proper recovery.
Remember, slow and steady wins the weight-loss race.
Note: For more information about warding off injury for good, check out Dr. Jordan Metzl’s book Running Strong on Amazon.
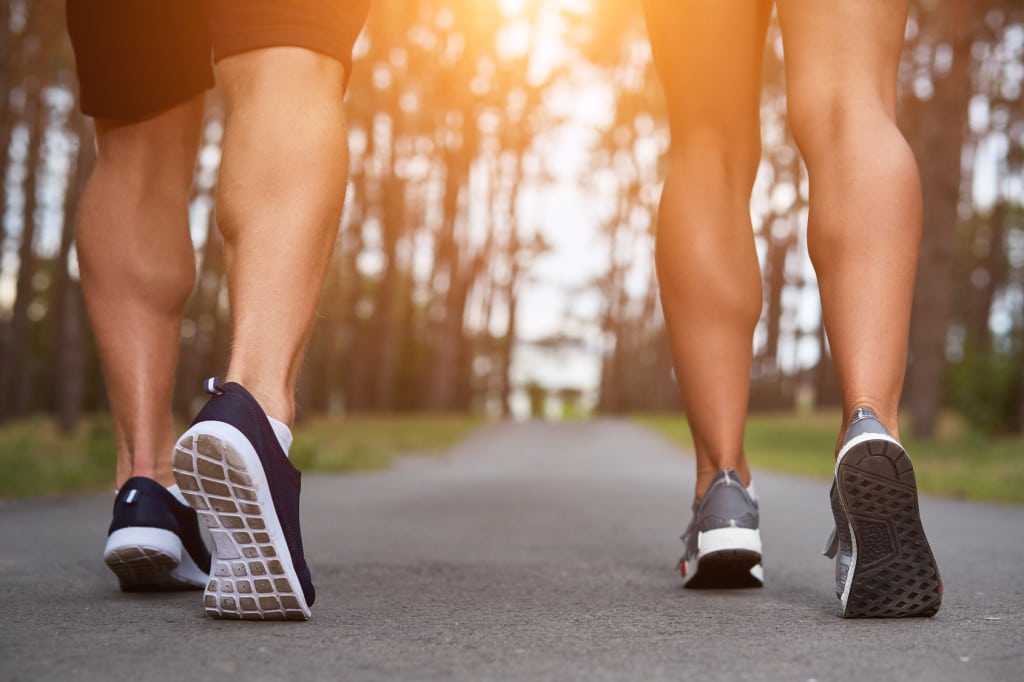
Walk More
If you’re really out of shape or have a medical condition that makes high-impact exercise out of the question, then WALK.
Walking is a great low-impact exercise that can help you lose weight and get in shape.
Still skeptical?
Check the following research.
A Duke University study found that walking briskly for at least 45 minutes a day—that’s about three to four miles depending on how fast you are—can help you shed more than 30 pounds in a year.
Quite impressive, isn’t it?
Action Step
Go for daily 45 minutes walks at a brisk pace.
Feel free to add a few jogging intervals whenever possible.
Want more challenge?
Build your jogging intervals until you’re running for 30 to 45 minutes at a relaxed pace.
Exercise at the Same Time Each Day
Regardless of your training schedule, working out at the same time, day in and day out can help build the exercise habit into your life.
Yes.Yes.
I hear you.
I just said that morning exercise is the best, but my claim isn’t written in stone (nor is it the word of God).
You get to choose what works the best for you.
You decide.
Action Step
Choose a specific time of day — I prefer 6 to 7 a.m.— and set it aside for daily exercise.
Then, keep exercising at the same time over and over again until it becomes second nature.
Keep Track of The Food You Eat
Keeping track of how many calories I consume every day has been, and still is, one of the best tools I’ve ever used to maintain a healthy weight.
Why?
Tracking your calorie intake helps shed light on the darker aspects of your eating habits and lets you see where you’re falling short.
Research shows that people who keep a food diary lose up to twice as much weight as those who don’t keep track of everything they eat and drink.
Action Step
Keep tabs on your daily eating habits, either by using a journal, keeping a food log, or using one of the many Smartphone apps.
Several of them are free.
Personally, I use a food journal just like this one I found on Amazon, but lots of people prefer the apps.
Different people, different strokes, as the saying goes.
Plan in Advance
According to Dutch researchers, planning your responses to hunger in advance can help you stay on track and shed the extra pounds faster.
People who wrote a list of “If this, then that” statements (“If I’m hungry at 10 a.m., then I’ll have a handful of nuts as a snack.”) shed more pounds than those who didn’t have an advance plan.
This is “preemptive dieting” at its best.
Action Step
Make a list of your hard times – instances when your diet takes the wrong turn.
For me, it’s the half hour right before lunch, or before going to bed when I’m dying for something sweet.
Once you’ve identified your weak points, come up with a healthy strategy.
My answer to my sweet tooth is to either drink plenty of water or have a handful of almonds or raisins.
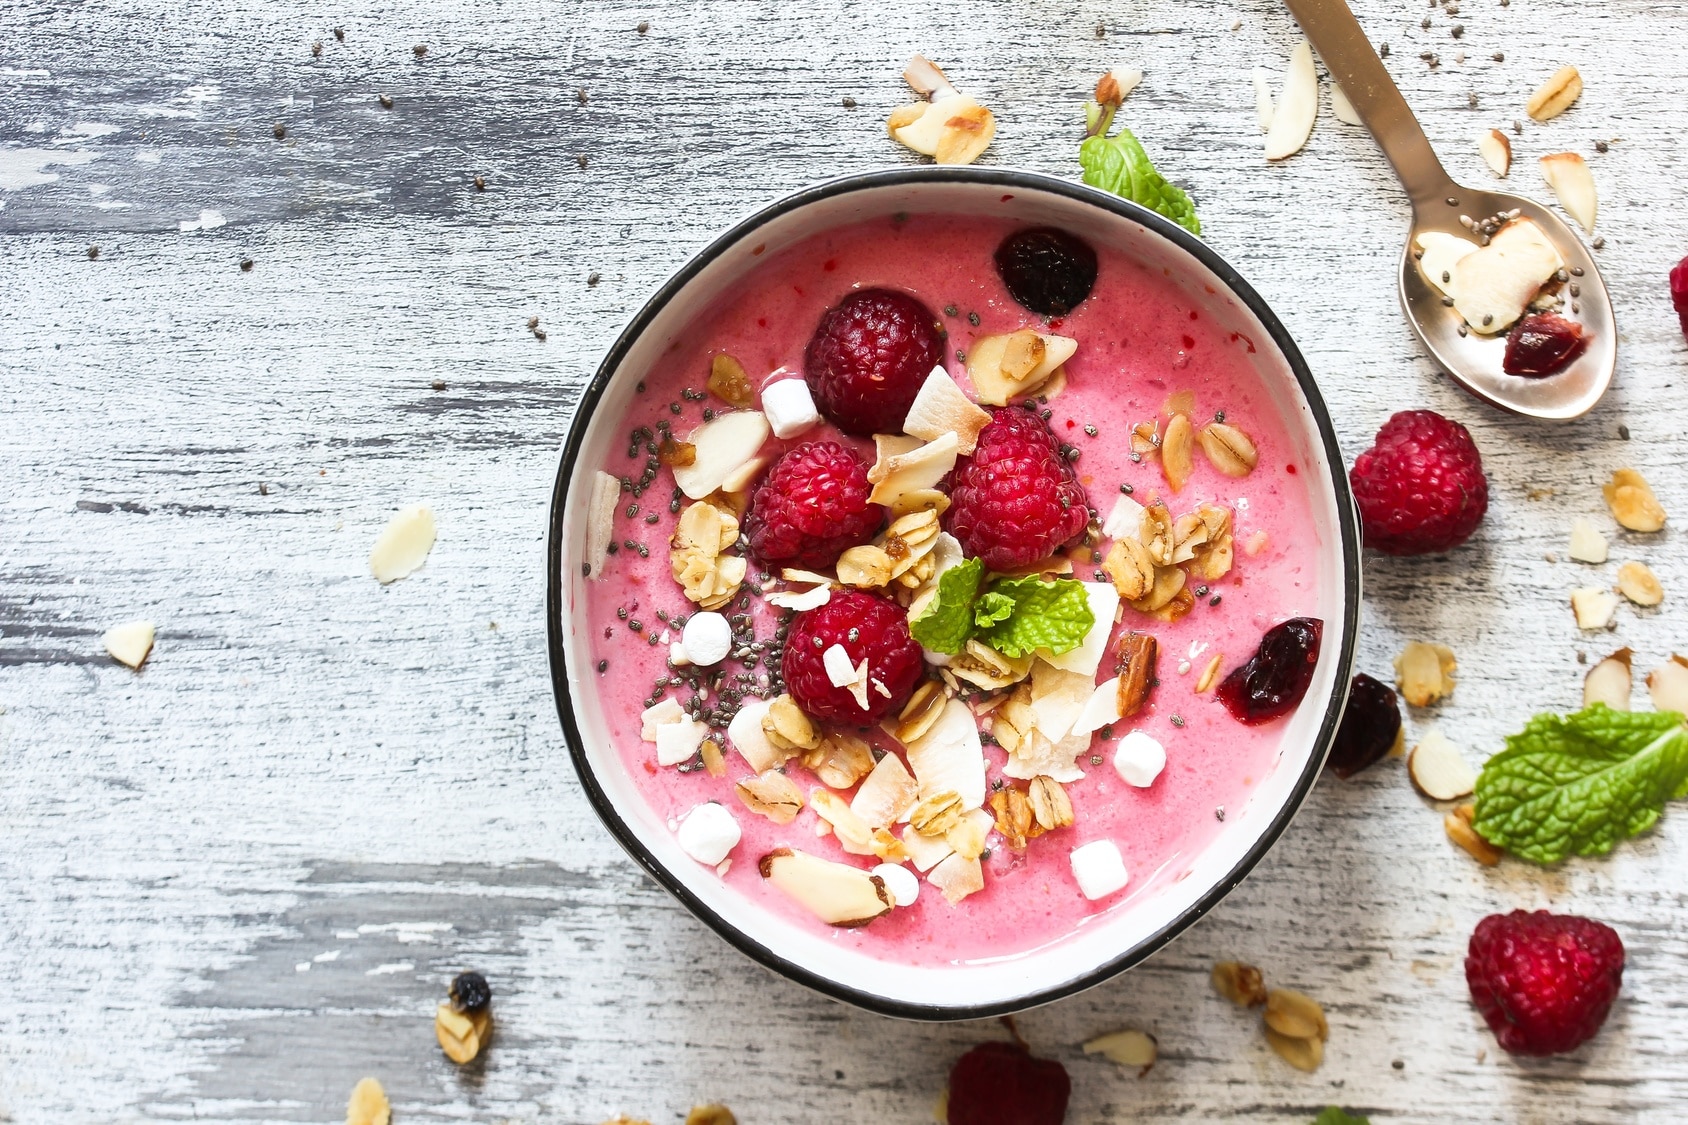
Fill Up on Veggies
If you’re serious about reaching optimum health, vegetables should be a staple of your daily eating menu.
That’s the clichiest of all diet cliches, but it doesn’t make it less true.
The good greens score high in fiber, valuable nutrients, and water, all of which will help you shed weight without starving yourself to death.
On top of that, consuming a lot of veggies increases the amount of fiber in your diet, which helps you feel full longer.
Action Step
Stock your kitchen with all kinds of vegetables.
The more colorful your selection, the better.
Here’s a list of 11 superfoods you need for maximum fitness and health.
Fill Half Your Plate with Vegetables
The importance of veggies is a no-brainer.
However, when it comes to eating more, most people fall short.
That’s where the next neat trick comes in handy.
Action Step
Every time you serve yourself, serve the vegetables first, and make sure that at least half the plate is covered with vegetables.
Only when you’ve done this should you fill the other half with lean protein and whole grains.
Remove The Junk
One of the best ways to steer clear of junk food is to purge your kitchen (and house) of any food that’s not weight-loss friendly.
Don’t rely on willpower, as it’s always insufficient.
Action Step
Make sure to build your environment to support your goals of losing 25 pounds.
Rid your kitchen of any food that leads to weight gain.
No cake, no ice cream, and no food that’s high in sugars or processed ingredients.
Cook at Home
I know.
This one is tricky, especially if you’re not a good cook (or don’t cook at all).
But studies show that people are much more likely to eat more calories when eating out than when they have a meal at home.
Why it’s the case might you wonder?
Most restaurants serve portions that are much larger than the recommended healthy dietary guidelines.
The food is also loaded with sugars, sodium, refined grains, and other diet’s don’ts.
Action Step
Cook your meals at home, and you can save up to a thousand calories a day.
Doing so is also good for your wallet.
Serious about learning how to cook?
Then get your hands on “The 4-Hour Chef” By Tim Ferris.
Snack Smart
Unhealthy snacking is one of the leading culprits in weight gain.
Don’t get me wrong.
I’m not against snacking.
In fact, I’m a “devout snacker” myself.
You just have to do it the right way.
And that’s the healthy way.
By snacking the right way, you’ll end up shedding pounds instead of gaining them.
Smart snacking prevents the hunger pangs that lead to bingeing and other unhealthy eating habits.
Action Step
Keep plenty of healthy and natural food choices on hand.
Good choices include carrots, raisins, nuts, almonds, seeds and a limited amount of dried fruit.
The more natural, the better.
Make sure you don’t overdo it.
A handful is enough.
It’s a snack, not a meal, so be moderate.
Feel Real Hunger
Emotional eating—eating out of frustration, stress, nervousness or boredom—is one of the hallmarks of unhealthy eating.
And It often leads to weight gain.
Action Step
Only sit down to a meal when your stomach is rumbling.
Before you reach for food, ask yourself whether you’re doing it out of real hunger or if you’re trying to satisfy an emotional need.
Don’t Skip Breakfast
A lot of people assume that by skipping breakfast, they’re cutting their calorie intake and helping themselves lose more weight.
That would be easy, but it’s wrong! In fact, skipping breakfast is absolutely not a good practice.
Skipping breakfast makes you much more likely to binge later on, whether via unhealthy snacking or overeating at lunch.
Action Step
Stick to a daily healthy breakfast with plenty of protein—think eggs—and healthy fats.
Check these healthy recipes.
No Liquid Calories
If you want to lose weight, then Coke, soda, sweetened iced tea, and other sugary drinks have to go.
A typical 20-ounce soda packs roughly 250 empty calories and more than 70 grams of sugar depending on the brand.
What’s more, most specialty coffee drinks and smoothies pack between 300 and 500 calories.
Action Step
Stick to calorie-free drinks like water or hot tea with no added sugars.
If you need a bit more flavor, add a slice of lemon, lime, or cucumber, or a sprig of fresh mint.
Run on an Empty Stomach
When you exercise, your body uses its glycogen stores for energy.
Running on an empty stomach forces your body to use fat as its primary source of fuel, and that means faster weight loss.
Action Step
Wake up at least an hour earlier than normal, lace up your shoes, and go for a run before you eat breakfast.
You may initially find this hard to do, but you’ll find it’s worth the sweat.
For more tips on losing weight by running, read this post: Top 9 Weight Loss Rules For Runners.
Do Intervals
Long, steady-state cardio can help you burn fat and get in shape, but to speed up the process, try doing intervals.
These burn more fat than slow-to-moderate-intensity cardio training.
Intervals also raise your metabolism levels through the roof.
That means you’ll be burning calories at a higher rate for hours after your workout.
Action Step
Add a couple of interval running sessions to your training routine.
As a rule, space these workouts out with at least 48 hours of recovery to avoid injury and overtraining.
Start with 30-second sprints, followed by one minute of recovery time, then repeat the cycle 6 to 8 times.
Tabata protocol workouts are also a great way to do intervals.
Options include using pull sleds, jump ropes, and best of all, CrossFit WODs.
Here are six interval workouts to help you lose more fat.
Buddy Up
Did you know that people who exercise with a training buddy or in groups tend to work out harder and achieve more consistency?
That’s a good thing because in addition to increasing accountability and motivation, exercising with someone else can also boost training enjoyment.
I owe much of my training consistency and success to a host of training buddies and partners.
I’d have been a complete failure without their help.
Action Step
Ask your best friend, spouse, co-worker, or the guy (or gal) at the gym to be your training buddy.
There are also find plenty of opportunities on online forums, social media, and local sports clubs.
Don’t be shy.
Go Short
If you’re pressed for time, don’t skip your workout – just shorten it to a 15-minute session.
After all, a short workout is better than none.
One study from Southern Illinois University at Edwardsville found that people who lifted weights for 15 minutes a day three times a week boosted their metabolic rate.
They also stayed consistent with their training schedule 95 percent of the time.
Action Step
Do a quick workout instead of calling it a day.
And that’s the case whether you’re lifting weights, running a quick sprint session, or walking up and down the stairs for no more than 15 minutes, it will do your body good.
Chew Slowly
If you eat too fast, there’s a good chance you’re going to take in more than your body needs, research shows.
That’s because it takes roughly 20 minutes for your stomach to figure out that you’ve eaten enough.
Action Step
Take your time when having a meal.
Chew slowly and savor every morsel.
Use Smaller Plates
Plate sizes have changed drastically over the past hundred years.
That’s bad because studies show that the smaller the plate, the smaller the portion you’re likely to consume.
I’d go as far as to suggest that waists and plate sizes have increased proportionally to each other.
That ain’t ideal.
Opting for a smaller plate tricks your brain into believing you’re eating more, and this, in turn, makes you eat fewer calories.
Do this, and you’ll end up eating less and feeling fuller with the same amount of food.
That I can promise.
Action Step
Switch to smaller plates—anything in the 7 to 10-inch range —instead of plates 12 inches and above.
Choose smaller dishes, bowls, glasses, and silverware whenever it’s possible.
You’re going to consume at least 20 percent less and eliminate hundreds of unneeded calories each day.
Snack Before a Big Meal
If you’re worried about overeating at your next meal, a snack can come in handy.
By filling your stomach with a healthy snack choice, you take the edge off your hunger pangs and lower your risk of overeating.
Action Step
Grab an apple or any other fruit or vegetable that scores high in fiber and eat it before a meal.
Doing this will help you eat the right amount and keep you from overindulging.
Sit Down To Eat
Eating on the run is the signature move of busy people.
But daily errands, (whether they’re work or family related) should not be an excuse to indulge in mindless grazing.
Why should you avoid this?
Simple.
Doing so leads to overeating and bad food choices, as there’s no attention paid to what’s being consumed.
What’s more disturbing is that what we eat on the move tends to be “grab-n-go” food, which for the most part falls into the bad eating category.
Action Step
Take a seat when eating, and stop eating in cars, trains, buses, on the phone or while walking.
Make a healthy choice when a grab-n-go meal is your only option.
Good options include apples, healthy yogurt, and peanut butter.
Note: To take your eating to the next level, read Eating Mindfully: How to End Mindless Eating and Enjoy a Balanced Relationship with Food.
Drink Water
Research shows that drinking water before a meal can be a big help with weight loss and portion control.
What’s more?
Consuming water-rich foods like most vegetables and some fruits works too.
They help you feel fuller for longer.
This is vital for warding off unhealthy eating and cravings.
Action Step
Stay well hydrated throughout the day.
A smart, timely, measure is to drink at least one glass of water before a meal
Eat Natural, Real Food
I hate to sound like a broken record, but consuming highly-processed foods greatly contributes to weight gain.
That’s no secret.
When it comes to the foods you choose, get as close to nature as possible.
When you eat natural, unprocessed foods you’re giving your body more nutrients, which, in turn, will keep you well fed and feel full longer.
Action Step
Eat clean all the time.
This means opting for foods that are minimally processed.
Look for choices that are rich in nutrients.
Vegetables, fruit and healthy proteins like fish, chicken, and beans are all great options.
Eat Plenty Of Eggs
I think eggs are an eggs-ellent choice.
Here’s why:
Studies show that people who eat eggs on a regular basis lose more weight and have slimmer waistlines than those who don’t.
In fact, having eggs with breakfast has been shown to reduce hunger and food intake when compared to bagel-based breakfasts.
Eggs are full of lean, filling protein, and that’s not the end of the story.
They’re also high in choline, healthy fats, lecithin, and other key nutrients.
I can go on and on, but I think you get it.
Action Step
Add eggs to your meals—especially at breakfast.
Two to three whole eggs a day should be enough.
Have a Cheat Day
You shouldn’t expect perfection from yourself, especially when you’re tackling a challenging goal like weight loss.
I learned, the hard way, if you don’t have cheat days, you’ll eventually have cheat weeks.
We’re only human!
Action Step
Acknowledge your cravings.
Next, pick a time each week to let yourself satisfy them without compromising your overall resolution.
Mine is Saturday’s dinner.
Sunday evenings work best for a lot of people.
Relax your strict dietary rules and eat whatever you want.
Satisfy all your cravings and desires.
35. Make Your Diet Public
There’s nothing more humiliating than the prospect of public disapproval, so use it to your advantage.
Telling your spouse, friends, family members and co-workers about your diet goals makes you likely to get things done.
How?
Because doing so makes you more accountable for your progress (or lack thereof).
Action Step
Make your diet public by telling as many people as you can about the healthy choices you intend to make.
More specifically, broadcast your weight loss goals via social media websites like Facebook and Twitter.
I also strongly urge you to post “before and after” progress pictures as well as your daily eating menus and workouts.
This gives you the chance to write about some of your inner demons, frustrations, and problems.
It also helps you receive the much-needed support from your community.
Ease The Stress
Stress and weight issues go hand-in-hand, whether it’s physical or emotional stress.
When you’re emotionally stressed you succumb to the temptation of comfort foods, and when you’re physically stressed by not allowing yourself adequate recovery time, your body goes through a catabolic (break-down) phase.
That makes it harder to burn fat or add muscle mass.
Action Step
Add the right recovery strategies to your training program.
These include adequate sleep, a nutritious diet, and getting plenty of rest between each workout.
Also, learn how to better manage stress-triggers, especially relationship conflicts, work-related stress, and the notorious “grey-zones.” Why Zebras Don’t Get Ulcers is an excellent read that delves deeply into the devastating effects of stress.
Eliminate Distraction
We live in a world full of distractions.
Our attention is pulled in multiple directions at all times.
We can’t seem to stop ourselves from texting, chatting, and surfing the net.
That’s taking valuable time from our family, social and work obligations and opportunities.
According to research, our addiction to technology is also taking a toll on our waistlines.
Action Step
Declare distraction enemy number one.
At your next meal or workout, toss your phone away, turn off the TV and get your mind focused on the task at hand.
Use The Glycemic Index
Research shows that opting for a diet that’s low in carbs — not fat — works very well for losing weight and keeping off for good.
One handy tool I started using a while ago, and one that works like a charm, is the glycemic index.
This is a handy ranking tool to help you judge which foods should stay on your menu and which should go.
Foods that rank high on the Glycemic index — the ones with scores over 70 — are usually loaded with sugars and starch.
These include rice, potatoes, bread, pasta, flour-based foods, and most processed foods.
Foods that score high on sugar boost blood sugar level quickly.
How?
By triggering a signal that floods your body with insulin, which can lead to hunger pangs and other health issues.
Action Step
Avoid any food that ranks above 70 on the Glycemic Index.
Instead choose veggies and greens for the bulk of your menu.
Eat fruit in moderation.
Don’t Eat in Front of the TV
According to a study conducted by researchers at the University of Massachusetts.
People who eat while watching TV consume about 300 more calories than those who don’t.
Action Step
When you sit down to a meal, turn off the TV, push the phone to the side, and pay attention to the pleasures of eating.
Not only will you enjoy your food more, but also put you in tune with your satiety signal.
This alone could help cut at least 300 calories a day.
That’s always a good thing!
Add Protein to Every Meal
You probably know that protein is critical for muscle growth and proper workout recovery.
But what most dieters don’t know (or simply ignore) is that protein is also vital for weight loss.
Here’s why: protein slows down digestion, which helps you feel satiated longer.
It helps you prevent cravings, unhealthy snacking and overeating.
Action Step
Have protein at every meal, especially at breakfast.
Also, make sure to include it in your post-workout meal or snack.
Some of the healthiest sources of protein include eggs, fish, chicken and grass-fed beef.
Set a Kitchen Curfew For 12 Hours
If you’re like most people, the kitchen is where you have most of your meals (and snacks), and when you’re sitting in the kitchen for reasons other than a meal you’re more tempted to eat mindlessly.
According to a study conducted at the University of Texas, late night snacking boosts the total number of calories you take in.
By the same token, setting a kitchen curfew – a regularly scheduled time slot when you’re not allowed there —helps stop you from taking in hundreds of empty calories.
When you stop late-night snacking, you cut 300 or more calories a day.
That’s the equivalent of 30 pounds a year.
Action Step
After dinner is over and the washing and wiping are complete, declare your kitchen off-limits.
If you need a reminder, take a piece of masking tape and place it across your kitchen doorway.
Personalize Your Plan
Not all workouts are created equal, and neither are all diets.
That’s because no two people are alike.
We’re all different, and our bodies have their own response to the various diets and workout routines that are available.
This means that the weight loss program that worked for me or your best friend may not be the best thing for you.
As you’re making changes in your life, keep in mind that nothing works 100 percent of the time.
In most cases, you’re going to find the specific weight loss plan that works best for you—provided that you’re willing to be your own guinea pig.
Action Step
Develop a personalized program based on your fitness level, body type, personal affinities, and weight loss goals.
Step Away From The Scale
It’s vital that you weigh yourself on a regular basis, but relying on the scale as the ultimate measuring stick will only drive you insane.
In some cases, the scale can be a source of high stress and frustration.
Action Step
Weigh yourself once a week —no more than that — and keep in mind that the numbers you see there are not the words of God.
Instead, monitor your progress (or lack thereof) by taking before and after photos, and use a tape measure to gauge how replacing fat with muscle is improving your body.
Get Plenty of Sleep
Did you know that sleep deprivation can make you snack more and lead to overeating and weight gain?
According to researchers at the University of Chicago, subjects who got roughly 5 and half hours of shut-eye ate more snacks during the day than those who got a solid 7 hours.
I’m no sleep expert, but what I know for sure—and it’s not up for debate—is that a good night’s sleep is crucial to brain function, recovery, athletic performance, and optimum health.
Action Step
Optimize the time spent tucked under the sheets, aiming for at least 8 hours of high-quality, uninterrupted sleep every night.
No Alcohol
When it comes to fat loss, alcohol can be a significant hindrance.
Alcoholic drinks are jam-packed with sugars.
These achieve little but compromise your hard-earned fitness gains.
Action Step
Cut down on spirits.
Do you have to drink?
Sip slowly and switch to a club soda with lime after your first drink.
Every Once in a While, Reward Yourself
Have you hit a major milestone?
Whether it’s shedding 10 pounds or being able to run for 30 minutes, reward yourself for what you’ve accomplished.
By rewarding yourself, you’re making the weight loss process a victory, and continuously gives you something to look forward to.
This can help you become more consistent, and add some fun to your weight loss journey.
Action Step
When you’ve accomplished something notable, reward yourself with something you enjoy.
Whether it’s buying a new pair of running shoes, treating yourself to a manicure or a massage, going on a date.
Monitor Your Progress
You can’t improve on what you can’t measure.
This is true whether you’re running your own company or trying to shave off pounds.
Action Step
Be sure to gauge your weight loss progress—or lack thereof.
Track body measurements—especially around the waist.
Record body weight, body fat percentage, your exercise and workout plans, daily calorie intake and energy levels.
I use Bodyminder workout journal to keep track of my training program: I find it works well with my lifestyle.
But, all in all, it doesn’t matter which method you use as long as you’re recording your statistics on a regular basis.
Get The Support You Need
As noted earlier, the people you surround yourself with can have an enormous impact on your results.
Praise will encourage you to continue, while criticism can easily short circuit your willpower.
When you surround yourself with the wrong folks, you sabotage your self-confidence as well as your weight loss goals.
Anyone who does not support you and your fitness vision shouldn’t be a member of your “tribe.”
Action Step
Instead, surround yourself with like-minded people who understand what you’re going through, and who may also have similar fitness visions.
If you find it hard to get friends and/or family members to support your mission, sign up for a weight management course or participate in weekly support group meetings.
Be Your Own Coach
The most successful and motivated people in the world are self-driven and self-motivated.
They’ve learned to be their own best coach—especially when the odds are stacked against them.
There’s no doubt that outside help from family members, friends, and even health professionals is vital, but it’s even more important for you to tap into your inner coach.
In the end, you’re the one on the frontline, fighting every battle along the way.
No one is going to fight your battles for you.
Action Step
Take an in-depth look inside your heart and mind to find what motivates you the most.
It could be a vision of a healthier body, or being a role model for a child.
Maybe you just want to feel good about yourself.
Eliminate The All-Or-Nothing Mentality
Having an all-or-nothing mentality about weight loss will only lead to stress, unrealistic goals, and a painful crash and burn at the end.
People who fall into this trap quit at the first slip-up.
Action Step
Instead of losing sleep over mistakes or weak moments, look on the bright side: if you use your slip-up as an opportunity to assess what happened, learn from it, and make the right changes going forward, it will end up being a positive.
THAT’S IT!
A comprehensive guide to reaching your weight-loss goals.
I wish I’d had this handy guide before I started my own journey.
I hope it helps you on yours.
Please feel free to leave your comments and questions below In the meantime, thank you for reading my post.
David D.