Need some real, down-to-earth nutrition advice for your runs? I’ve got you covered!
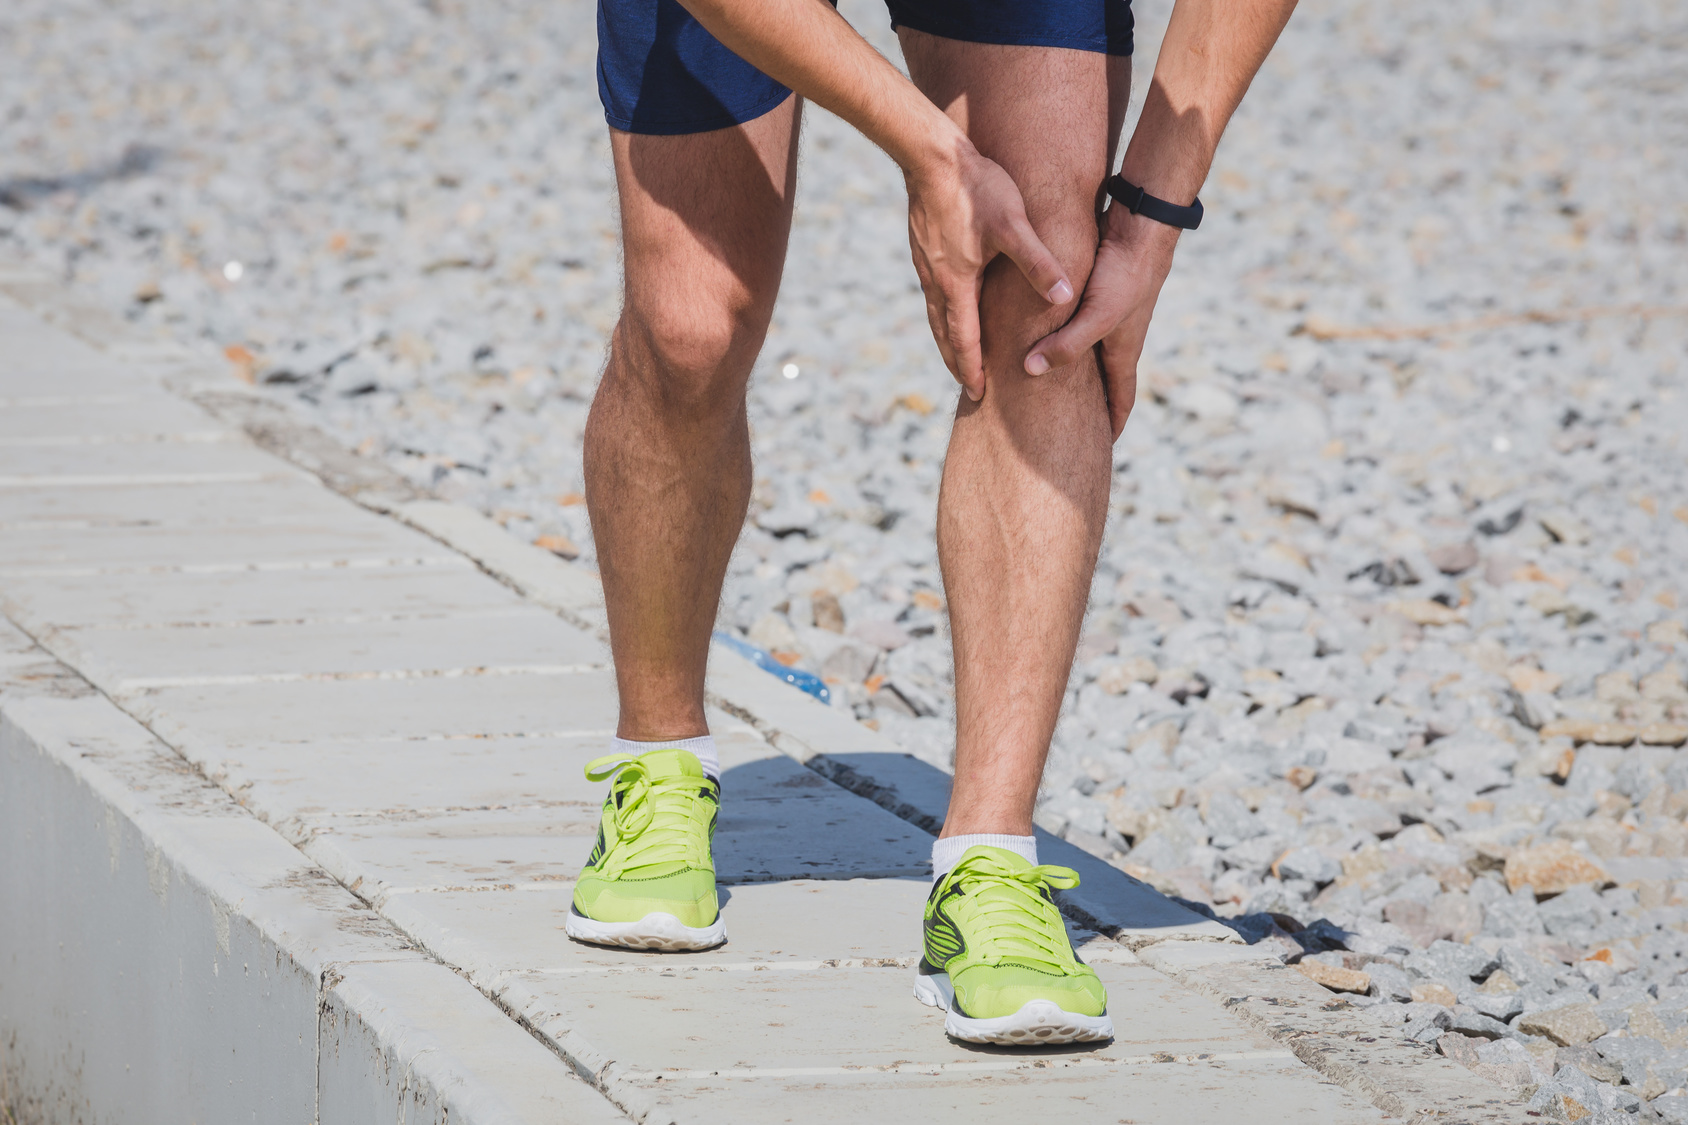
As a coach, I’ve seen so many runners put in the miles only to feel sluggish or constantly sore because their nutrition wasn’t dialed in.
And hey, I’ve been there myself.
I used to think as long as I was running, I could eat whatever I wanted. But the more I trained and pushed my body, the more I realized nutrition could be the missing piece of the puzzle to really up my game.
I’ll break down the three main macronutrients—carbohydrates, proteins, and fats— and explain why each is important for runners.
Let’s get to it.
What is Runner’s Diet?
Think of your diet as part of your training. The miles you put in are only half the story; the other half is what you’re putting into your body.
If you’re under-fueled, you won’t have the energy to push through tough workouts, and you’ll recover more slowly, making it harder to build fitness over time.
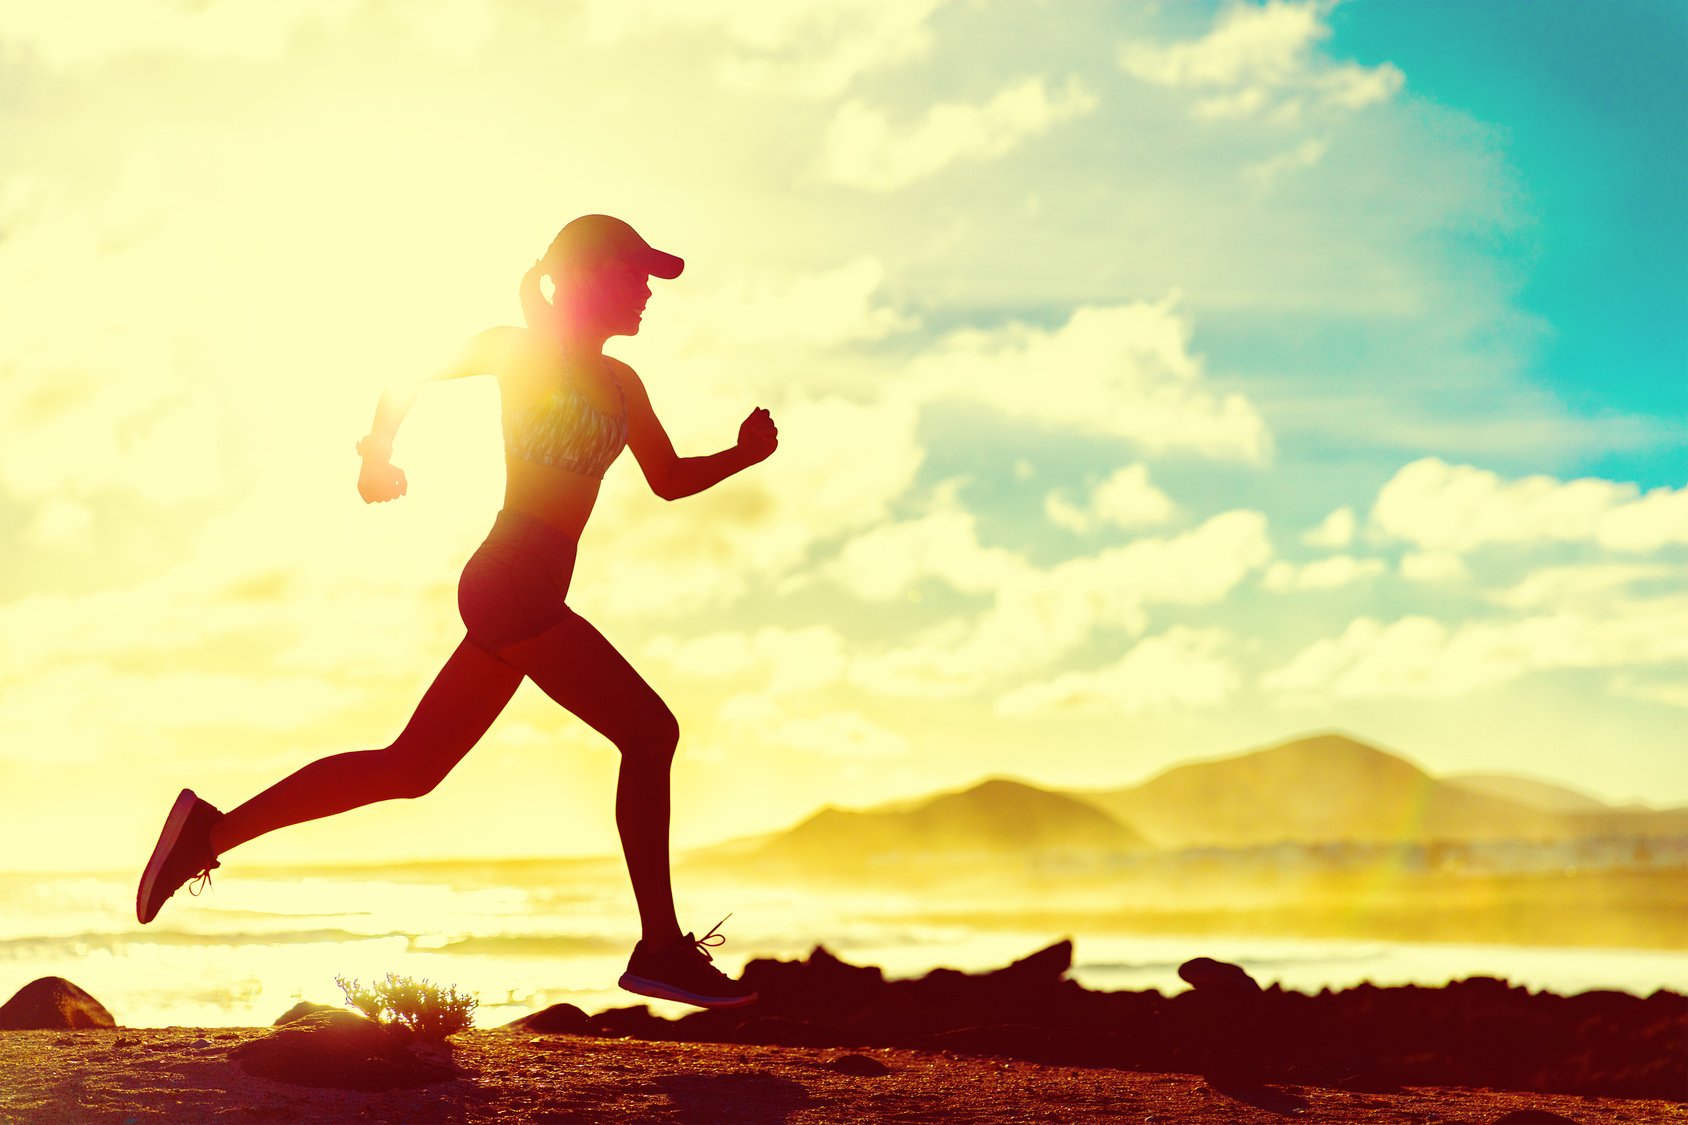
On the other hand, a well-balanced diet gives you the stamina to go longer, the power to push harder, and the resilience to bounce back from hard sessions.
So, let’s dive into the specifics, starting with the big three: carbs, proteins, and fats.
The Main Macros For Runners
Macros, or macronutrients, are the essentials we need in larger amounts—carbs, proteins, and fats. Each one plays its own role in how we perform, recover, and stay healthy as runners.
Think of it this way: just like you wouldn’t put the wrong fuel in your car, the right macros keep your body running strong
And as a runner, you burn through energy more quickly than the average person, which makes nutrition even more important.
The Basic Macro Breakdown for Runners:
- Carbohydrates: 55-65% of your daily intake (primary energy source).
- Proteins: 15-20% (helps repair and build muscle).
- Fats: 20-25% (supports long-term energy and vital bodily functions).
Of course, these numbers are just a rough guide—your ideal balance might vary depending on your goals and training style
Note – In case you’re on the keto diet, your macros will be different. Just to keep in mind.
Carbohydrates: The Runner’s Primary Fuel Source
Carbs are your body’s go-to energy source.
When you run, your body taps into its glycogen stores for energy. If you don’t have enough glycogen stored, you’ll run out of energy mid-run, which can cause you to “hit the wall”—a dreaded feeling of fatigue and sluggishness. This is especially common during longer runs or races when your body quickly burns through its energy reserves.
For shorter, less intense runs, you might be able to get by with less, but for any run lasting longer than 60 minutes, carbs are essential. This is why carb-loading before long runs or races is common among distance runners.
How Many Carbs Do You Need?
Carbohydrate needs vary depending on your body weight and training load.
A simple rule of thumb is to aim for 2.5 to 4.5 grams of carbs per pound of body weight, depending on the intensity of your training.
For instance, if you weigh 150 pounds and are running moderate distances, you should consume roughly 300 to 450 grams of carbs daily.
Best Sources of Carbs:
- Whole grains like oatmeal, brown rice, and quinoa.
- Starchy vegetables like sweet potatoes, butternut squash, and carrots.
- Fruits such as bananas, apples, berries, and oranges.
- Legumes like lentils, beans, and chickpeas.
Personal Tip: I always start my long runs with a banana and peanut butter toast. The carbs from the banana give me an instant energy boost, while the peanut butter offers a bit of protein and fat for sustained energy. It’s an easy and effective pre-run snack.
Proteins: Building Blocks for Repair and Recovery
Protein is key for recovery as it repairs those tiny tears in your muscles after every run.
Not only does protein help repair your muscles, but it also plays a key role in muscle growth. This is important for runners because strong muscles support good running form and prevent injuries. Additionally, during long runs or when glycogen stores are depleted, your body may turn to protein as an energy source.
How Much Protein Do You Need?
Runners generally need more protein than the average person, especially running long distances or strength training. The recommended range is around 0.7 to 1.0 grams of protein per pound of body weight. Aim for the higher end of this range if you’re doing heavy endurance or strength training.
For example, weighing 150 pounds, you’d need between 105 and 150 grams of protein daily. This might seem like a lot, but with the right planning, it’s achievable.
Best Sources of Protein:
- Lean meats like chicken, turkey, and lean cuts of beef.
- Fish and seafood are also high in healthy omega-3 fats.
- Eggs and dairy products like Greek yogurt and cottage cheese.
- Plant-based options include tofu, tempeh, lentils, beans, and quinoa.
Personal Tip: I love having a post-run smoothie with Greek yogurt, a handful of spinach, and some berries. It’s a great way to quickly get a good amount of protein, and the added carbs from the fruit help replenish my glycogen stores.
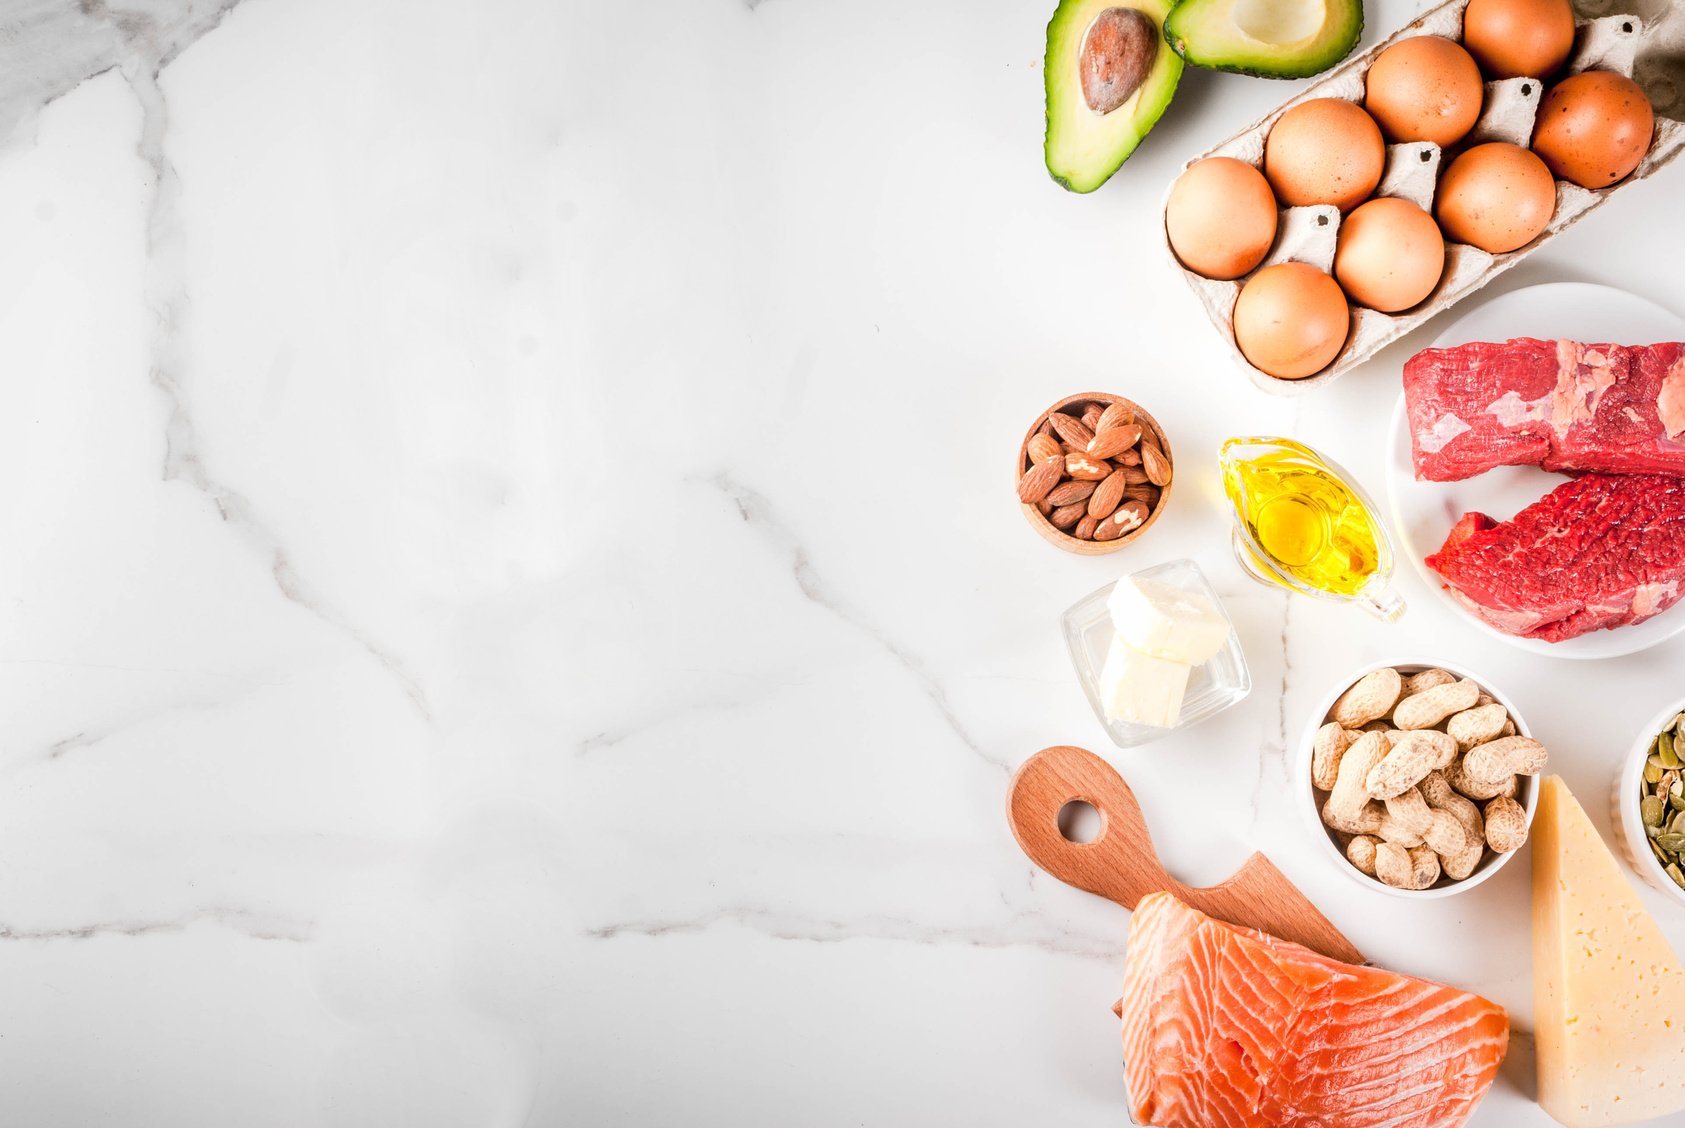
Healthy Fats For Runners
One mistake I made early on was not understanding the role of fats. I avoided them because they’d slow me down or make me gain weight. But healthy fats—like those from avocados, nuts, and olive oil—are crucial for energy and overall health.
They provide long-term energy, support cell function, help absorb vitamins, and play a role in hormone production. Without enough healthy fats, you could feel tired, sluggish, or run into more serious health issues over time.
For runners, having enough fat in your diet ensures that your body works efficiently, even during endurance events.
How Much Fat Do You Need?
Fats should make up about 20% to 25% of your daily calories. Focus on healthy, unsaturated fats and limit your intake of saturated and trans fats.
Best Sources of Healthy Fats:
- Avocados which are packed with monounsaturated fats.
- Nuts and seeds like almonds, walnuts, and chia seeds.
- Olive oil and coconut oil for cooking.
- Fatty fish like salmon, mackerel, and sardines.
- Natural peanut butter and other nut butter.
Personal Tip: I like adding avocado to my meals, whether in a salad, on toast, or with eggs. It’s an easy way to boost my healthy fat intake and add a creamy, satisfying texture to my food.
Timing Your Nutrition for Maximum Performance
When you eat can be just as important as what you eat. Properly timing your meals around your runs can help fuel your performance and speed up your recovery.
Pre-Run Nutrition:
Before a run, aim for a small meal or snack rich in carbs with some protein. This will provide quick energy and help stabilize your blood sugar levels during your run. Eat this meal about 1-2 hours before your run, or, if you’re short on time, have a smaller snack 30 minutes prior.
Best Pre-Run Snacks:
- A banana with a spoonful of peanut butter.
- A slice of whole-grain toast with honey.
- A small bowl of oatmeal with berries.
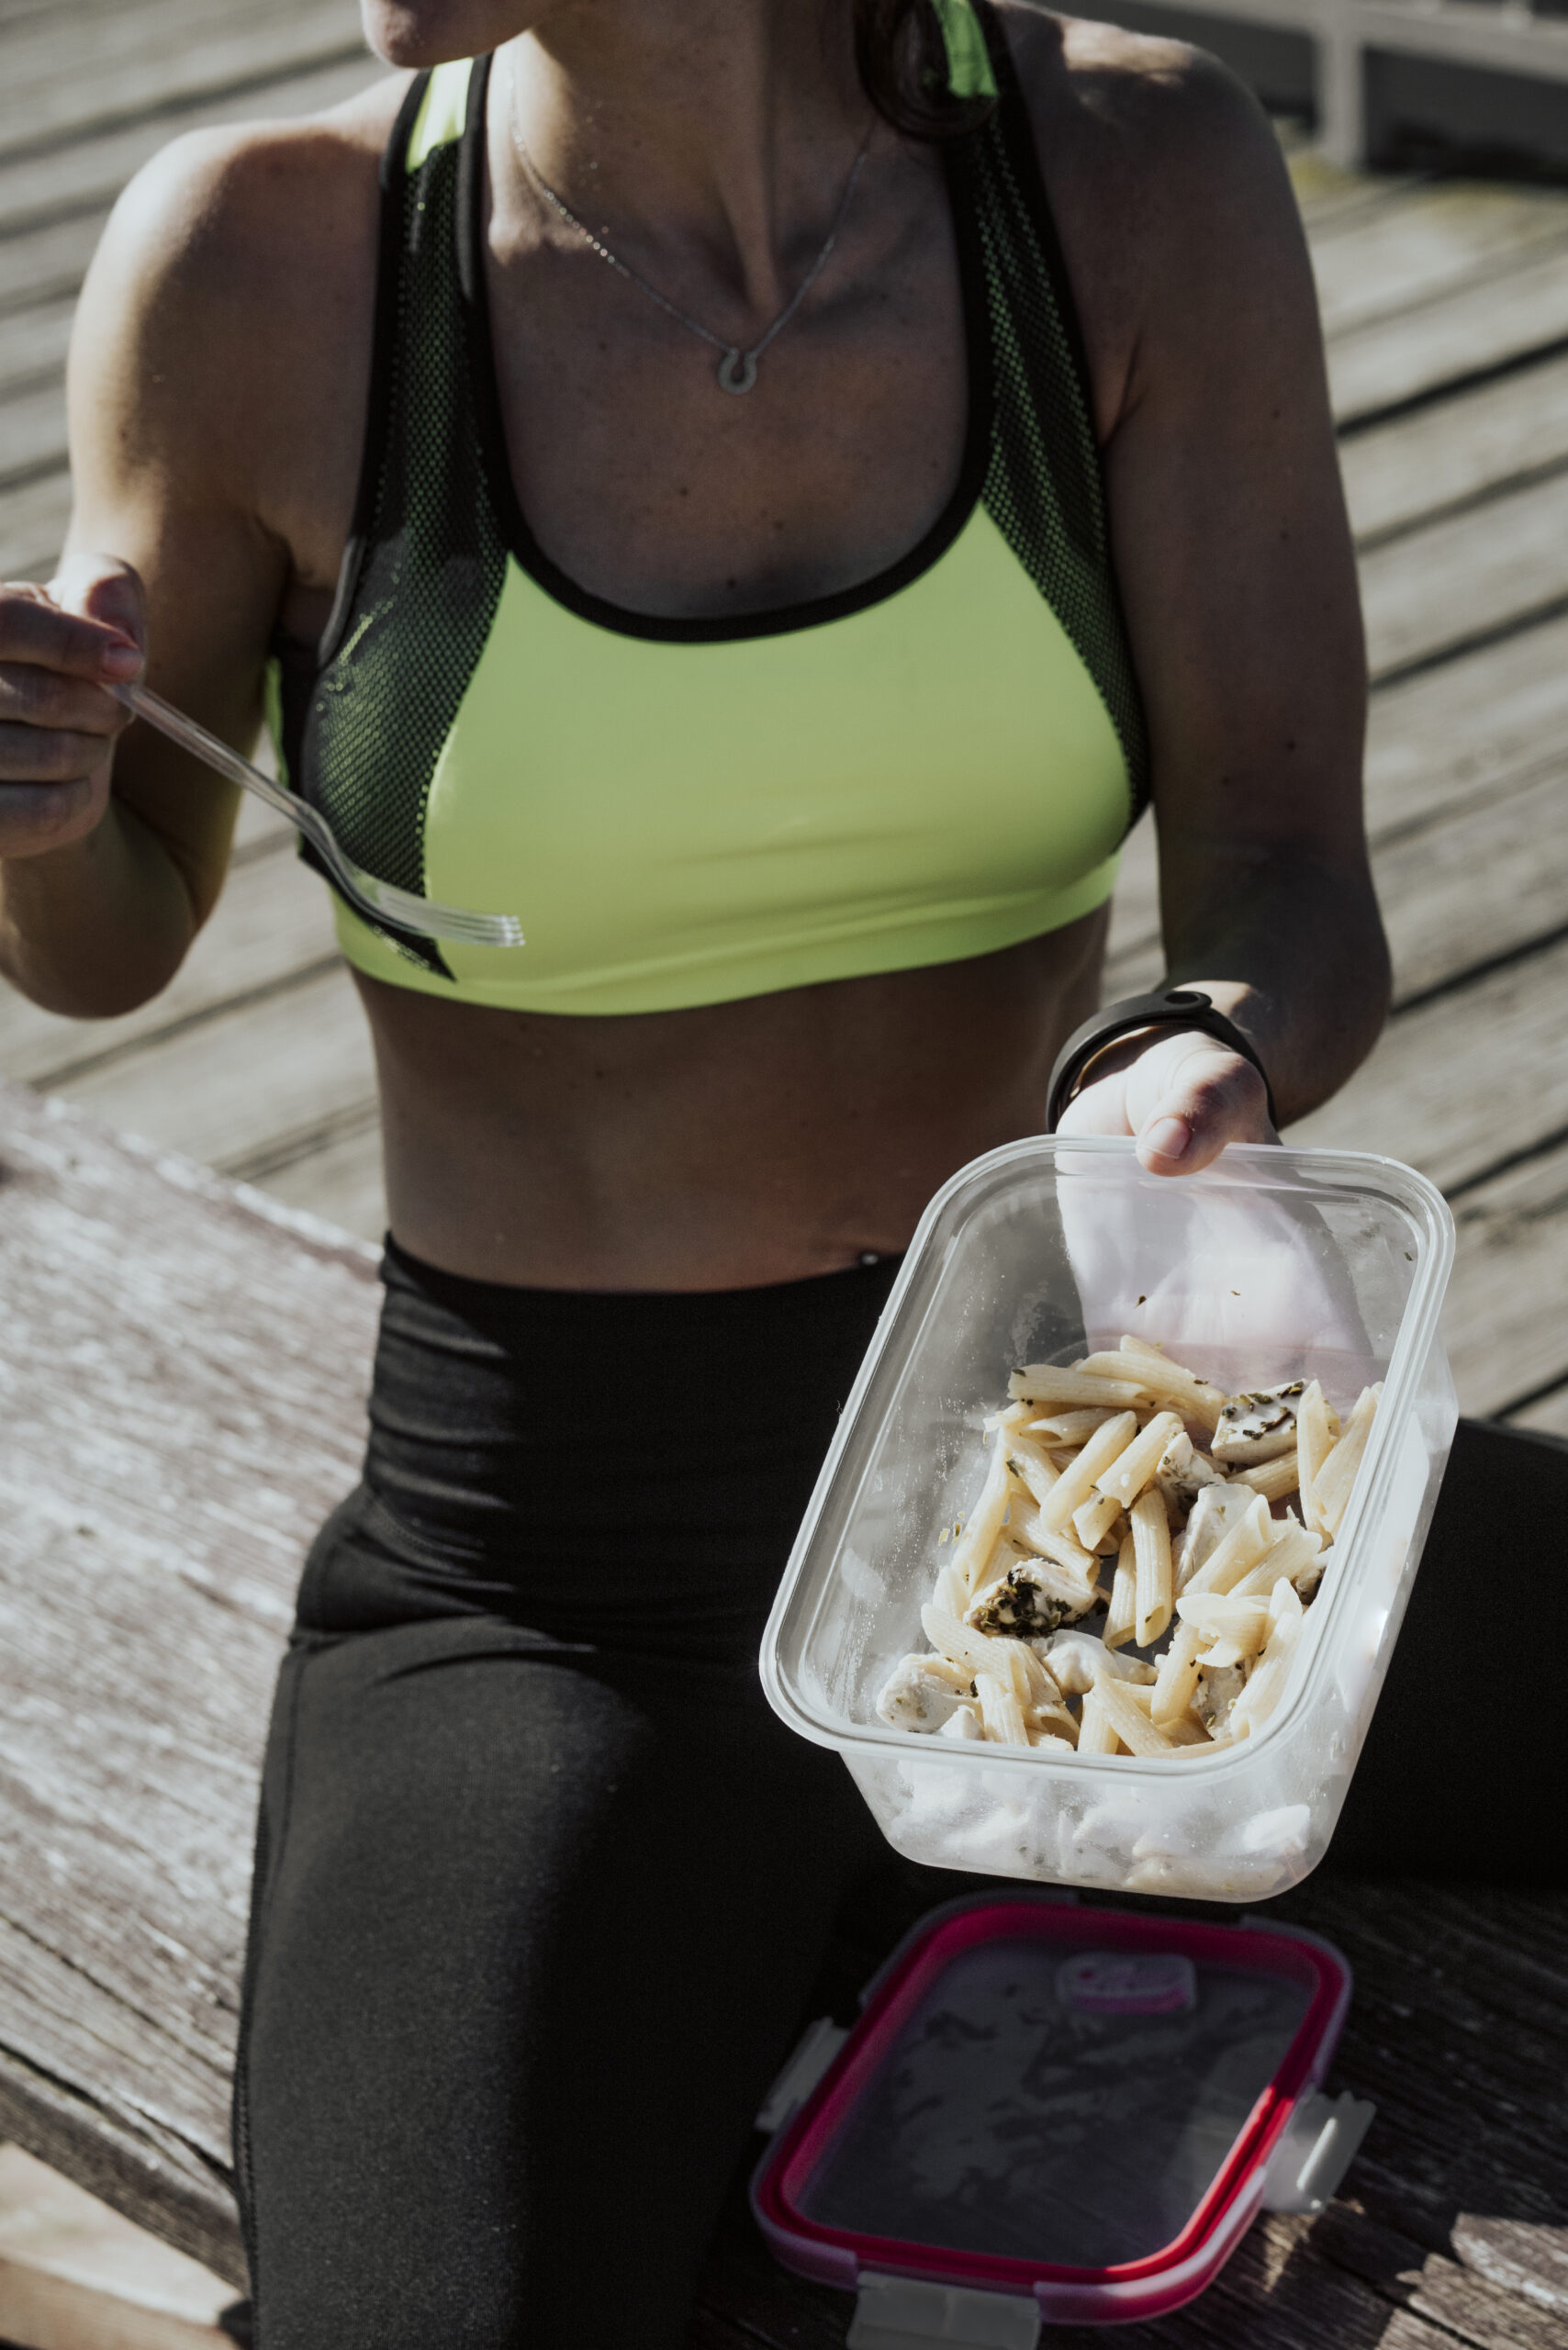
Post-Run Nutrition:
After a run, your muscles are ready to absorb nutrients to repair and refuel. Eating within 30-60 minutes after your run is crucial for optimizing recovery. Go for a mix of protein for muscle recovery and carbs to refuel those glycogen stores.
Best Post-Run Snacks:
- Greek yogurt with granola and honey.
- A smoothie with protein powder, spinach, and berries.
- A turkey sandwich on whole-grain bread.
Putting It All Together: Sample Meal Plan for Runners
To help you visualize how to structure your meals, here’s a simple day’s worth of eating that incorporates a good balance of carbs, protein, and healthy fats:
Breakfast:
- Oatmeal topped with sliced bananas, a spoonful of almond butter, and a drizzle of honey.
- A glass of orange juice.
Lunch:
- Grilled chicken and quinoa salad with spinach, avocado, cherry tomatoes, and a light olive oil dressing.
- A handful of almonds on the side.
Pre-Run Snack:
- Whole-grain toast with peanut butter and apple slices.
Dinner:
- Baked salmon with sweet potatoes and steamed broccoli.
- A mixed greens salad with olive oil and balsamic vinegar.
Post-Run Snack:
- Cottage cheese with fresh berries and a sprinkle of chia seeds.
Sample Weekly Meal Plan for Runners
Fueling your runs starts with a well-balanced diet, designed to meet your specific goals.
Here’s a sample weekly meal plan to keep you energized, help you recover, and support either endurance or speed training.
Endurance-Focused Meal Plan (for Longer Distances)
This meal plan prioritizes carbohydrates for sustained energy and muscle recovery, making it ideal for runners training for longer distances.
Monday
- Breakfast: Oatmeal topped with banana, almond butter, and a sprinkle of chia seeds
- Lunch: Quinoa bowl with roasted sweet potatoes, chickpeas, spinach, and tahini dressing
- Dinner: Brown rice, grilled chicken, and steamed broccoli with a side of roasted carrots
- Snacks: Greek yogurt with honey and berries, apple with almond butter
Tuesday
- Breakfast: Smoothie with spinach, banana, protein powder, and a handful of oats
- Lunch: Whole-grain wrap with lean turkey, avocado, and mixed greens
- Dinner: Baked salmon, roasted red potatoes, and a mixed greens salad with olive oil
- Snacks: Cottage cheese with pineapple, whole-grain crackers with hummus
Wednesday
- Breakfast: Whole-grain toast with scrambled eggs, avocado slices, and cherry tomatoes
- Lunch: Lentil soup with whole-grain bread and a side salad
- Dinner: Pasta with marinara sauce, ground turkey, and a side of steamed spinach
- Snacks: Orange and a handful of mixed nuts, plain yogurt with a dash of cinnamon
Thursday
- Breakfast: Overnight oats with almond milk, berries, and flax seeds
- Lunch: Baked sweet potato with black beans, salsa, and Greek yogurt
- Dinner: Grilled shrimp with wild rice, sautéed zucchini, and bell peppers
- Snacks: Carrot sticks with hummus, apple with peanut butter
Friday
- Breakfast: Smoothie bowl with frozen berries, banana, oats, and a sprinkle of granola
- Lunch: Tuna salad wrap with lettuce, tomatoes, and a side of fruit
- Dinner: Baked tofu with quinoa, roasted Brussels sprouts, and cherry tomatoes
- Snacks: Protein bar, handful of almonds
Saturday
- Breakfast: Whole-grain pancakes topped with fresh fruit and a drizzle of maple syrup
- Lunch: Chicken and veggie stir-fry with brown rice
- Dinner: Baked cod, roasted butternut squash, and a side of steamed asparagus
- Snacks: Cottage cheese with sliced peaches, celery sticks with almond butter
Sunday
- Breakfast: Greek yogurt parfait with granola, honey, and mixed berries
- Lunch: Chickpea salad with mixed greens, cucumber, tomatoes, and balsamic dressing
- Dinner: Whole-grain pasta with lean ground turkey and marinara, topped with Parmesan
- Snacks: Pear with walnuts, smoothie with spinach and mango
Speed-Focused Meal Plan (for Intensity and Recovery)
For runners focusing on speed, this meal plan emphasizes protein for muscle repair, with moderate carbs to support intense workouts.
Monday
- Breakfast: Scrambled eggs with avocado on whole-grain toast
- Lunch: Turkey and veggie wrap with a side of Greek yogurt
- Dinner: Grilled salmon with quinoa and steamed green beans
- Snacks: Cottage cheese with berries, apple with peanut butter
Tuesday
- Breakfast: Greek yogurt smoothie with spinach, protein powder, and a handful of oats
- Lunch: Chickpea salad with mixed greens, cucumber, and feta
- Dinner: Stir-fried tofu with broccoli and brown rice
- Snacks: Celery with almond butter, handful of almonds
Wednesday
- Breakfast: Oatmeal with a scoop of protein powder, banana slices, and chia seeds
- Lunch: Grilled chicken breast with sweet potato and a mixed greens salad
- Dinner: Shrimp stir-fry with veggies and a side of jasmine rice
- Snacks: Protein bar, pear with a handful of walnuts
Thursday
- Breakfast: Whole-grain toast with almond butter and blueberries
- Lunch: Lentil and vegetable stew with a slice of whole-grain bread
- Dinner: Ground turkey tacos with lettuce, tomatoes, and avocado in whole-grain tortillas
- Snacks: Smoothie with mango, spinach, and protein powder, small handful of trail mix
Friday
- Breakfast: Greek yogurt bowl with granola, honey, and mixed berries
- Lunch: Chicken and veggie wrap with hummus and a side of sliced fruit
- Dinner: Grilled pork chops with roasted sweet potatoes and green beans
- Snacks: Cottage cheese with a dash of cinnamon and apple slices, protein shake
Saturday
- Breakfast: Smoothie bowl with frozen berries, spinach, oats, and granola topping
- Lunch: Quinoa salad with black beans, corn, bell peppers, and a lime dressing
- Dinner: Baked cod, wild rice, and a steamed veggie medley
- Snacks: Carrot sticks with hummus, Greek yogurt with a sprinkle of flaxseeds
Sunday
- Breakfast: Omelet with spinach, mushrooms, and whole-grain toast
- Lunch: Brown rice and bean burrito with salsa, avocado, and a side salad
- Dinner: Whole-grain pasta with marinara, lean ground beef, and steamed spinach
- Snacks: Banana with almond butter, small handful of pumpkin seeds
Join the Conversation: Share Your Runner’s Diet Tips!
Nutrition is a key part of every runner’s journey, and we’d love to hear how you fuel up for your runs!
What’s Your Go-To Meal for Running Success?
Whether you have a favorite pre-run snack, a post-run recovery meal that helps you bounce back, or any special tips that have improved your performance, share your insights with us! Your tips could inspire fellow runners and help everyone stay fueled and strong.
Jump Into the Comments!
Let’s build a community of shared experiences and advice. What’s worked best for you? Comment below with your runner’s diet tips and favorite meals!