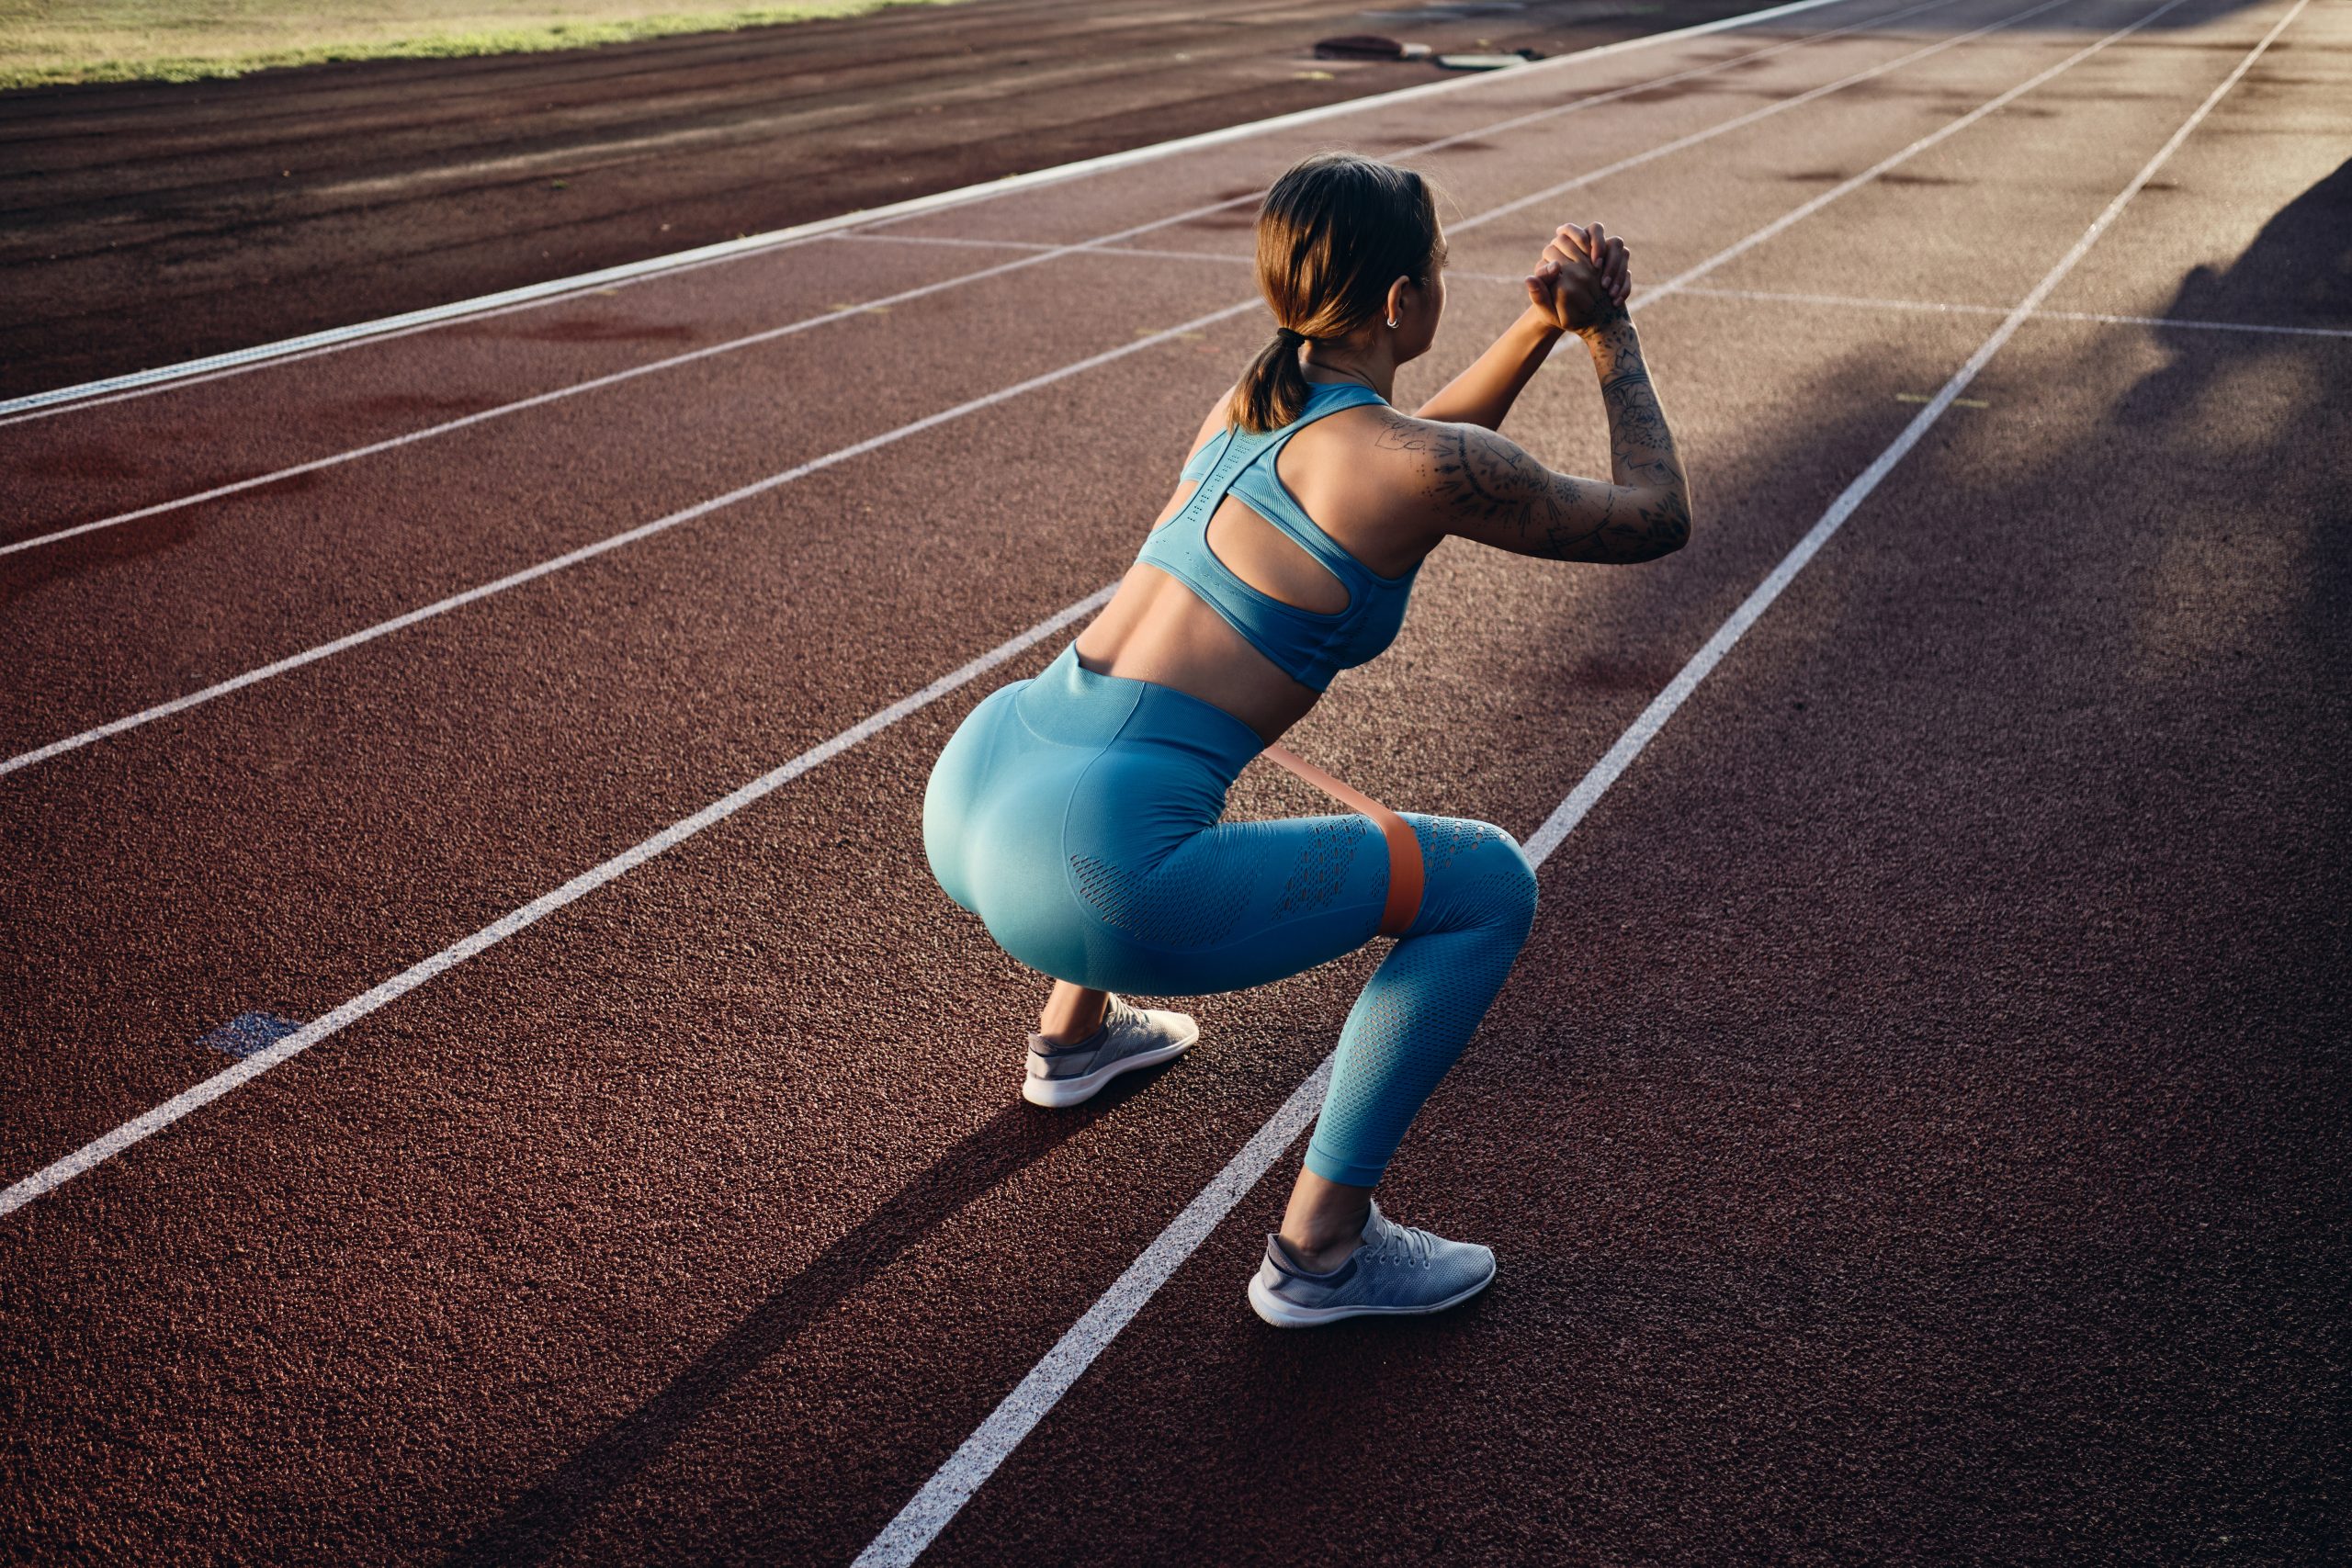
**This is A guest Post by my friend Alina Boska ***
To achieve holistic development, young athletes combine sports and higher education. In order to pursue a top-quality degree, many of them decide to study and train in the United States. Some runners believe that American universities can empower them for their future role in society at the end of their competitive period in sports. What’s more, the US institutions often offer flexible academic programmes and financial support to athletes. Typically, these perks are defined in individually negotiated agreements. Hence, student-athletes from all over the world get great opportunities for pursuing a successful dual career.
However, international students face some challenges trying to combine sports and education in the United States. Read about them below!
Cultural shock
No matter where you come from, you will be immersed in a different culture after your arrival in the United States. For sure, some people’s habits and customs will not be the same as in your home country. Besides, they may even seem weird or unacceptable to you. Chances are, you will experience intense negative feelings because of that. Psychologists say that most students from abroad struggle with homesickness and irritability.
To reduce your immigrant stress, you should first be aware of the main cultural differences. For example, you should learn about teacher-student relationships before coming to the United States. Note that they are rather informal there compared to the Asian and European education systems. It’s also important to start making new friends as soon as possible. Be open to your fellow international students to build a support network and find a safe place to share your experience in the United States.
Academic workload
It can be extremely difficult to focus on your school work when you have regular training sessions. As a runner, you must practice really a lot to achieve your sports goals, which interferes with the study process. Even the best colleges for students who want to start running professionally have very intense learning plans. The US professors always assign pretty much homework to give comprehensive knowledge to students. This a blessing and a curse for students at the same time. On the one hand, they get a great education and increase their chances to make a successful career. But on the other hand, the combination of learning and training exhausts them.
Many students think it’s impossible to find the solution to this problem. However, there is something to do about it. First of all, it would be great to talk to professors during their office hours. You can ask them for additional guidance and support. Also, you can turn to the services that help students with their homework. For example, if you were assigned a complicated term paper or an essay, you can check https://gradesfixer.com/free-essay-examples/immigration/ that contains hundreds of tips and assignment samples for students. This website also offers help of experienced writers that can complete your home task within the deadline you set for them.
Financial difficulties
As you might know, college tuition fees in the United States are quite high. Studying at private school usually costs “an arm and a leg” even for athletes who get a discount for their sports achievements. According to the statistics presented by CollegeData.com, an average budget for a private college is approximately $47,800 per year. This doesn’t include the cost of health insurance, which is quite expensive for students from abroad. Also note that as a runner, you are at risk of frequent injuries, so you might need medical help from time to time. Hence, before you arrive in the United States, you should thoroughly count your future expenses.
To ease your financial difficulties, you could check scholarships available for athlete students in the United States. Athletes may also benefit from grants and generous student loans. There are plenty of options for talented students, so you will probably find something that fits your needs. You can turn to your university’s financial aid office and ask for help with the application process. This way, you are more likely to get money for covering your education and living costs.
Final thoughts
Being an athlete and a student at the same time is not easy. Both roles impose a lot of challenges for young people. Especially, if you come to study in the US from abroad, many additional difficulties are inevitable. They include cultural shock, money issues, and heavy workload. However, there are some effective solutions for each of them. Hopefully, this article provided you with valuable ideas on how to make your student life easier.
Author’s BIO
Alina Boskar works as an academic writer at one of the leading assignment services in the United States. She helps students complete their assignments and achieve success at college. As a big fan of sports, Alina spends most of her free time doing exercise in the fresh air. She believes that it is beneficial for both body and brain.
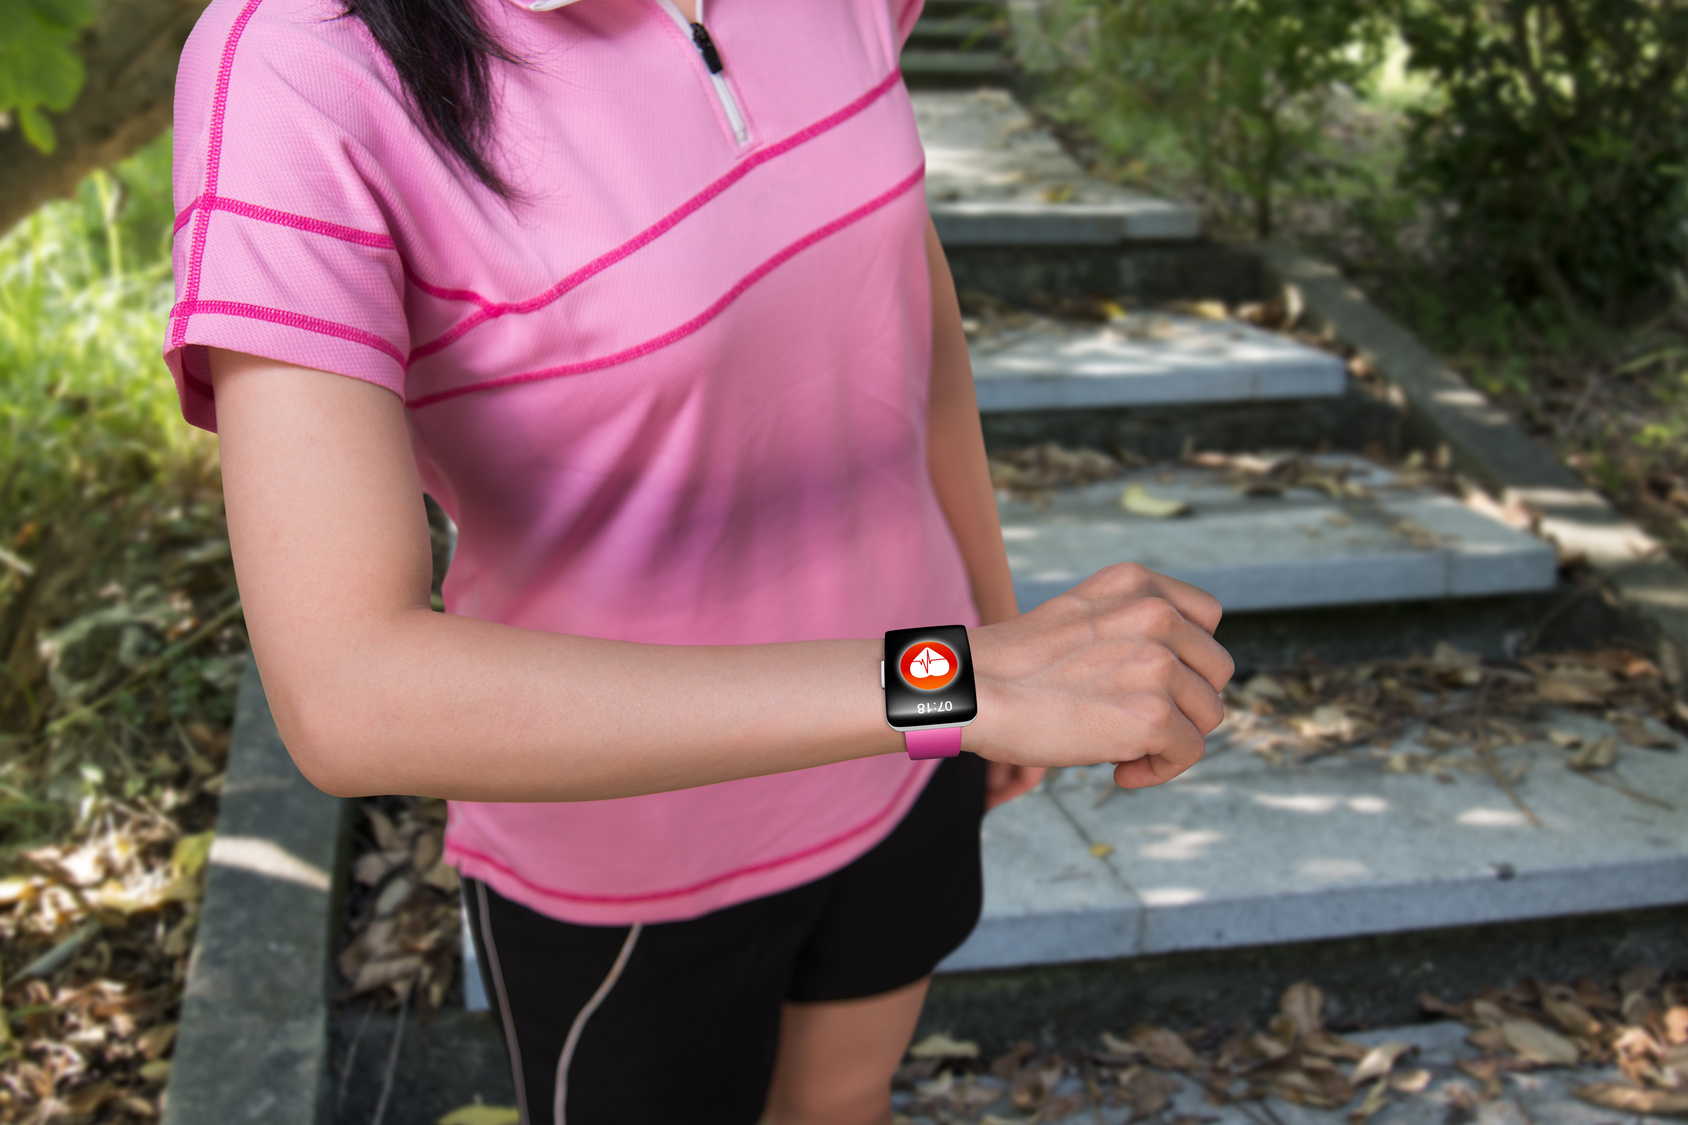
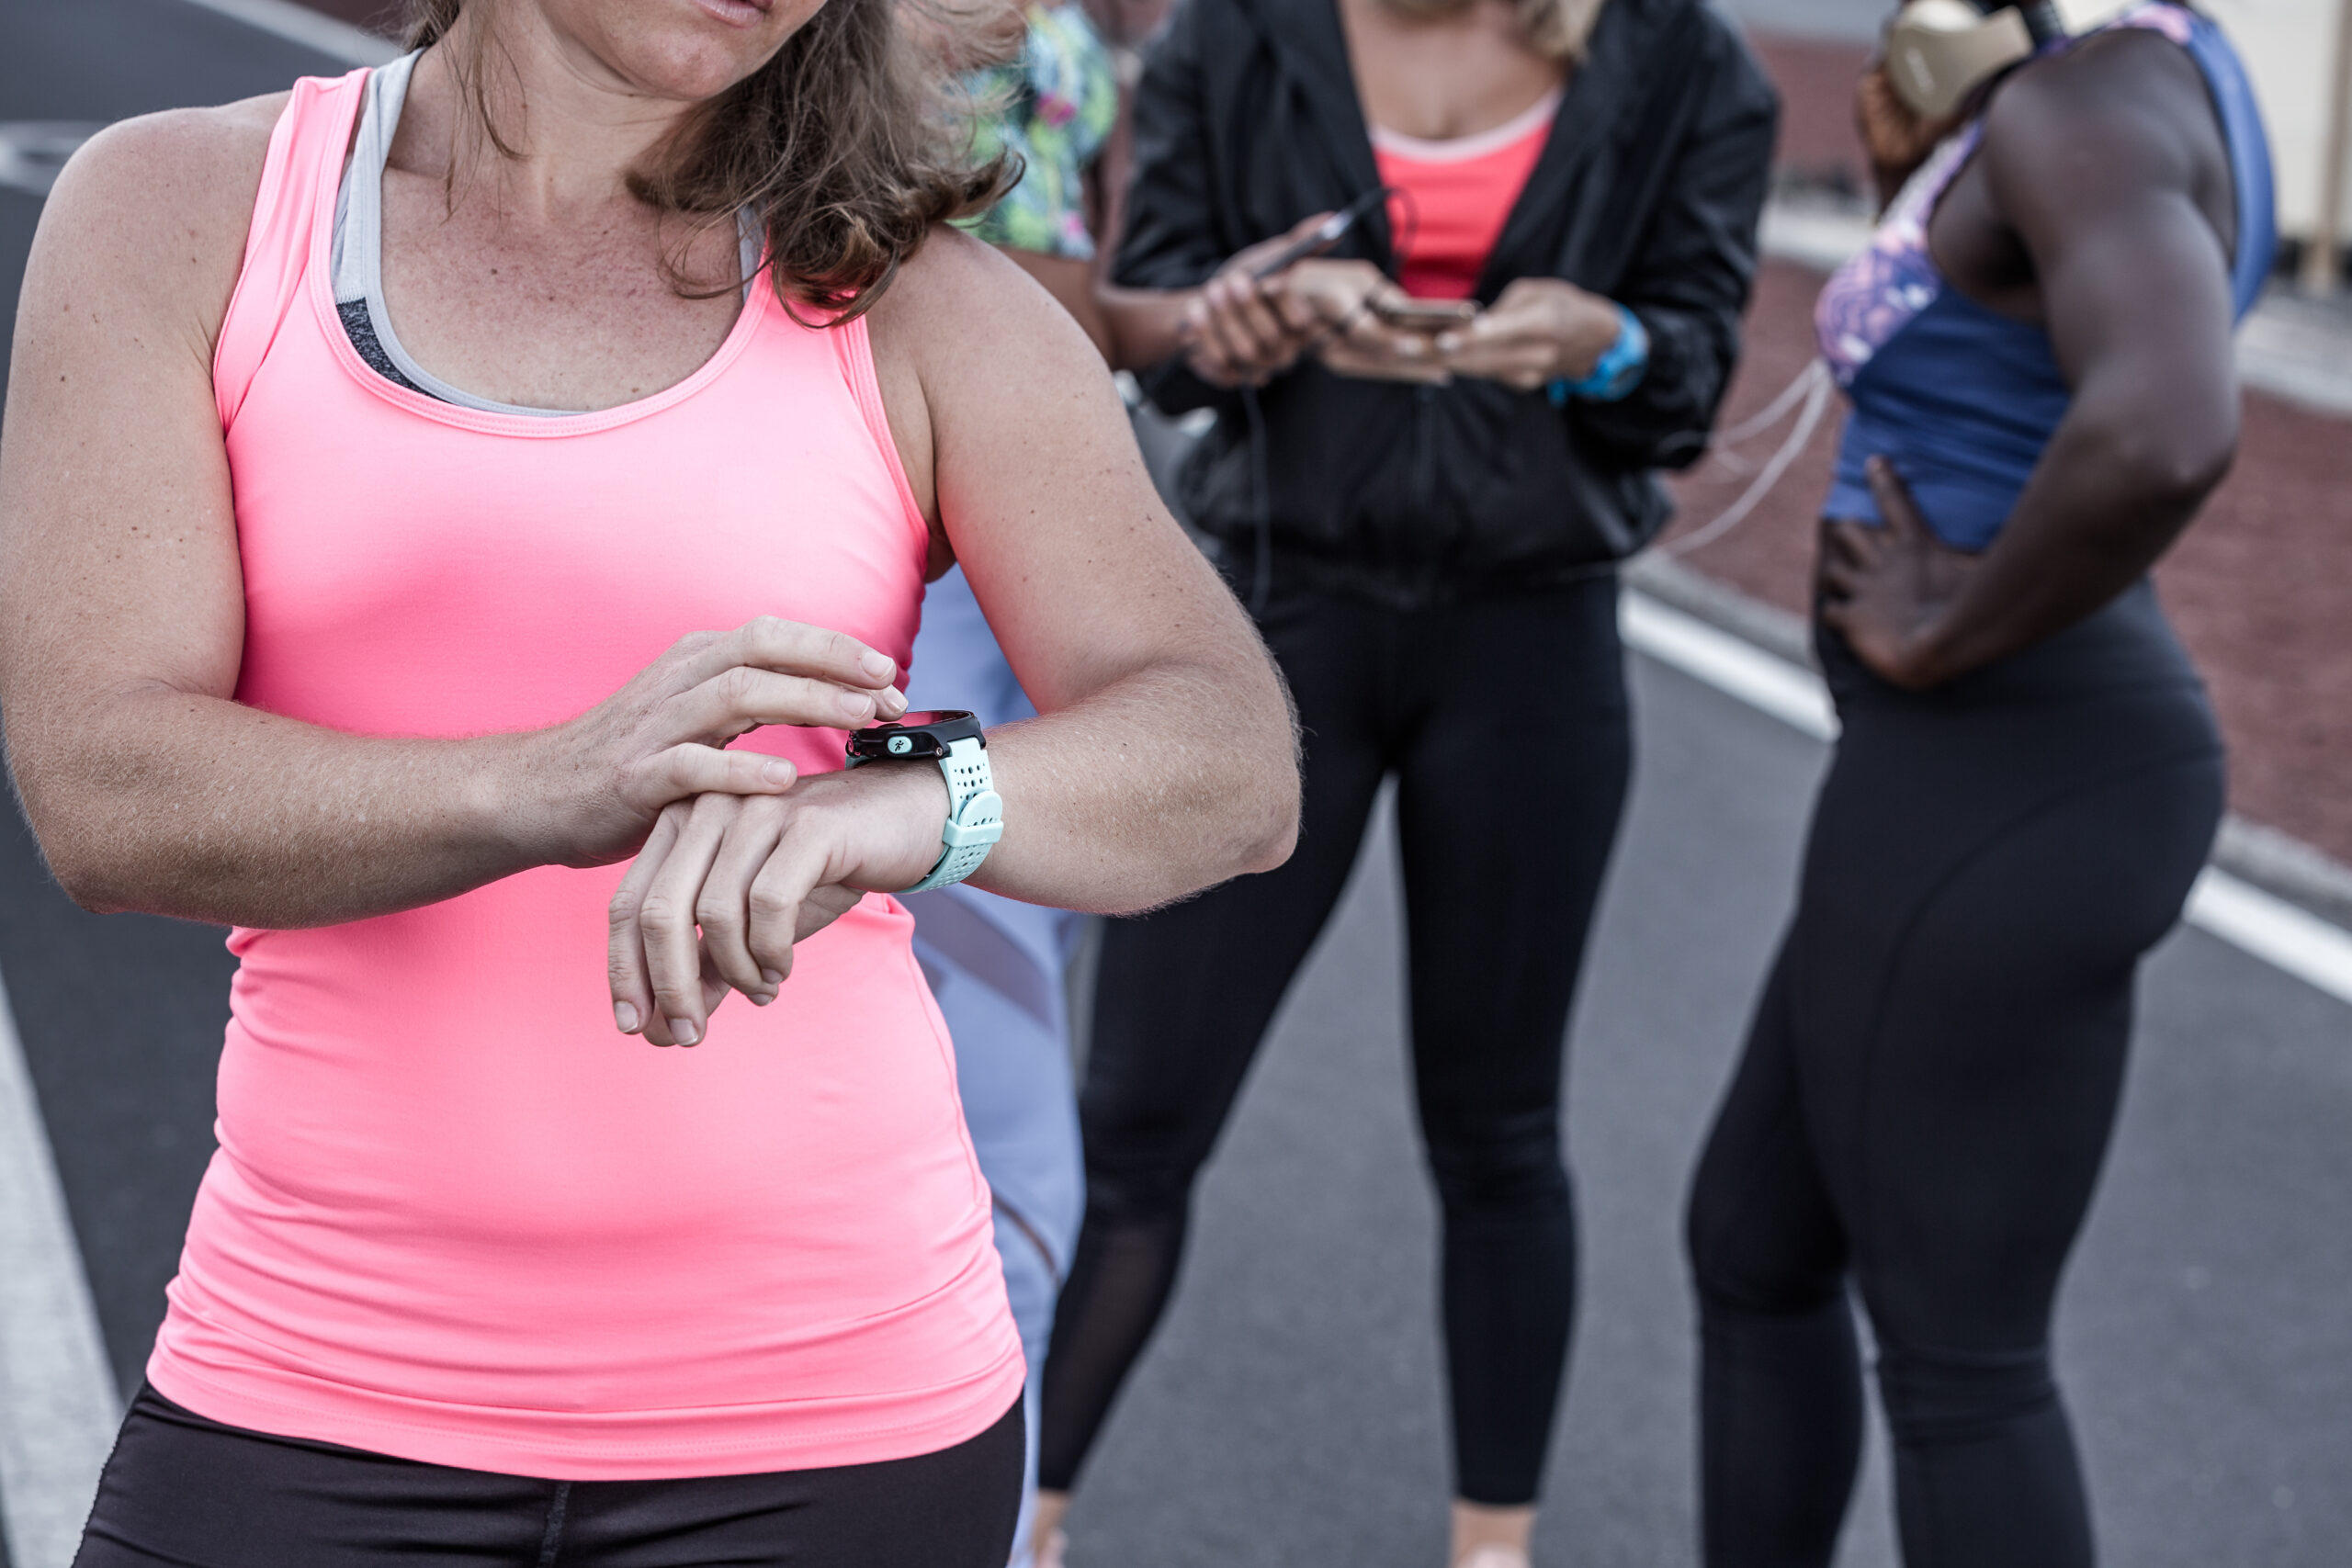
When I first started running, I thought tracking running metrics on my running watch was overkill—just a bunch of numbers.
But once I began paying attention to stats like training load, ground contact time, and vertical oscillation, I realized they could completely change how I trained.
Let’s get into the details of how you can use these metrics to enhance your running form, efficiency, and overall fitness.
Training Load
If you’re training hard regularly, your fitness will probably improve. But if you take too much time off, your performance might start slipping. That’s fitness adaptation for you.
So how do you know if you’re doing it right? Enter training load.
This metric tracks the overall strain of your workouts, using heart rate data to measure how much stress you’re putting on your aerobic system during and after your runs.
This data gives you a personalized recommendation on when to scale back or push a bit harder. It’s all about finding that sweet spot for optimal training.
Tracking this metric changed my approach: I’d go out every day, push myself to the max, and then wonder why I’d feel so wiped out.
I remember one day my watch practically yelled at me to take it easy after a brutal interval session.
Naturally, I ignored it, thinking I knew better, and went out for a long run. Rookie mistake! I ended up with a calf strain and a week on the sidelines.
Now, when my watch says rest, I take it seriously—it’s made a big difference.
Ground Contact Time
If you’re struggling with injuries, ground contact time might offer some clues.
GCT measures the time each foot spends on the ground while you’re running. A longer ground contact time is generally correlated with an inefficient running economy. Lowering your ground contact time may improve your running efficiency and help prevent injury.
I’d been dealing with persistent knee pain a few years back, and it was driving me crazy. I tried changing shoes, adjusting my pace, even taking a break, but nothing seemed to help.
Eventually, I started tracking my GCT, and it turned out my left foot was lingering on the ground way longer than my right—it was a form imbalance I’d never noticed.
After working on strengthening my weak side and shortening my stride, the pain finally disappeared.
If you want to lower your GCT, try focusing on a quicker cadence and shorter stride. Think of it as taking ‘ninja steps’—light, quick, and stealthy.”
Vertical Oscillation
Vertical oscillation measures how much your upper body moves up and down as you run.
Ideally, you want to minimize this “bounce” to reduce energy waste. If you’re bouncing too much, that energy isn’t helping you move forward—it’s working against you.
Let me explain.
When running, your ultimate purpose is to propel your body forward and keep moving in a horizontal direction. Not up. Gravity speed isn’t going to change anytime soon.
I hope this makes sense since by lowering vertical oscillation you might reduce energy waste, gravitation friction, and improve running economy. That’s a bunch of good things if you ask me.
Excessive vertical oscillation may also indicate that your form is breaking down. Thus, you can use this feature to monitor how your form deteriorates and how long it takes to go south, even if the goal pace is maintained.
To keep vertical oscillation low, work on shortening your stride length and imagine balancing something on your head to keep your movement steady. Exercises like squats and jumps can help strengthen your core, glutes, and hamstrings—all essential for better running form.
I used to think a little bounce was normal, part of the rhythm. But then I saw a race video, and it was a wake-up call. I was bobbing up and down like I was on a pogo stick!
So, I started working on minimizing that ‘bounce’ by imagining a low ceiling I had to duck under. After a few weeks of working on it, I could feel the difference in how steady and efficient my runs became.
Vertical Ratio
Vertical ratio measures your running efficiency by comparing your vertical oscillation to your stride length.
I know this sounds a little bit technical but just bear with me.
A lower vertical ratio means a smoother run with less energy lost to bouncing—imagine gliding over the pavement!
On the other hand, by lowering the amount of time your body travels vertically, you can improve your efficiency and speed down the road.
To improve your VR, I’d recommend either (1) increasing your stride length. Instead of reaching over on each step to cover more ground, try applying more power off the ground.
Or (2) reduce your vertical oscillation by landing on your forefoot and adding a “bounce” to your strides.
Heart Rate
Heart rate (HR) is one of the best ways to gauge your effort during a run.
As you run faster or longer, your heart pumps harder to fuel your muscles, raising your BPM (beats per minute). Tracking this helps you understand how hard you’re pushing yourself.
Heart rate is broken down into zones that correlate to workout intensity. Higher heart rate zones indicate more intense effort, so understanding these can optimize your training.
As a runner, you’ll want to keep training within specific heart rate zones to make the most out of your workouts.
For example, an easy run should not extend beyond zone 3, or you’re pushing your body when you should be taking it easy.
You should also know your your max heart rate (HR Max), which is the maximum number of beats per minute your heart can handle during intense exercise.
You can estimate it by subtracting your age from 220, but I’d urge to take a lab test for more accuracy.
Running Power
I remember when I first started using running power metrics. I was hesitant—numbers and watts felt like something only cyclists cared about. But after a coach friend convinced me, I decided to try it.
On my next tempo run, I noticed how focusing on my power output helped me keep my effort steady, even on hills. Monitoring my power output became my secret weapon for maintaining pace, even when fatigue set in.
So what is running power all about?
Running power measures the amount of work you do against resistance during your run. It’s expressed in watts (W); a higher wattage means more power output per step. Tracking power helps maintain steady efforts, improving your form, pacing, and overall speed.
In other words, it’s a metric of output you produce while running.
The main benefit of monitoring power output is that it helps you keep steady efforts on your runs. This helps improve your running form, practice better pacing, and achieve faster running times.
Stride Length
Stride length is the distance you cover with each step. It varies based on your physiology, strength, and mobility, but the key is finding an optimal stride length without overreaching.
I found that overreaching was slowing me down—like hitting the brakes with every step. Adjusting this has made my strides more effective and less tiring.
What is the best way to improve stride length? Focus on increasing your cadence (see the next metric).
Cadence
Cadence is one of the most important stats for examining running form efficiency.
Cadence, or steps per minute (SPM), is crucial for running efficiency. Most experts suggest aiming for 170-180 SPM. Count the steps your right foot takes in one minute to find your cadence, then multiply by two.
The best way to determine your running cadence is to count the number of steps your right foot hits the ground in one minute, then multiply it by two.
Cadence could be the key to running faster and more efficiently.
If you want to become a faster runner, you can do either one of two ways: (1) by increasing your stride length so you cover more distance with each step or (2) by increasing your cadence so that.
When I first heard about cadence, I thought, ‘Do I really need to count my steps?’ But curiosity won out, and I downloaded a 180 BPM playlist to sync my steps to the beat. At first, it felt strange, like my legs were moving to someone else’s rhythm.
But after a few weeks, my runs started feeling smoother, like I was gliding rather than pushing. Now, I aim for 170-180 steps per minute (SPM), and I feel faster and more efficient without extra effort.
VO2 Max
VO2 max tells us how much oxygen our body can utilize during max effort—crucial for gauging our endurance. It’s a key indicator of your aerobic capacity. While lab tests provide the most accurate reading, some wearables can estimate it using heart rate data and algorithms.
Any exercise helps your VO2 max. However, research has found that going intense and short—as in high-intensity interval training—is one of the most efficient ways to increase and/or maintain an optimal VO2 max. Learn more about VO2 max charts here.
Visualizing Your Metrics: Metric Tracker Chart
Understanding the ideal ranges for key running metrics can help you set realistic goals and track your progress effectively.
Below is a Metric Tracker Chart that breaks down the optimal values for various metrics, categorized by experience level. This visual guide will assist you in identifying where you stand and where you can improve.
Metric
Beginner
Intermediate
Advanced
Notes
Cadence (SPM)
160-170
170-180
180-190
Aim for 170-180 SPM for injury prevention.
Vertical Oscillation
6-8 cm
5-7 cm
5-6 cm
Lower values indicate a more efficient stride.
Ground Contact Time
250-300 ms
200-250 ms
180-200 ms
Shorter contact times generally lead to faster paces.
VO2 Max
35-50 mL/kg/min
50-60 mL/kg/min
60+ mL/kg/min
Higher values indicate better aerobic capacity.
Lactate Threshold
60-70% of VO2 Max
70-80% of VO2 Max
80-90% of VO2 Max
Increasing your LT can help sustain faster paces.
How to Use the Chart
Identify Your Level: Look at the metrics that correspond to your running experience—whether you’re just starting out or have been running for years.
Set Goals: Use the ideal ranges to set realistic and achievable goals for your training. For example, if you’re a beginner, focus on increasing your cadence gradually.
Track Progress: Regularly measure these metrics during your training sessions to see where you stand. This will help you assess your improvements and adjust your training plan as needed.
I Want to Hear from You!
At the end of your training journey, I’d love to know how metrics have influenced your performance. Please share your experiences in the comments section below.
Here are a couple of questions to spark your thoughts:
Which metric have you found the most useful in your training?
Have you encountered any challenges while tracking or improving your metrics?
Can’t wait to read your answers in the comment section.
**This is a guest post by my friend Alina Boskar **
Students who participate in athletic competitions have to juggle between their training and academics while devoting enough time to both of them. In the end, nothing is more important than pulling yourself up to come out as a champ in the both the fields.
If you’re someone who’s also preparing for a running competition while preparing for examinations and writing papers, here are five important points that can help you do well in both areas.
Training
Your training will be controlled and directed by your coach. Following their instructions while also finding ways to improve yourself is what every athlete must aim for. Training for the event must be your priority and you must tailor all other activities around it.
Most often, students who participate in running competitions struggle to maintain a balance between their academics and training. It’s important to give due time to both, but you can always take help from experts to help with assignments pertaining to academic writing.
Professional writing sites help students to complete their essays on time. Their ‘Do my Homework’ page allows students to take help from writing experts and finish their assignments on time. As a student-athlete myself, I like to ask experts to do my homework and EssayOnTime helps me finish assignments on time while guaranteeing a good grade.
Stay hydrated and eat well
The last thing you want to do is forget about your health before the competition. Keep a bottle of water with you all the time and keep track of your water intake. Being dehydrated before the race can be detrimental in long races. Sprint runners should also drink water during the competition. Electrolytes are also great to keep your energy up during events.
As for meals, the time before the competition will require you to be most careful with your food intake. If you have more than one event, you must eat foods that will help in muscle and energy recovery. Avoid eating anything that would drop your energy levels, such as simple carbs or sugars.
Time management
Managing your time is also very important. As discussed earlier, for students, managing training and academics well requires a proper schedule. Scheduling your day will allow you to make a routine for each day, where each activity is given a specific period of time in your day based on its priority.
As a student, scheduling your day can enable you to fit your training, academics, and leisure activities within your day. Scheduling can also help in setting times for each meal so that you eat at the right time and keep your body healthy.
Keep a positive mindset
Your attitude towards the competition and the events is perhaps the most important to maintain. Naturally, the stress associated with such competitions is high, which makes it extremely important for you to distract yourself with activities that help you focus on the competition. Focus more on the start and your strategy rather than worrying about the end result. What matters is putting all your practice and effort to reap the most amount of benefit.
Moreover, instead of being overwhelmed by thoughts of failure, try to focus on the experience and all that you will learn during the event. Use your stress to your advantage by keeping yourself pumped and excited for the event.
Get enough rest
Training hard isn’t the only way to win competitions; resting is just as important. Athletes must give their bodies plenty of rest after practice. During sleep, the body is able to repair any damaged tissue, which is frequent when it comes to physical exercises. To avoid any soreness or long-term injury, it’s extremely important for you to sleep at least 6-8 hours every day.
If you struggle to get enough rest, look through your day and find out ways to make space for more resting time. Scheduling and routinizing your days is the best method to do this, as you would have a day that is planned and includes the required 6-8 hours of sleep. Following such a schedule would make it easier to fit activities that are necessary for your physical and mental well-being.
Conclusion
Make sure you clearly note down all that you have learned during the event. Whether you win or lose, there’s always something you can do better, so look for such pointers after your race. Maintain a positive attitude towards the competition from start to finish. As you participate in more competitions, you’ll find that keeping a positive mindset contributes a lot to one’s chances of success and growth.
Author’s Bio:
Alina Boskar works for an academic writing portal where she features as a top writer in essay and homework writing. Besides that, she also writes and does illustrations for a children’s storybook company. In her free time, Alina likes to read sci-fi novels, indulge in gaming and doing yoga.
So, you’re thinking about running five miles a day? That’s a fantastic goal that is both rewarding and challenging.
Whether you’re doing it to boost fitness, shed some weight, or build endurance for longer runs, there’s a lot to gain from this routine.
I’ve been there myself, and while the benefits are huge, getting started can be tricky.
In this article, I’ll share everything you need to know about running 5 miles a day—how long it might take, what you’ll gain, and the pitfalls to watch out for.
How Long Does It Take to Run 5 Miles?
Answering this question is tricky because every runner is different.
As a coach, I’ve seen beginners take around 50 minutes at a 10-minute mile pace, while more experienced runners can finish in as little as 35 minutes if they’re hitting 7-minute miles.
Here are more examples of pace and running times:
5-minute pace: 25 minutes
6-minute pace: 30 minutes
7-minute pace: 35 minutes
8-minute pace: 40 minutes
9-minute pace: 45 minutes
10-minute pace: 50 minutes
11-minute pace: 55 minutes
12-minute pace: 60 minutes
13-minute pace: 65 minutes
14-minute pace: 70 minutes
Most importantly, don’t worry about your times, especially if you’re a “slow” runner. Running five miles daily is not a race (as discussed later).
Running every day—even at the slowest speed—still makes you faster than anyone sitting on the couch the entire day.
If your current mile time is longer than 12 minutes, you start by running 2 miles a day. Then, you can slowly progress from there.
Now that you know how long it takes, let’s dive into the incredible benefits of a daily 5-miler session.
The Benefits of Running 5 Miles a Day
One of the best things about this routine is how quickly it can make you a stronger, more efficient runner. When I first upped my daily mileage to five, I noticed improvements in my endurance within just a few weeks.
Let me explain more.
Running five miles a day challenges your cardiovascular system, which improves your stamina and running economy (basically, your body gets more efficient with energy use).
And then there’s the calorie burn. Running five miles daily can burn around 500 calories per session, depending on your pace and body weight.
I’d go as far as promising that you’ll be able lose a few pounds in just a month by sticking to this routine.
But running alone won’t do the trick if your diet’s not in check. You can’t outrun a bad diet—trust me, I’ve tried! Ensure your meals have the right protein, healthy fats, and carbs.
Learn more about the impact of regular running by checking the following studies:
While running five miles a day is rewarding, it’s challenging.
Monotony: Doing the same thing every day can get boring after a while. I’ve hit those stretches where my regular routes felt repetitive and dull. But what helped me push through was switching things up—changing my routes or incorporating interval training. It keeps things fresh and keeps you motivated.
Risk of Injury: I can’t tell you how many runners I’ve seen develop issues like shin splints, knee pain, or even stress fractures because they didn’t give their bodies enough recovery time. If you start feeling pain, take it seriously—don’t push through it.
Time Commitment: Let’s be real: running five miles can take 40 minutes to an hour, depending on your pace. That’s a significant chunk of time, and it can be hard to squeeze in other forms of exercise, like strength training or cross-training, if you’re running this much daily.
Are You Ready to Run 5 Miles a Day?
How do you know if you’re ready to take on this challenge? Here’s a quick checklist:
Have you run five miles recently?
Are you currently running 15 miles per week?
Do you feel strong?
Are you injury-free?
You’re probably ready to try if you answered “yes” to most of these.
But if you’re not up to it, start smaller. Try running 2-3 miles a day first and gradually build up. I learned this the hard way—I tried to jump into higher mileage too quickly and paid for it with some serious soreness and a minor injury.
Ease into it, and your body will thank you.
When Should You Avoid Running 5 Miles a Day?
Running five miles daily isn’t for everyone, at least not immediately. Here are a few cases where you might want to hold off:
Beginner Runner: Don’t rush into five miles daily if you’ve only been running for a few weeks. Start smaller.
History of Injuries: If you’ve had issues like shin splints, knee pain, or other injuries, be cautious.
Older Runners or Overweight Runners: Start with shorter distances if you’re over 60 or carrying extra weight. Running five miles a day can add a lot of stress to your joints, and you don’t want that.
How Fast Should You Run the 5 Miles?
Pacing is key, especially when you’re running every day. My advice? Aim for aconversational pace. This means that you should be able to hold a conversation without gasping for air, which, in turn, helps keep you from burning out too quickly.
When I started running five miles a day, I found that going too hard too often wiped me out. So, I slowed it down and focused on running comfortably.
Over time, my pace naturally improved, but those early runs were all about feeling good and building the habit.
To check whether you’re keeping it easy, perform the talk test. Try reciting the pledge of allegiance or having a brief conversation with yourself. You might push too hard if you struggle to speak without huffing and puffing.
Conclusion: Running 5 Miles a Day
A daily 5-miler is a rewarding routine that can help you build endurance, lose weight, and improve mental clarity.
But as with any exercise, patience and consistency are key. Start slow, listen to your body, and you’ll reap the benefits.
Are you ready to take on the challenge? Let me know how it goes, and feel free to ask any questions below.
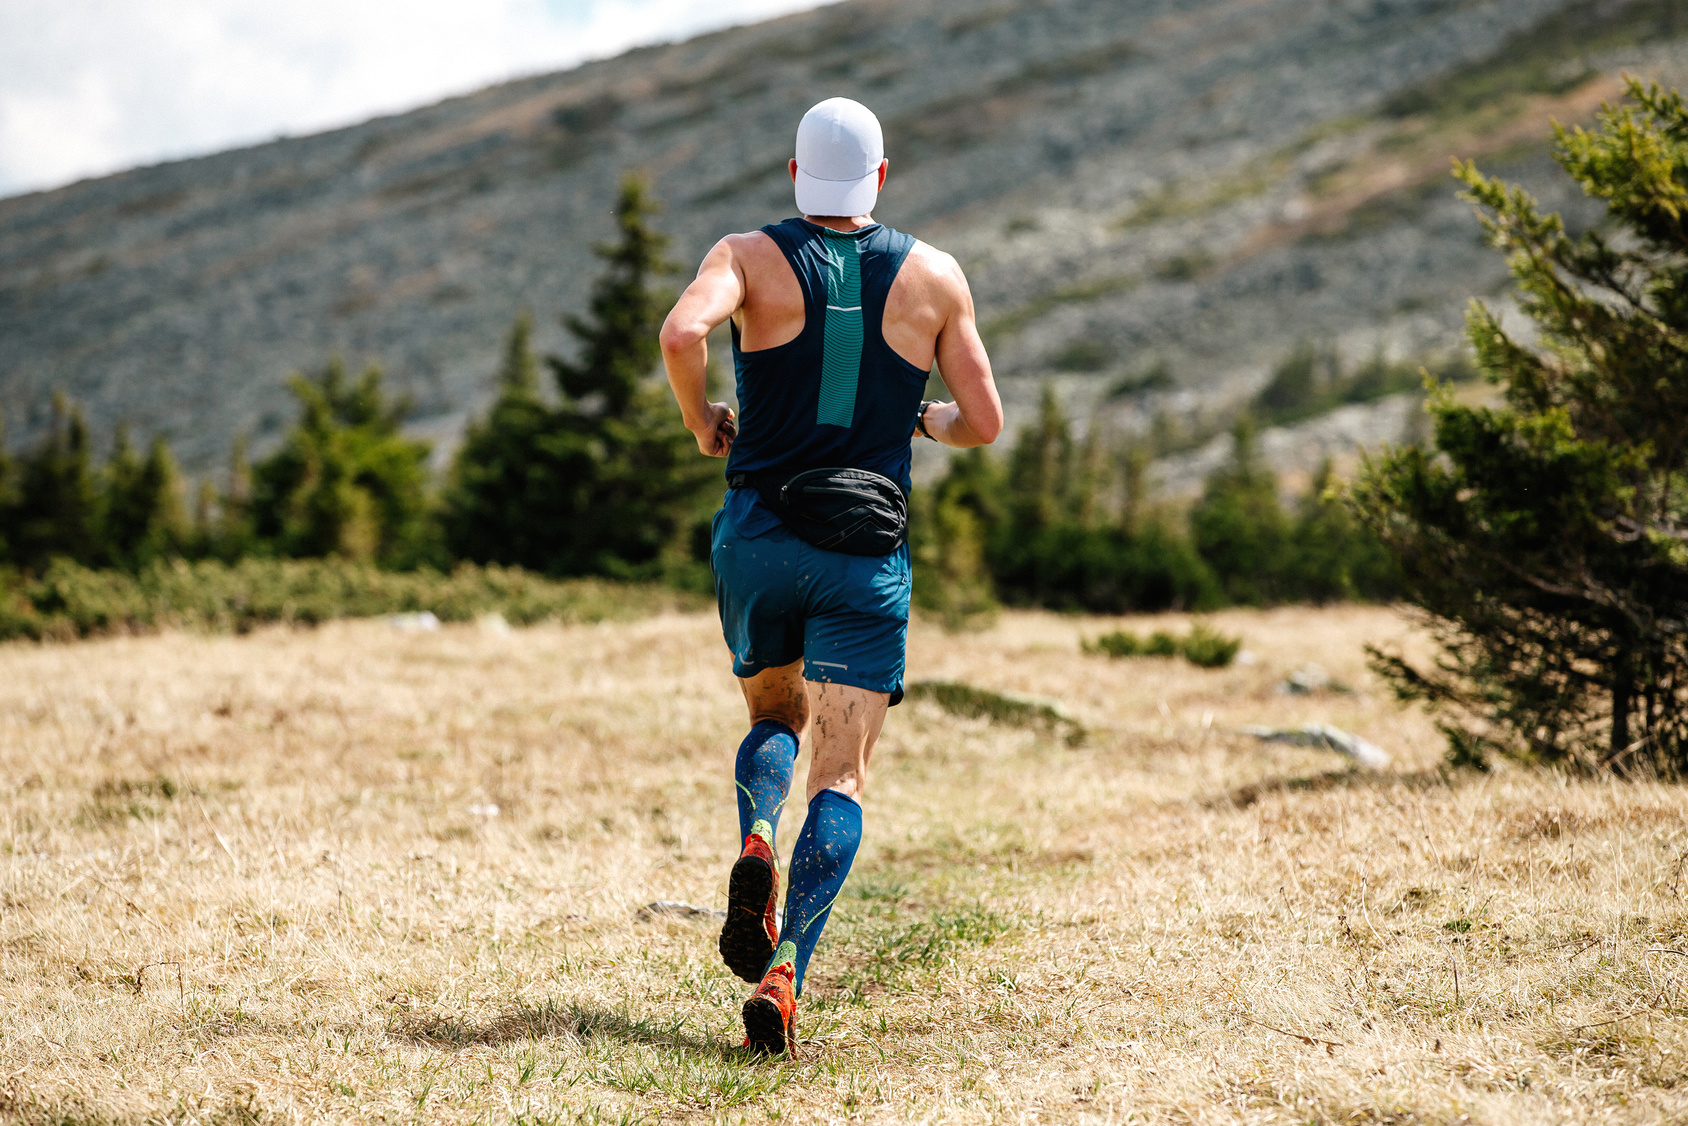
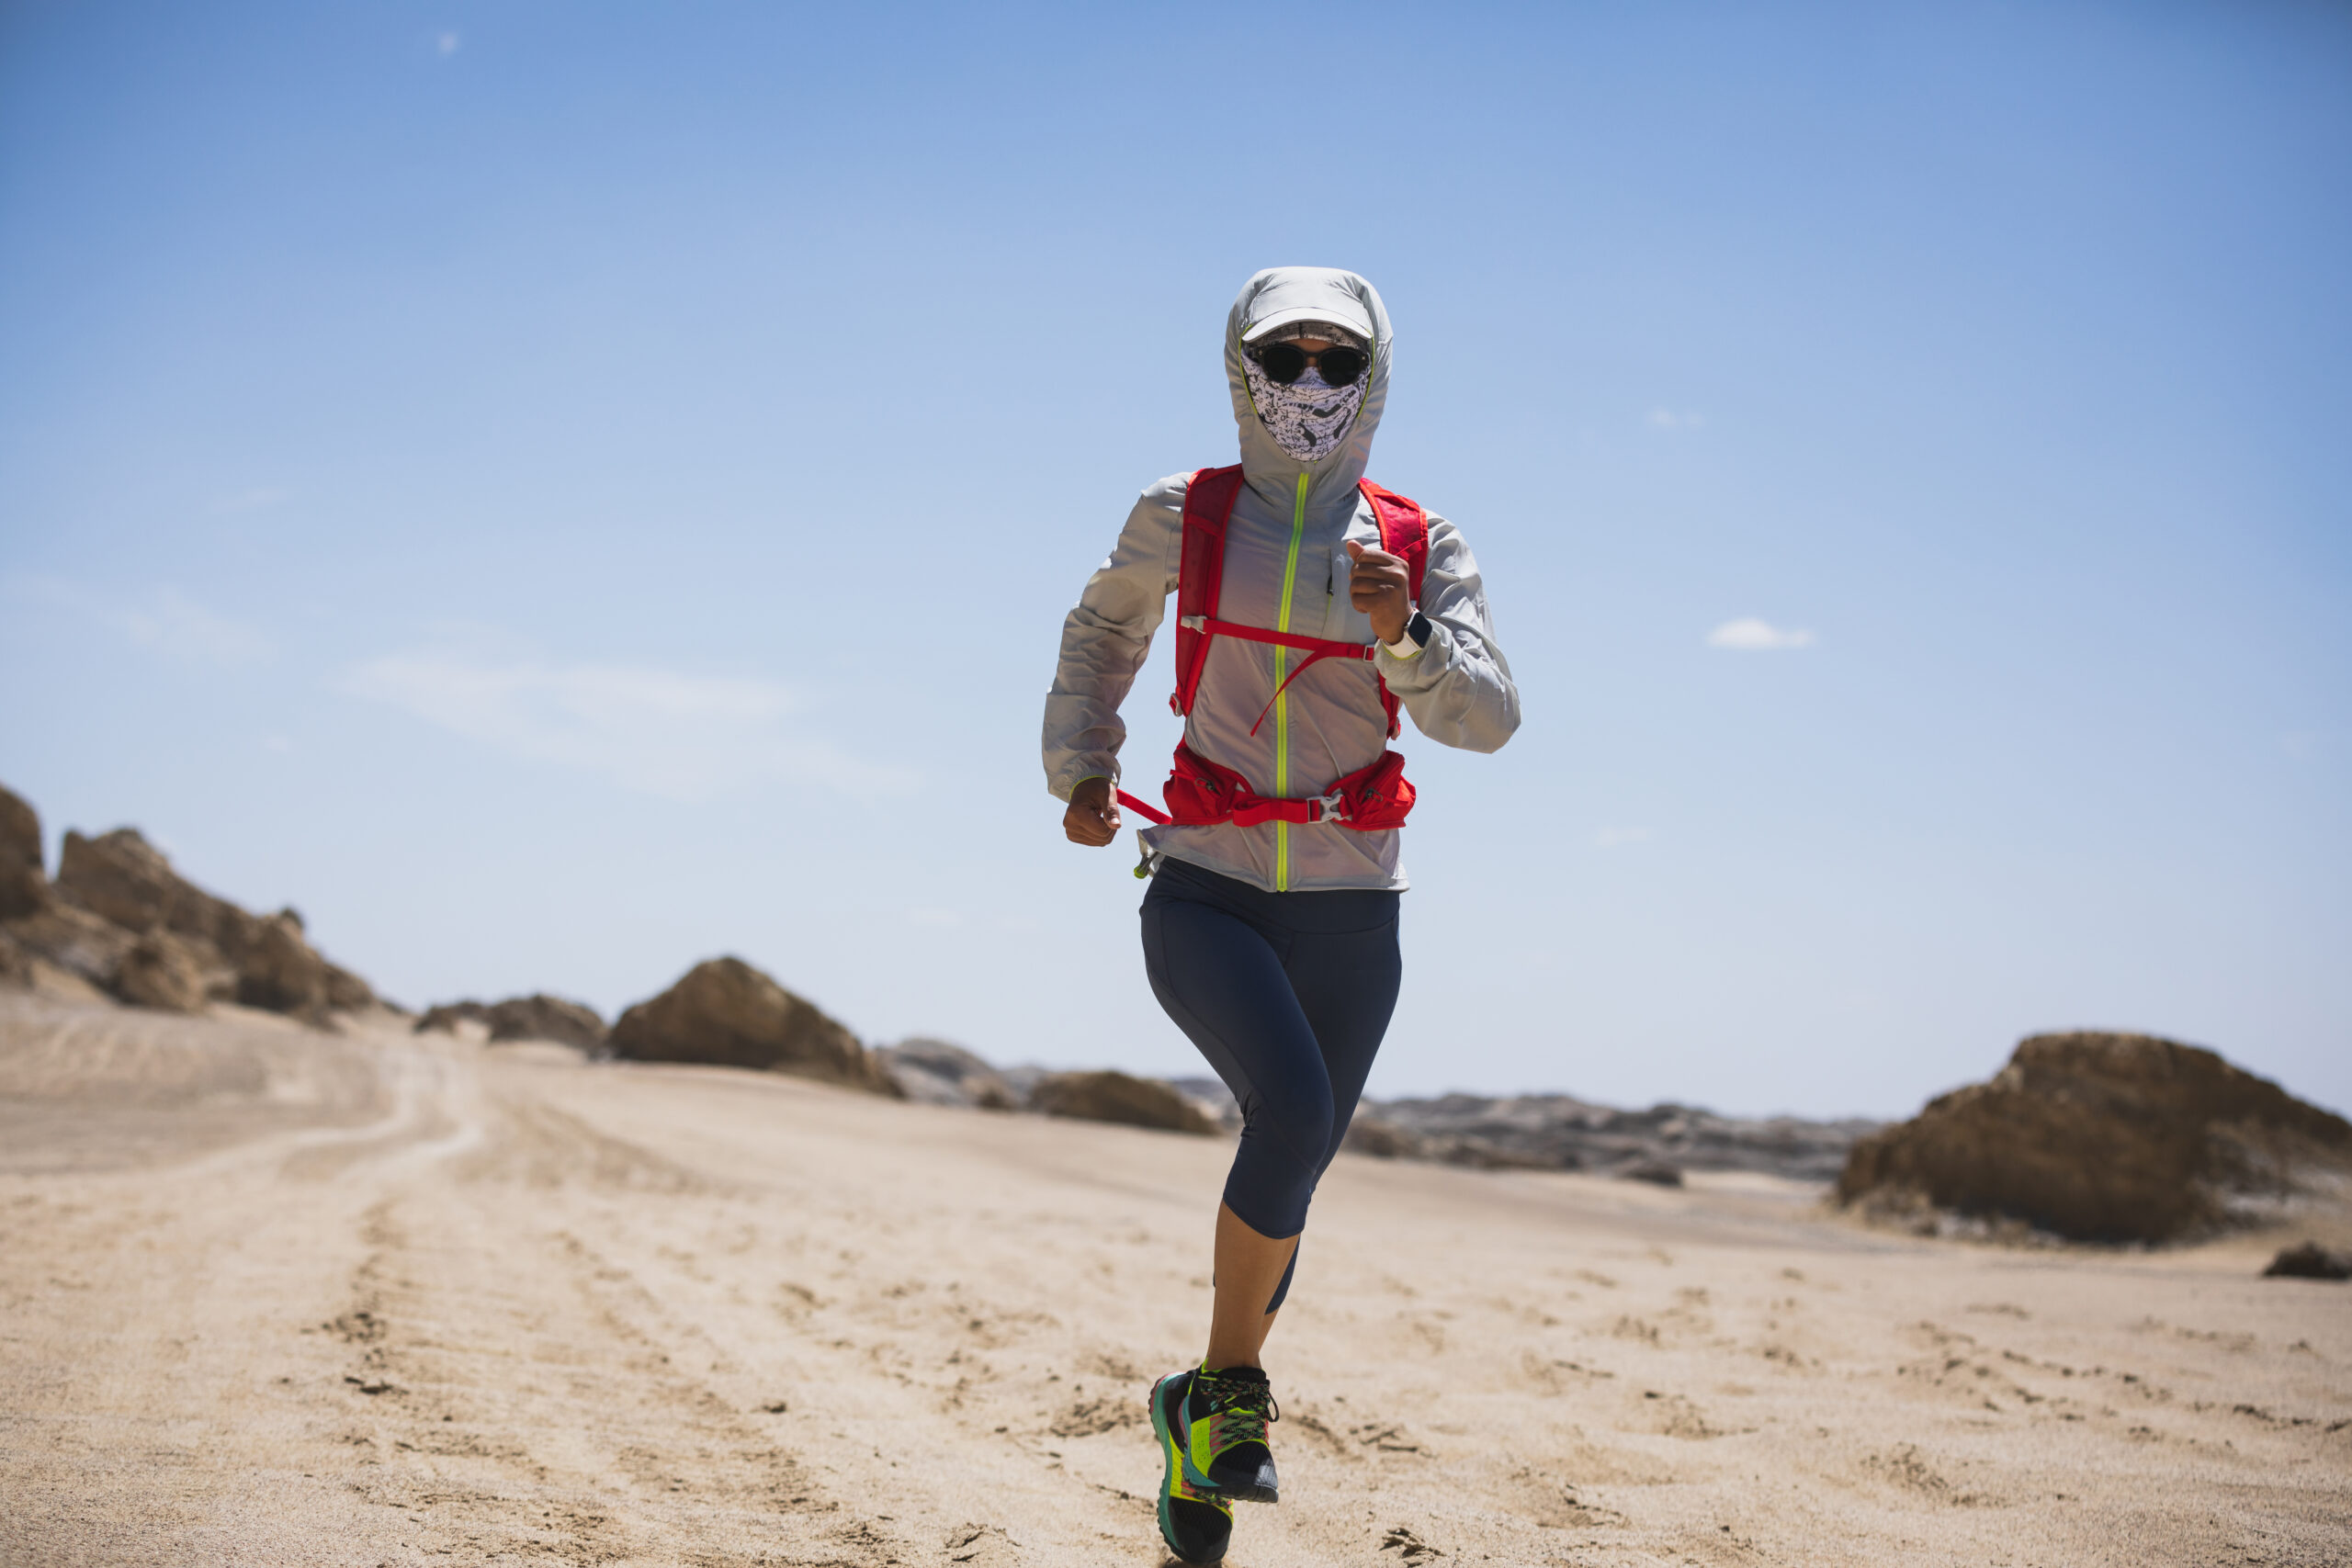
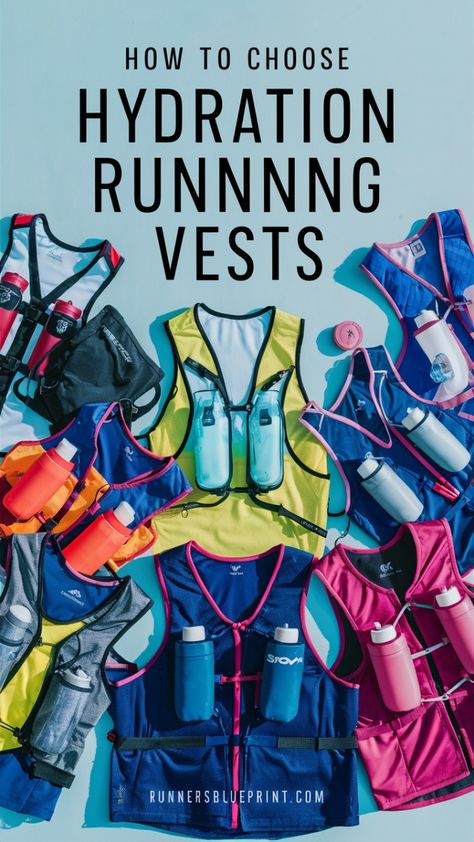
If you’re serious about running, especially if you’re into trail running or logging long miles, you’ve probably noticed more and more runners sporting hydration vests.
Hydration vests have become super popular lately, and it’s easy to see why. Not only do they help you stay hydrated, but they also allow you to carry the essentials without any annoying bouncing or discomfort.
But how do you choose the right running vest with many options?
So today, I’ll break down what to look for in a hydration vest—everything from comfort and fit to capacity and cool features.
What is a Running Vest?
Unlike regular hydration packs for hiking or cycling, running vests are designed specifically for runners.
With a running vest, everything you need—water, snacks, phone—stays right within reach, letting you stay in the zone without breaking your stride.
Instead of fumbling for a bottle in your hand or pocket, the hydration vest lets you sip while on the move, making it easier to maintain your pace and stay hydrated.
Running hydration vests are usually made with lighter-weight materials that help wick sweat and keep your body comfortable and dry. They also tend to be less bulky and smaller to help keep the weight down.
What’s more?
A good running vest features straps specifically designed to help reduce movement and bouncing of the pack while pounding the pavement or trails.
A Personal Experience
The first time I knew I needed one was when I just signed up for my first 30K trail race, and halfway through training.
At the time, I realized a handheld water bottle just wasn’t going to cut it for the long distances.
I went with a lightweight running vest with about two liters of fluid capacity and lots of pockets for my essentials.
That first run with the vest was a game-changer! I could finally focus on my run instead of juggling a bottle.
Plus, I could stash gels, my phone, and an extra jacket with no problem. No bouncing, no chafing—it was like the vest was made for me.
Do You Need a Running Vest?
So, do you actually need a running vest? Well, that depends. For shorter neighborhood runs, you’re probably fine without one.
But a hydration vest can be a game-changer if you’re getting into trail running, running long distances, or just prefer to have your hands free and essentials secure.
What makes running vests a game-changer is their design—they’re made to stay snug and distribute weight evenly, so you don’t end up with aching shoulders or a bouncing pack
And good news: thanks to the surge in popularity, more options are now available than ever—meaning you’re bound to find something that fits your style and budget.
Fluid Capacity vs. Pack Capacity: What’s the Difference?
When I first started looking into hydration vests, the different capacities totally confused me. Here’s a simple breakdown that helped me
Fluid Capacity refers to how much water (or other liquids) the vest can carry. Some vests come with bottles, others with reservoirs (also called bladders), and some with both. The amount of liquid you can carry will range from around 20 ounces to two liters or more.
Pack Capacity refers to how much additional gear the vest can hold. If you’re heading out for a short run, you might not need much room beyond a phone or a gel. But if you’re planning a longer run or hitting the trails, you’ll want enough space for trail essentials like extra clothing, snacks, a headlamp, and other necessities.
These were two of the biggest questions I had when I was shopping around for my first vest
I didn’t know how much I needed. Should I go for something small for shorter runs or something bigger for when I start pushing those ultra distances?
Here’s how I broke it down based on my running time:
I found that a pack with about two liters of fluid capacity was enough for runs lasting up to two hours. Anything longer, especially on trails, and I’d go for something that could hold more water and space for fuel.
Let me explain more.
How Much Fluid and Space Do You Need?
How much water and space you need really comes down to the type of run you’re doing. Longer trails or rugged terrain usually call for more supplies.
Let me explain more:
Runs lasting 1 hour or less: You probably don’t need a vest unless you’re in extreme heat or need to carry a few essentials.
Runs for 1-2 hours: Look for a vest with about 1-2 liters of capacity.
Runs for 2-3 hours: Go for a vest with a capacity between 2-4 liters.
Runs over 3 hours: Aim for a vest with 4-10 liters of capacity.
Ultra-marathons or all-day adventures: You’ll want a pack that can carry at least 8 liters, and possibly more, depending on your specific needs.
The trick is to find that balance—enough water and gear for your needs, but not so much that you feel weighed down.
How Should a Running Vest Fit?
Fit is everything! My first vest hugged all the wrong spots, and it took some testing to find one that felt just right.
Look for a fit that feels secure but doesn’t make you feel restricted. It’s a bit of trial and error, but the right one should almost feel like a part of you on the run.
You don’t want it too tight, but you don’t want it bouncing around as you run. Some vests come in universal sizes, but many offer adjustable straps to customize the fit to your body shape.
For women, looking for a vest with adjustable chest and torso straps is especially important to ensure it fits comfortably above or below your chest. This extra adjustability can make a huge difference in comfort, especially on longer runs.
One thing I learned the hard way is to make sure there’s no space between the straps and your shoulder. If there is, the vest will bounce around and drive you crazy during your run.
Key Features to Look For
Here are the extra features I always look for when I’m picking out a vest:
Pockets: Pockets are a lifesaver. The more accessible, the better—I hate having to stop and dig around mid-run just to grab a gel or check my phone. Look for a vest that offers easy access to your essentials without stopping or digging around.
Pole Holders: If you’re into trail running, having pole holders is a nice bonus. I don’t use poles often, but when I do, it’s a lot better than carrying them awkwardly in my hands.
Reflectivity: Running at dawn or dusk? Reflective details make a big difference for safety, especially on early morning or evening runs.
Bladder vs. Bottles: Some vests have a bladder (a large, flexible water reservoir) that sits against your back, while others use bottles in the front pockets. Personally, I prefer bottles up front—they’re easier to grab and refill. But if you’re someone who likes a large water supply, a bladder might be better.
Top Hydration Vests for Every Distance
Choosing the right hydration vest can make all the difference in your run. Whether you’re gearing up for a short trail run, a mid-distance race, or an ultra-marathon, here are some of the best hydration vests available, designed to suit your distance and hydration needs.
For Short to Medium Distances: Nathan QuickStart 4L Hydration Vest
The Nathan QuickStart 4L vest is a lightweight, minimalist option perfect for shorter runs or races where you only need a small amount of hydration. With a 1.5L bladder and multiple pockets, this vest gives you easy access to essentials without weighing you down.
Reservoir Capacity: 1.5L bladder
Storage: 4L of storage space for small items like gels, keys, and phone
Unique Features: Soft mesh shoulder straps for comfort, front storage pockets for quick access, and reflective details for visibility in low light
Best For: Short to mid-distance runs and races, up to around 10-15 miles
Coach’s Tip: This vest’s compact design and simple storage options make it a great choice for runners who need hydration but don’t want a bulky pack.
For Mid to Long Distances: Salomon ADV Skin 5 Set
The Salomon ADV Skin 5 Set vest is a popular choice among trail and distance runners for its balance of hydration capacity, storage, and comfort. It’s lightweight and designed to mold to your body, providing a secure fit that minimizes bounce even on technical terrain.
Reservoir Capacity: Comes with two 500ml soft flasks, with space for a 1.5L bladder if needed
Storage: 5L of storage for additional gear, snacks, or a light jacket
Unique Features: Stretchy, breathable fabric that conforms to the body, expandable pockets for gear, and pole attachments for trail running
Best For: Mid to long-distance runs, 15-25 miles, where you might need extra gear or hydration
Coach’s Tip: This vest’s front-loading hydration design allows you to balance the weight across your chest, which can reduce shoulder fatigue on longer runs.
For Ultra Distances: Ultimate Direction Ultra Vest 6.0
If you’re tackling ultra-marathons or long trail adventures, the Ultimate Direction Ultra Vest 6.0 is built for you. It offers extensive storage space and hydration capacity, plus features to keep you going through tough, all-day challenges.
Reservoir Capacity: Includes two 500ml soft flasks and room for a 2L bladder
Storage: 10.8L storage capacity for extra clothes, snacks, emergency gear, and more
Unique Features: Moisture-wicking mesh for breathability, multiple pockets for easy organization, large rear compartment for extra storage, and dual trekking pole attachments
Best For: Ultra-distance events or long trail runs of 25+ miles where ample hydration, nutrition, and gear are essential
Coach’s Tip: The Ultimate Direction Ultra Vest is perfect for those long, unsupported runs where you need to carry everything with you. With room for hydration, food, and gear, it’s an ideal choice for endurance athletes.
For Cold Weather Runs: CamelBak Ultra Pro Vest
The CamelBak Ultra Pro Vest is designed for versatility, featuring insulated components that help prevent water from freezing in cooler conditions. This vest is lightweight and fits snugly, ideal for marathon training or colder weather.
Reservoir Capacity: Comes with two 500ml Quick Stow flasks; option to add a 1.5L bladder
Storage: 6L storage for gloves, a hat, or nutrition
Unique Features: Insulated bottle sleeves to prevent freezing, reflective details for safety, and breathable mesh to prevent overheating
Best For: Cold-weather runs, marathons, or training sessions where you want water on hand but need extra layers or gear
Coach’s Tip: Cold weather running? This vest’s insulated features help keep your water from freezing, making it easier to stay hydrated on brisk days.
Conclusion
A running hydration vest can be a great investment, especially if you’re into longer or trail running. The key is finding the right balance between fluid capacity, pack capacity, and fit. Make sure to try a few options, and don’t rush the decision—after all, comfort and functionality are crucial for keeping you hydrated and fueled on the run.
If you’re unsure where to start, check out some of the recommendations above based on your running duration. And remember, while it’s tempting to overpack, try to stick to the essentials. Keep it light, but don’t forget the critical items!
Feel free to drop a comment or question below if you want more advice or recommendations. Stay hydrated, keep training strong, and happy running!
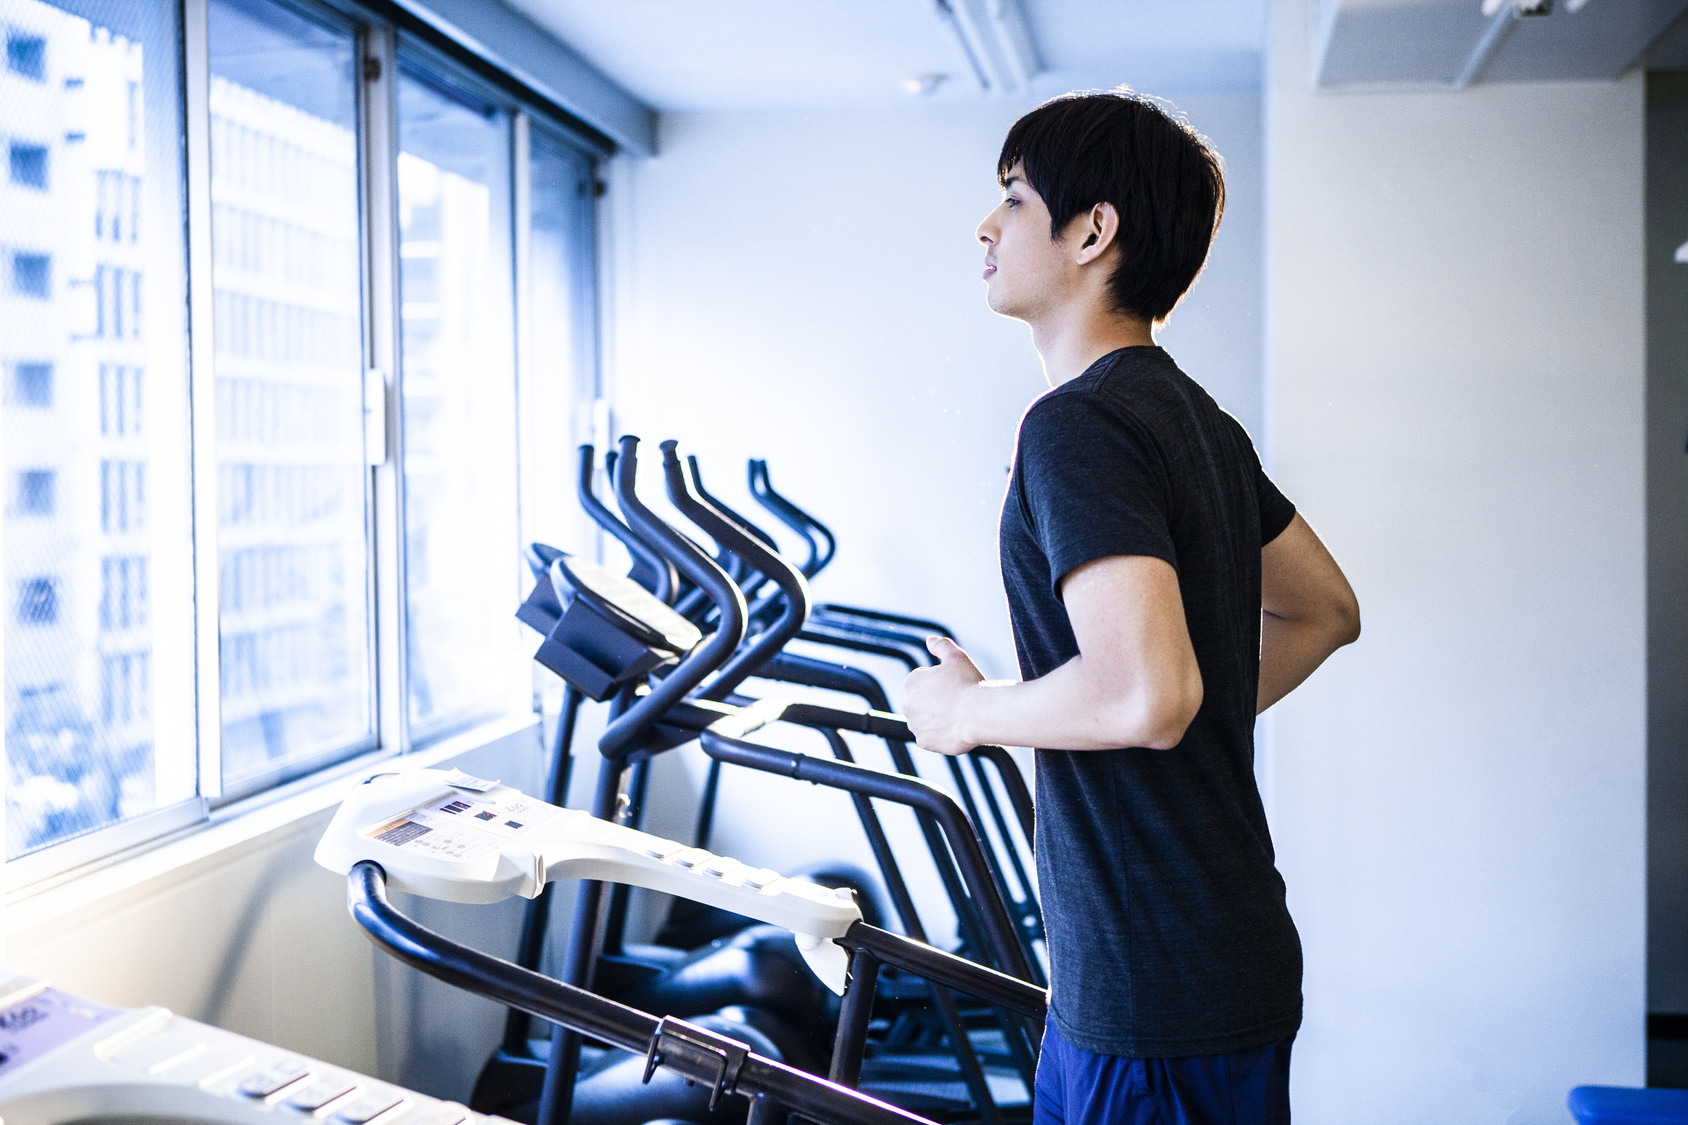
Are you looking to find the best used treadmill for your training and budget? Then you have come to the right place.
Treadmills are one of the best and most versatile and useful exercise machines. These can help you get in shape, lose weight, improve endurance—all of this while exercising in the comfort of your own home.
Nonetheless, some treadmills can seem to cost an absolute future, especially when they’re bought brand new. A good model from a reliable brand may cost around $1500 to over $3,000, which can be a reasonably high cost for most people.
Fortunately, that’s where the option of buying a used treadmill comes into the picture. It’s the ideal alternative to brand new machines for people who are on a budget.
Buying a used treadmill is pretty much the same as buying a second-hand car. If you know what you’re looking for and can tell when it’s junk, you can get a great machine at a bargain—and vice versa.
In today’s article, I’ll explain some of the elements to pay attention to when shopping for a used treadmill so that you can make sure you’re making the right choice.
Sounds great?
Let’s get started.
New VS. Second Hand Treadmills
Buying a used treadmill might be a great investment for your health and your bank account as long as you know what to look for before money exchanges hands.
In most cases, a second hand treadmill will be a fraction of the cost compared to the same machine brand new. For example, you can get a used treadmill, which typically retails at $1500-$2000, for $500-$700. That’s roughly a third of the going price.
However, there are some downsides whenever we buy a used machine of any kind—treadmills are not the exception.
For starters, you risk getting a poor-quality or broken treadmill. The belt will feel unsteady, and the motor may cease working after a few days of use.
What’s more?
When you buy a used treadmill, you not only have no warranty (as most brand warranties don’t extend to secondhand buyers), but you also can’t tell much about the machine’s mileage.
For example, a treadmill that has been used for brisk walking by one (lightweight) user three times a week for a year Vs. a treadmill that has been abused by three users almost every day for three years.
Your Second Hand Treadmill Buying Guideand
There are many measures you can take to reduce your risk by just checking everyone before you make the decision.
Let’s delve a little bit deeper.
Choose A Reputable Name
When it comes to buying second-hand treadmills, choosing name brands will generally save you money over the long run. A used treadmill from a cheap brand will more than likely break down sooner than a trusted brand.
Top brands have great customer support, and the more popular the brand, the most likely you’ll help when needed.
What’s more?
Reputable brands tend to produce quality machines and provide warranties to make sure the machine won’t break down as easily.
Some of the best brands include:
Sole
NordicTrack
Livestrong
Horizon
Precor
Landice
PaceMaster
AFG
Vision
Life Span
Get The Right Horsepower
When buying a treadmill, new or used, there are a few things to pay attention to—the most important one is horsepower.
This is the unit used to measure a treadmill motor, and the higher the number, the more power the machine has.
Not all treadmills are equipped with the same motor, and since the motor is the heart of the treadmill, you’ll want a unit powerful enough to meet your training goals.
All in all, I’d recommend a model with at least 1.5 continuous horsepower and motor and decent suspension system.
For the full treadmill buying guide, check my full post here.
Choose A “Newer” Model
The treadmill’s “age” matters as the older the model, the less likely that it’s equipped with the latest treadmill technology.
You’ll also have less chance to get your machine repaired in the future since you may not find the needed spare parts.
As a rule, the age of a mode must not exceed five years. You can find it on the manufacturer’s website or Amazon.
That being said, use common sense. If a 6-year old machine for a great still looks barely used, then it’s worth checking it out.
You need to also find out how much it has been used (or abused). For example, second-hand treadmills sold by a health club or gym are likely to have been used heavily.
So how do you actually do it?
Simple. Ask the seller some specific questions and try to get the right answers.
And please don’t be shy. Even if you’re getting the machine at a steep discount, you’re still shelling out a lot of money.
To make it easier for you, I’ve compiled a list of 13 questions to ask the assert when you decide to buy.
Are you the sole owner of the treadmill? (preferably yes)
How many people have owned the treadmill? (one owner is the perfect answer)
How often did you use it? (rarely is a good answer)
How old is the machine? (the newer, the better)
How often did you perform maintenance on the treadmill? (check next tip)
Do you still have the original manual? (If yes, then it’s perfect)
How many people used it? (the fewer the people, the better)
Was the machine bought new or used? (don’t buy from a second-hand user)
Where was the machine kept? (an in-home gym or bedroom rather than a dusty, flood-prone basement)
Why are you selling it? (Not using it often is the best answer)
What are the delivery options? (or are there any other hidden fees?)
Is there a warranty? (Less likely but worth checking out)
Check The Warranty
Although not all brands warranties extend to second-hand buyers, I’d still recommend that you check.
You have three options:
If you’re buying a used treadmill from a store, such as Play it Again Sports, check if there’s a warranty through the store. Some of these stores may provide some level of warranty that includes coming to your home for maintenance and stuff like that.
If you’re getting the treadmill from a private seller, check if the warranty is transferable.
If you’re getting a high-end model, try contacting the company to ask about the treadmill and if they offer any service or support to second-hand users.
No coverage? It’s not the end of the world. Just be ready for the extra repair and maintenance costs when buying a second-hand treadmill for home use.
What’s more?
Keep in mind that if you are purchasing a machine older than two years, then you’ll not be getting any warranty.
Check the service record of the used treadmill, whether you’re getting it from a used sporting good store or from a private seller.
Some owners will keep a record of when and how their treadmills are serviced during use. These records can help you figure out if the machine was well cared for and if it has any “chronic” issues that might give you trouble in the future.
Sure, it’s a good thing if the seller has taken good care of the machine, but if it had undergone a series of repairs for the past six months, then the machine might be nearing the “beyond repair” phase. It’s not worth it. A broken car will keep on breaking.
The best way to check the quality of a machine is to run a test. If the seller refuses, look somewhere else.
Here’s how to do it.
Begin by examining the machine closely and checking for signs of wear and tear to the frame, belt, console, etc.
Turn on the machine, gradually increase speed until you reach maximum speed. Then, lower the speed while increasing elevation from 0 to max, one degree at a time, and back down.
What to look for?
Listen to the motor for any whining, clicking, knocking, or grinding sound. The motor should also be speeding up uniformly and smoothly.
Any surging or skipping sounds may indicate an issue or problem with the motor or Lower Power Board. This means lots of costly repairs, and you don’t want that.
What’s more?
The machine should incline and lower slickly without grinding or jerking. When elevation isn’t adjusting properly, it could mean that a sensor is out of calibration. Jerking and grinding are signs of serious mechanical failure.
Next, hop on the treadmill and run for 10 to 20 minutes. Pay attention to the machine and keep your ear open for any shakes or sounds that make you feel uncomfortable.
Besides the motor, the next most important factor to consider is the belt.
Equipping a treadmill with a new belt is not cheap, and this one of the important factors to consider when shopping for a used model.
The belt’s condition depends on how often the machine was used and the weight and running habits of the user.
If you notice any red flags, avoid getting that machines as getting a new belt is another costly affair.
In fact, you might better off buying a decent brand new model for your investment.
We want to avoid any extra costs at all costs, right?
With the treadmill off, examine the belt closely and look for any signs of fraying, especially around the edges on both sides. Also, check for any signs of wear and tear due to excessive usage.
What’s more?
Check if the running belt is centered correctly and not pulling to one side. If it’s skipping or sliding, don’t buy.
Skips while running at high speed can be risky as they might cause to trip or slip.
Here’s a guide in case you need to replace the belt.
Check The Display
Last but not least, remember to test the display.
Since you’re planning to use the treadmill regularly (hopefully), you have to be able to smoothly use the display and the various settings. These displays are key as they provide information about a wide range of aspects.
You can keep track of your sessions and get details about your progress. This feedback includes feedback about your running distance, heart rate, calories burned, time, number of strides, elevation gain, and so much more. Some treadmills also come with a carb counter.
All the functions should be working fine and up-to-date. The display has to be easy to read, showing time, speed, incline, and any other stat. This area should also be free any of signs of wear or damage.
Additionally, you should be able to easily manually adjust the speed and incline.
You can also check if the model has pre-programmed workouts—which is always a good feature.
Where to Find The Best Used treadmills
There are many places to shop around for used treadmills as they’re available from a range variety of local and online sources.
All in all, second-hand stores may be the best place to find some great deals on second-hand treadmills, so check that first.
At least, you can check the quality of the treadmill on the spot.
You can also sift through your local paper or gym closing notifications.
Gyms and health clubs, when going out of business or looking to upgrade, may sell off their used treadmills.
Sure, these may have had many users, but provided they’re in decent shape, they’re still worth it, especially used Bowflex, Proform, and NordicTrack models.
What’s more?
You can find used treadmills listed on websites such as eBay or Craigslist. But I’d recommend avoiding buying online, especially when it’s impossible to inspect the machine in person.
The Price Of a Second Hand Treadmill
If the second-hand treadmill checks most of the boxes, it’s time to move to the next phase, which is pricing.
Here’s how.
First, figure out the retail price for reference before making it in the seller’s venue. You can do this either at the manufacturer’s website or Amazon.
You can also check the same model at a used sporting goods store, such as Play It Again Sports, to get a rough estimate on how much you should pay.
If the used treadmill is made by a reputable brand, expect the seller to ask for a higher price. Conversely, the asking price will be much lower for a not-so-famous brand with sketchy records and customer reviews.
From there, you can negotiate with the seller and get the treadmill for a fair price.
Remember: there’s no such a thing as a free lunch.
So, if you’re getting a used treadmill at a steep discount at a store, check for any hidden fees. Typically stores will you the machine at a steeply discounted price, but they will “fail” to mention the costly delivery and set-up fees.
Buying a used Treadmill – The Conclusion
There you have it. If you’re in the market for a used treadmill—or any other training equipment—today’s article should have provided you with enough guidelines to set you on the right path. The rest is really up to you.
Please feel free to leave your comments and questions in the section below.
Just like anything else in life, there’s no such thing as the PERFECT answer.
But the short answer is: it really depends on your training goals and personal preferences.
For example, if your main goal to increase muscular strength and size, then lift weights first.
But if you’re looking to improve your aerobic endurance, then you prioritize running—and cardio training in general.
Why it’s the case? That’s where today’s post comes in handy.
Running VS. Strength Training – Which one Should You Do First?
In this article, I’ll delve into when you should run before strength training as well as the other way around.
When To Run Before Lifting Weights?
If your primary goal is to improve your endurance for an event such as a marathon, you’ll better off spending your energy on the miles.
To make the most out of your training, your body should be well-rested and recovered before hard runs, whether it’s long runs or interval sessions.
Lifting weights may compromise your muscle’s ability to contract optimally, which is key for any type of athletic movement—running is no exception.
That’s why running while still recovering from strength training-induced stress may prevent you from making the most out of your miles.
This can not only limit your performance but can also increase the risk of strain and overuse injuries in your muscles and joints.
Still, have to run after a strength workout? Then, at the very least, keep your runs short and the intensity within 70 to 80 of your max.
Running As Warm-up
Even if you don’t have any specific running goals, jogging for 10 to 15 minutes before lifting weights can also serve as a warm-up. This helps ensure that your body ready for the intensity of the strength exercises.
Don’t take my word for it. Research out of the Journal of Strength and Conditioning Research reported that subjects who performed a low-intensity warm-up for 15 minutes were able to lift more weight in a one-rep max than those who only warmed up for 5 minutes.
If you’re looking to build muscle and increase your strength, then you should definitely lift weights before logging your miles.
Your body needs time to recover. While logging the miles increases endurance, it can get in the way of muscle building. Your focus and coordination will also be compromised, and you don’t want that.
Again, don’t take my word for it.
Research out of the Journal of Strength and Conditioning Research looked into an athlete who runs on the treadmill before lifting weights.
The researchers found that the subject reported a decrease in muscle power and eked out fewer reps compared to when they hit the strength room before running on the treadmill.
In general, running burns roughly 100 calories per mile. Not only that, the more intense you run, the higher your metabolic rate, which is the minimum number of calories your body requires to perform everyday functions. This means you’ll be burning even more calories while at rest.
When you lift weights, you boost or maintain lean body mass, which will shed more calories in the long term. The more muscles you build, the higher your resting metabolic rate
Additionally, the more intense your strength training—as well as the less you take for recovery in between exercises—the more EPOC you produce.
But which one should come first?
If you’re looking to lose weight or reduce body fat, it’s not really important which you perform first, but all in all, I’d recommend that you start with strength training just to avoid injury.
Strength training first may also drain your carb stores, forcing your body to gets its fuel main from fat rather than glycogen during your run.
Just keep in mind that you might “bonk” in the middle of the run, especially if it’s along with a distance session or hard interval workout.
What’s more?
Keep in mind that weight loss is a number’s game—calories in vs. calorie south. In other words, to slim down, you’ll have to create a negative energy balance.
If you aren’t looking to build endurance, bulk up, or lose weight, then you can basically run or lift weight in whichever order that works the best for you, according to your lifestyle and schedule.
All that being said, I’d still urge you to set specific training goals.
That’s how you improve your athletic performance and overall health. The rest is just details, as the saying goes.
In general, you should never run and lifts weights back-to-back. You’ll get the most out of your training in terms of endurance and strength when you give your body enough time to recover from each workout. The rest is just details.
Please feel free to leave your comments and questions in the section below.
After elementary education in schools, college is the vital turning point in the life of a student. At this stage, people choose their subject, which leads them to their professional careers. We can see many colleges and schools in our communities, but it is damn hard to choose the right one.
It is just as difficult to choose the best paper writing service that can help you rewrite essay online or write one instead of you. Having reliable essay writers available at any moment is vital to one’s success in college. This way, students can ensure they don’t lag on their assignments and keep receiving good grades even if they dedicate all their free time to something else.
Many popular colleges are offering running programs. But before selecting the college, you need to decide the program in which you want to enroll. It will help you to lead towards the right choice.
When you search for the best college, keep in mind the performance rate of colleges in national competitions, their course work, and the ranking of running programs. Some colleges also provide facilities to write papers for college students. Another important thing is the care, quality, and experience of coaches working in the colleges.
7 Best Colleges with the Best Running Programs
In the following list, we have described seven colleges that are offering the best running programs.
1- University of Washington
The famous university is located in Seattle, Washington, with the perfect climate for running programs. There are so many tracks near the campus for running that if a student tries different running paths daily, the track will not repeat in a week. A Burke-Gilman Trail with total distance lies a marathon track, and it is directly accessed from the main campus.
Anyone can approach the running club if they submit their liability forms. They also offer an online schedule that anyone can join through proper procedure. Well-trained and experienced coaches guide the runners.
2- Harvard University
This beautiful campus is located in Cambridge. It is a well-known institution with an excellent academic reputation. Different tracks are created around the river that gives an amazing opportunity to runners by offering different distances. Fresh Pond and Danehy Park are also famous for running tracks.
Most undergraduate students are found in the running club of the university. But the grad students can also join the club. The club offers six practice plans every week that you can choose according to your schedule.
3- University of Cincinnati
University is located in a dream city, Cincinnati, Ohio. It is the dream place for runners. The river of Ohio provides the best route with a new view that has an amazing impact on runners.
The Botanical Gardens and Eden Park are the best options for running. But these two points are not as worthy as the river route. The university has one of the best running clubs among all universities. The club is open for everyone. The UC running club organizes five events of NIRCA.
4- Georgetown University
There are plenty of running tracks around the city and university, due to which the city took top place in the fittest city of 2016 of the United States. It is the best school in America for running that has a 200-meter long three-lane track. There are a lot of connections through walking tracks that connect one place to another. There is a track of 2.5 miles that you need to cover from the university campus to the building of the white house.
If you love running, you can join the club. There is a very simple procedure to get entry into the club by completing the club traveling form. The entry form is available on the university website.
5- Columbia University
The university is located in great New York City. It is the best runner-friendly place in America. Amazing tracks with beautiful scenery amused the runners. The area of the university connects the students with Riverside Park, Morningside Park, and Central Park. The university’s running club has road runners that regularly join group running with graduates and undergraduate runners.
6- UCLA
It is located in Los Angeles and has three gardens that provide beautiful flowery routes to runners. The university magazine has published two courses for running on the campus. These are night routes that have 3.5 miles long-distance and a perimeter route of 3.9 miles distance. The university has a well-established running club.
7- North Carolina State
University is based in Raleigh, North Carolina, specializing in sweet tea, hot dogs, and a brewing scene that mesmerizes the viewers. The city itself has 70 + miles long greenway tracks. The XC club of North Carolina and track club are appropriately established and allow all runners to join the club membership. Five practices in a week are planned at evening time manageable for the students and other runners.
Conclusion
We have explained some best colleges that may help you to find the right one. We also suggest you visit colleges by yourself. Meet with the management team of the college and coaches. Ask the students already studying there who are graduates who get their degree from college. These tricks will help you to make the right decision. You must also be aware that one program that suits your fellow or friend can be challenging for you and may cause injury. It is not necessary that if something is better for another person, also better for you. You should take time, focus on your needs, take suggestions from your elders, and decide.
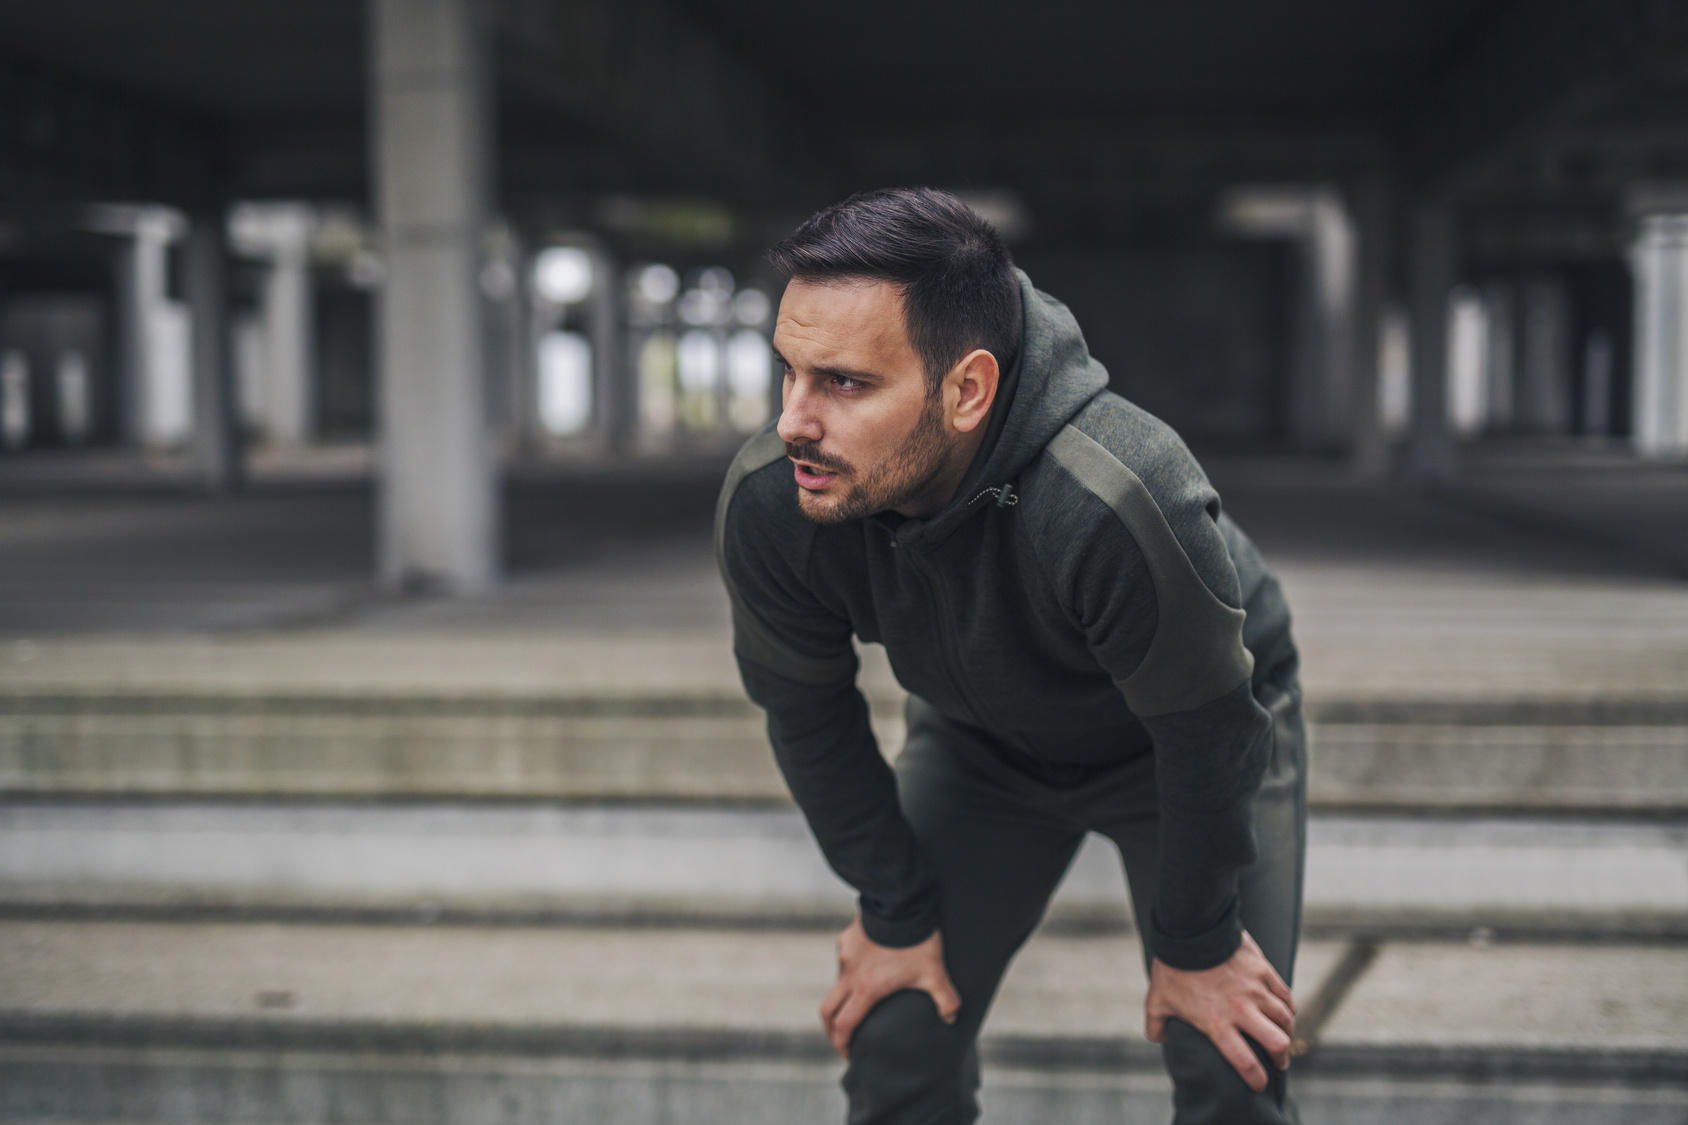
If you’ve ever wondered why running makes you sleepy afterward, you’re not alone!
Feeling tired after a run can be frustrating, especially when you want to keep your energy up for the rest of the day.
But don’t worry—this happens for some common reasons, and understanding them can help you fix the issue.
As a running coach, I’ve seen many runners deal with post-run fatigue, and most of the time, the solution is simpler than you think.
In today’s article, we’ll explore the top reasons why you might feel sleepy after running and what you can do to stop it.
Eat Well
Poor nutrition is one of the most common reasons runners feel sleepy after running. Your body needs fuel to power through a run and recover afterward. If you’re not eating the right foods or running on an empty stomach, it’s no wonder you feel drained.
What to do:
Before running, ensure you’re fueling your body with carbs to give you sustained energy. For example, I like eating a banana or toast with peanut butter about 60 minutes before I hit the road. It’s light enough to not upset my stomach but packed with enough energy.
Some other great pre-run snack options include:
A granola bar
A slice of toast with jam
Oatmeal with fruit
Planning to run for more than 90 minutes? Have gels, sports drinks, and other fuel to keep your energy levels up.
As a guideline, take about 100 calories after 60 minutes of running, then and then 100 every 30 to 45 minutes.
Then, following your workout, replenish your stores as quickly as possible.
Your muscles are most receptive to nutrients the first 30 minutes after exercise. By eating soon, you may reduce your risks of muscle soreness and fatigue.
Here are some great post-run meal ideas:
Egg omelet with avocado spread on toast.
Salmon with sweet potato.
peanut or almond butter on whole-wheat bread
Oatmeal with fruit
Cottage cheese and fruit
Oats with milk and dried fruit
Veggie omelet with a slice of whole-grain bread
Pretzels with nuts and fruit
Yogurt with granola
A hard-boiled egg with fruit
Brown rice with chicken or salmon and veggies
Tuna salad sandwich on whole-grain bread.
Tuna and crackers.
Drink Your Water
Dehydration is another major reason for feeling sleepy after running. Even a little dehydration can leave you feeling sluggish and tired. When you run, you lose water through sweat, and not replenishing that water can lead to fatigue.
Don’t take my word for it.
During an experiment reported by the Journal of Nutrition, researchers assessed the mental skills of 25 subjects who had enough water to stay sufficiently hydrated or were put into a lightly dehydrated state.
The mildly dehydrated group reported symptoms such as headache, loss of focus, low mood, and a sense of fatigue both at rest and during exercise.
What to do:
Ensure you’re drinking plenty of water throughout the day, especially before, during, and after your run. I always tell my runners to aim for at least 64 ounces of water daily, and more if it’s hot or you’re doing a longer run.
You should also check the color of your urine. If it’s pale yellow or clear, you’re hydrated. If it’s darker, it’s time to drink more water!
What’s more?
Don’t forget about electrolytes, either. On longer runs or hot days, it’s a good idea to drink an electrolyte replacement drink to replenish lost minerals like sodium and potassium. This can help keep your energy levels steady and prevent that post-run slump.
Sleep Enough
There was a time when I thought I could function perfectly fine on five or six hours of sleep, even while training for a marathon.
I was wrong.
The less sleep I got, the more I felt like a zombie after every run. One week, after back-to-back hard workouts and very little sleep, I couldn’t shake the feeling of exhaustion.
I realized that my body wasn’t just tired but begging for rest.
Shoot for at least seven to eight high-quality hours of sleep a night. That’s the recommended amount for most adults, but feel free to sleep more on your hard training days.
Again, listen to your body and follow your judgment. Your body is your coach—as long as you’re willing to listen and follow its commands, you’ll be on the right way.
Avoid Overtraining
Overtraining is another common culprit of post-run fatigue. You’ll quickly hit a wall if you’re running too much, too fast, or too often without giving your body enough time to recover.
I learned the hard way that pushing too hard, too often, doesn’t make you stronger—it breaks you down. While training for my first half marathon, I thought I had to run fast every time I laced up.
But after a few weeks, I felt exhausted, achy, and unmotivated. That’s when I realized I was overtraining.
What to do:
Ensure you’re building enough recovery into your training plan. This means taking at least one or two rest days per week and alternating between hard and easy running days.
For example, after a long run or an intense speed workout, give your body a chance to recover with an easy, low-mileage run or a day of cross-training. I like to switch it up with cycling or swimming on my recovery days.
You should also keep track of overtraining symptoms. Some of the early signs include:
Insomnia or difficulty falling asleep
Mediocre athletic performance
Persistent aches and pains
Loss of appetite
Elevated heart rate
Lack of exercise motivation
Sickness or compromised immune system
Persistent soreness.
If you find yourself dealing with more than a few of these, give your body the recovery that it desperately needs.
Check Your Medication
Certain medications can cause drowsiness and fatigue, which might be why you feel sleepy after running.
Some of these include:
Antidepressants, such as Zoloft and Prozac, can cause excessive fatigue, making it hard to summon up the motivation to run.
Antihistamines – Brompheniramine, diphenhydramine, and hydroxyzine, among others, are all used to treat allergies.
Anxiety medications – such as Klonopin, Xanax, Ativan, and Valium have the side effect of making you feel weak or tired for a few hours to several days.
Blood pressure. Beta-blockers, like Tenormin, Toprol XL, and Lopressor, work by slowing your heart, making you feel tired during the workout and afterward.
What to do:
If you suspect your medication is making you tired, talk to your doctor about adjusting your dose or finding an alternative that won’t leave you feeling so tired.
Never stop or change medication without consulting your healthcare provider first. Your doctor may be able to recommend a different medication or timing that works better with your running routine.
You have got a Medical Condition.
If you’re consistently tired after running, even after adjusting your nutrition, hydration, sleep, and recovery habits, it might be time to consult a doctor.
Blood sugar issues, such as prediabetes and diabetes, can also contribute to fatigue and sleepiness, especially if your blood sugar drops after training.
Different infectious diseases, such as Lyme disease, herpes virus, or Epstein-Barr virus, can induce fatigue as your body fights the infection.
What to do:
If you’re concerned about ongoing fatigue, schedule a check-up with your doctor to rule out any underlying health problems. Sometimes, a simple blood test can provide the answers you need.
In general, consult your doctor for fatigue if it has lasted for many weeks and these other symptoms accompany it:
Blurry vision
A mix of constipation, feeling cold all the time, weight gain, and dry skin
Depression, anxiety, or feelings of severe stress
Insomnia, or frequent episodes of interrupted sleep
Frequent and severe headaches
Recent and unwanted weight gain
Unexplained weight loss or gain
Inability to urinate
Suicidal thoughts
Abnormal bleeding, including vomiting blood or bleeding from your rectum
When To Nap After a Run
So, should you take a nap after a workout?
The answer depends on you and your body. If a quick nap will help get you back on track, why not.
But if you’d rather keep moving, then go for it.
I’ll admit there are still days when I feel sleepy after a run, even when I’ve done everything right. On those days, I’ve learned to listen to my body and take a quick nap. A 20-minute power nap can work wonders and leave me feeling refreshed instead of groggy. The key is not to nap too long, or I’ll wake up feeling even more tired.
Decided to nap? Then make the most out of it by doing the following:
Post-Run ritual. Drink plenty of water and stretch your muscles first, then shower—all before you nap. Without a proper post-run ritual, your muscles may start to cramp while you nap.
Nap At The Right Time. Avoid napping later in the day. Time it at around 1:00 p.m. and 3:00 p.m.—which works great if you usually run in the morning or around noon.
Cap The nap. Limit your naps to 20-30 minutes. Doze off for longer, and you might fall into a deep sleep, then wake up with sleep inertia. The longer the nap, the more you risk feeling groggy afterward.
Set The Alarm. Now you have the perfect nap time; it’s time to make the most of it. Start by setting the alarm to help nail those 20 minutes.
The Right Environment. For the perfect 20-minute nap, you want a quiet, dark place with a comfortable room temperature to lie down. Feel free to use earplugs, eye masks, or white noise to help tune out distractions.
Share Your Experience: Do You Feel Extra Tired After Running?
Feeling sleepy or worn out after a run is more common than you might think, and everyone’s experience with post-run fatigue is unique. Whether it’s a gentle fatigue that helps you relax or an overwhelming tiredness that disrupts your day, I’d love to hear
How do you feel after a run? Have you found any tips or recovery techniques that help you feel more energized? Maybe you’ve discovered a favorite post-run snack or routine that helps you bounce back faster.
Share your experiences, challenges, and recovery tips in the comments below—your insights could make a difference for fellow runners!
Running is a very beneficial physical activity that can improve both your physical and mental health. There is much evidence about its positive effect on sleep quality and body shape. Healthcare experts say that running can be very good for your knees and back as well as blood pressure. Moreover, it improves your immunity and cognitive function as well as reduces the risk of many types of cancer. Psychologists also state that runners have better mental health and a low risk of depression. And these are only some of the advantages of running.
But even realizing the positive influence of running on life is not always enough to start doing this activity regularly. So what are some other ways to motivate yourself for running if you are a busy student? Let’s consider them below!
Find motivation
Delegate your homework
Naturally, it’s extremely difficult to find time for sports if you have a lot of assignments. Successful college students typically prioritize learning and often neglect other areas of their life. If you are also afraid of getting low grades but want to be active, then you should seek outside help. To delegate some of your tasks, you can turn to an essay writing service with writers that complete academic work according to your requirements. If you get rid of the obligation to write some boring papers, you’ll probably have more energy and desire to do fun physical activities, like running.
Track your training
Tracking runs is also one of the most effective and easiest ways to stay motivated. Anytime your inner voice tells you to stop, you can remind yourself how much work you’ve already done. Looking at your previous achievements will inspire you to move on towards greater goals. If you always keep in mind your accomplishments, realizing what you are really capable of, you are less likely to give up when facing new challenges. To track your runs, download an app, like Strava, that measures your speed and distance.
Set a challenge
For some people, external challenges are powerful motivators, while for others they don’t work at all. Maybe, you are one of those individuals that are driven by internal goals only. No matter what type of challenge you consider meaningful, find something that truly motivates you. This could be running faster, pushing your longest distance or even increasing the number of your runs per month. The point is to have a particular objective you’re aiming for. But note that your goal must be measurable and reasonable.
There are many risk factors that you face while running. They occur due to different reasons. For instance, if you run beyond your current possibilities, you may have shin pain. Also, the incorrect technique can result in injury, and the wrong type of shoes can be a reason for blisters.
To stay healthy, it’s important to avoid risk factors and stick to the recommendations of healthcare experts. Check them below!
Always warm up your body before running
Before you start your run, you should thoroughly stretch your leg muscles. It’s important to make it carefully and slowly so as not to harm yourself.
Cool down after physical activity
Stretches can serve for both warmings up and cooling down. So you should incorporate them into your post running routine as well.
Drink enough water
Consuming enough water before, during and after your run will help your body stay hydrated.
Don’t push yourself too hard
Take into account your current level of skills and don’t make too much effort. Instead, increase your distance and speed gradually.
Find your pace
Start running slowly so you feel comfortable. You shouldn’t be breathless.
Relax your body
Muscles always get tight and sore after running. To relax them, consider having a professional massage or a sauna.
Avoid roads
It’s not healthy to run near roads since inhaling vehicle exhaust fumes can result in serious respiratory issues.
Run on the right surface
In order not to harm your knees and joints, run on smooth even surfaces. Also, try to avoid sand and concrete.
It’s not recommended to wear regular sneakers when running because they don’t support your feet and increase the risk of injury.
Wrapping up
Running is a great way to improve both your physical and psychological well-being. Even if you are a busy student, you should do your best to motivate yourself for regular physical activity. But note, that it must be done in the safest way possible.
Alina Boskar is an academic writer, study coach, and running enthusiast. She leads an active lifestyle and uses her potential to the fullest, both at work and in sports. Alina does her best to fill every free minute of her day with physical exercise as it gives her more energy and satisfaction.