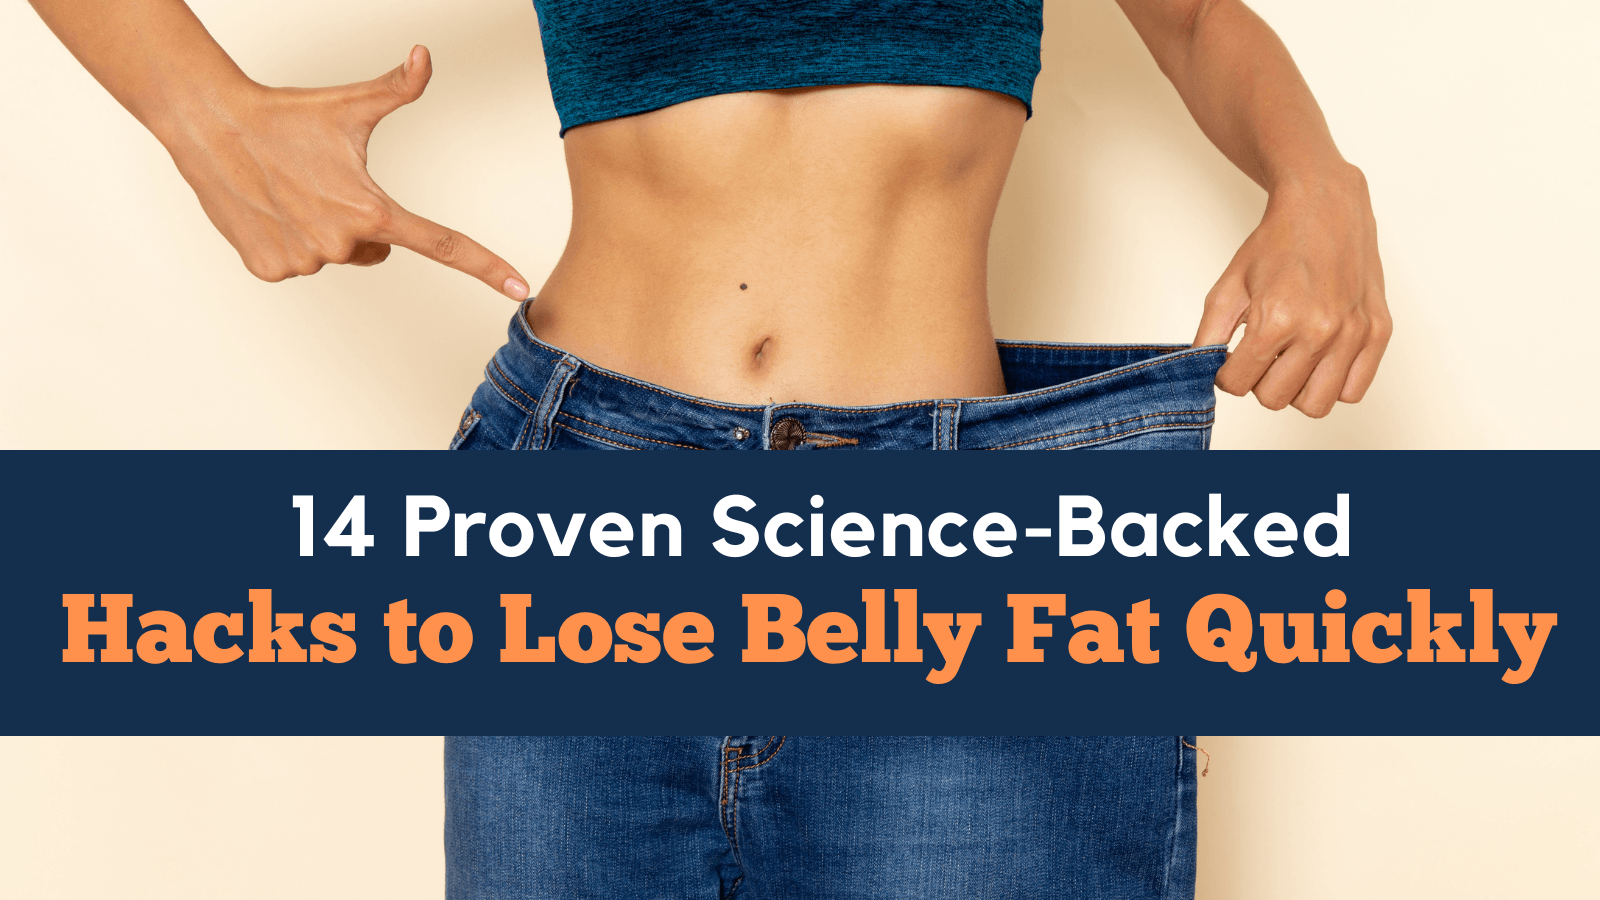
Are you dreaming of shedding those extra pounds before summer hits, or perhaps just aiming for a healthier you?
Let’s talk about the age-old struggle we all know too well: losing body fat. You know, that mission that gets us hitting the gym, pounding the pavement, or lifting weights like there’s no tomorrow.
Now, let’s be honest: tackling body fat can feel like trying to solve a complex puzzle.
But fear not! It doesn’t have to be rocket science. Think of it as a numbers game: burning more calories than you take in.
In this article, we’re about to dive into some exciting, science-backed strategies to help you bid farewell to body fat in a way that’s not only effective but also sustainable.
1. Try Intermittent Fasting
Consider giving intermittent fasting a try, as it’s a diet approach that has shown promise in reducing body fat. This eating pattern involves cycling between regular short-term fasts and specific eating windows, offering a unique way to manage your weight.
Numerous studies have highlighted the effectiveness of intermittent fasting for weight loss and fat reduction. For instance, one study conducted over 24 weeks found that intermittent fasting led to significant weight loss in overweight women.
Another intriguing method within intermittent fasting is alternate-day fasting, where you alternate between fasting and regular eating days. Research on this approach showed a reduction in body weight by about 7 percent and a loss of 12 pounds of body fat over three months.
The good news is that you have various methods to choose from when practicing intermittent fasting:
- The 16/8 method: This is beginner-friendly and involves fasting for 16 hours while eating during an 8-hour window.
- Alternate-Day fasting: You simply abstain from food every other day and maintain regular eating habits on non-fasting days
- The 5:2 Diet: This approach restricts food intake to two out of every seven days, aiming for 500 to 600 calories on fasting days.
Remember that intermittent fasting may not be suitable for everyone, so it’s essential to consult with a healthcare professional before starting any new diet plan.
Action Step
To get started with intermittent fasting, here’s your action step:
Begin with the 16/8 method: Fast for 16 hours and eat during an 8-hour window. This is a beginner-friendly approach.
As you adapt to this lifestyle, consider experimenting with other intermittent fasting methods to find the one that suits you best.
Keep a journal to track your progress and assess which fasting method is the most effective for you in terms of fat loss and overall well-being.
Remember to consult with a healthcare professional before making any significant changes to your diet or fasting routine, especially if you have underlying health conditions or concerns.
2. Avoid Refined Carbs
Let’s talk about refined carbs – those sneaky, heavily processed foods like bread, pasta, and rice. They’re everywhere, and they wreak havoc on your fat loss journey.
Here’s the deal: Refined carbs are like sugar factories in your body. They digest lightning-fast and quickly turn into glucose, causing blood sugar spikes. And guess what? That can make you ravenous and lead to overeating at your next meal.
But that’s not the worst part. Excessive glucose triggers the release of insulin, your fat-storing hormone. It’s like a one-way ticket to Weight Gain City, especially around your belly.
Research doesn’t lie – there’s a strong link between added sugar, refined carbs, and obesity. Research has also found a direct link between a diet high in refined carbs and increased belly fat.
Action Step
Swap out those processed foods for healthier choices:
- Snack on nuts, seeds, and fruits for your sweet tooth.
- Choose whole-grain bread, pasta, and rice over the plain white stuff.
- Ditch sugary drinks for good ol’ water or unsweetened iced tea.
These simple swaps will help reduce your sugar intake and kickstart your fat loss journey and keep you far away from those pesky refined carbs.
3. Eat More Protein
Listen up, folks, because this is where the magic happens: protein is your secret weapon against belly fat, according to study.
Why, you ask? Well, protein isn’t just about building muscle (although it does a pretty great job of that, too). It’s your hunger-busting, metabolism-boosting, fat-burning ally.
When you load up on quality protein like eggs, lean meat, and fish, your body releases the superhero hormone PYY. This bad boy tames your appetite and keeps you feeling satisfied. No more mindless snacking between meals or late-night rendezvous with the fridge!
But that’s not all, folks. High protein diets also rev up your metabolism and help you preserve precious muscle while shedding fat, research shows. It’s like the triple threat against those pesky extra pounds.
Action Step
Add a few servings of quality protein to your daily menu. Good protein sources include
- Eggs
- Lean meat
- Fish
- Beans
- Dairy
- Nuts and seeds
- Whey protein
4. Increase Your Fiber Intake
Fiber consists of complex carbs that go through your small intestine undigested and enter the large intestine, unlike starch and sugar. It’s simply carbs that your gut cannot digest.
There are two types of fiber: soluble and insoluble. Soluble fiber absorbs water and acts like a sponge in your digestive system, slowing things down and keeping you feeling full. Plus, high-fiber foods are usually lower in calories, which is a win for weight loss.
Studies have shown that increasing your fiber intake can help you feel satisfied, improve digestion, and ultimately lead to shedding those extra pounds. So, fiber isn’t just about keeping things moving; it’s a key player in your overall health and well-being.
Ready for action? Load up on high-fiber foods like veggies, fruits, whole grains, legumes, nuts, and seeds. And if you’re not getting enough fiber in your diet, consider a soluble fiber supplement to supercharge your fat loss journey.
5. Increase your Healthy fat Intake
Yep, you heard it right. Fat isn’t the enemy—it’s your ally in the battle for a healthier, leaner you.
Here’s the scoop: fats take their sweet time to digest, which means they keep you feeling satisfied and curb those pesky hunger pangs. So, when you’re looking to shed some pounds or simply boost your overall health, don’t skimp on the right kind of fats.
For example, research has found that following a Mediterranean diet rich in healthy fats from olive oil, nuts, and fatty fish can actually lower your risk of gaining weight compared to a low-fat diet.
Ready for action? Time to add some delicious, healthy fats to your daily menu. Think olive oil, almonds, avocados, salmon, seeds, and even whole milk. But remember, while these fats are great for you, they do pack a calorie punch, so keep your portions in check.
And here’s the bottom line: steer clear of trans fats—the real villains in the fat world. Studies have linked them to increased body fat, especially around the waist and belly. So, avoid those sneaky trans fats like the plague!
Action Step
Try incorporating fatty foods into your daily menu. Healthy sources include:
- Olive oil
- Almonds
- Fatty tuna
- Salmon
- Avocados
- Seeds
- Whole milk
Keep in mind that healthy fats pack in many calories, keep your intake moderate—or at the very least, know how much you’re eating.
What’s more?
Limit your intake of unhealthy fat, mostly trans fat. This type of fat has been shown to increase body fat, especially in the waist and belly, according to a study.
6. Add Probiotics
Guess what? There are friendly bacteria living in your digestive tract, and they’re called probiotics. These little guys are true multitaskers, playing a significant role in your overall health and well-being.
Research has uncovered their involvement in various aspects of health, from weight loss to mental well-being. For instance, when it comes to shedding those extra pounds, a review of 15 studies revealed that adding probiotic supplements to your diet can help you reduce weight and body fat percentage, especially when compared to those who took a placebo.
But that’s not all—another study found that people who consumed yogurt containing specific probiotic strains like Lactobacillus amylovorus or Lactobacillus fermentum managed to reduce their body fat by a noticeable three to four percent.
Ready to take action? Consider adding some probiotic-rich and fermented foods to your diet. Options like tempeh, kefir, kombucha, natto, sauerkraut, and kimchi can give your gut bacteria the boost they need to keep you in tip-top shape. No need to limit yourself to supplements when you can enjoy these tasty and nutritious foods!
Action step
You can take probiotic supplements with specific strains of bacteria. Or you can also try adding some of the following probiotic-rich and fermented foods to your diet:
- Tempeh
- Kefir
- Kombucha
- Natto
- Sauerkraut
- Kimchi
7. Drink Coffee
Coffee lovers, rejoice! That daily cup of joe might just be your secret weapon in the battle against body fat. Why? Well, caffeine, a key component in coffee, does wonders for your metabolism and fat breakdown.
It’s not just wishful thinking; science is on board with this too. Research has shown that coffee can give your metabolism a temporary boost, increasing energy expenditure by a noteworthy 3 to 11 percent.
Need more proof? A study involving over 58,000 participants found that higher caffeine consumption correlated with less weight gain over a span of 12 years.
So, here’s your action step: When you enjoy your coffee, opt for it black or with a dash of milk. Skip the sugar and cream to keep those extra calories at bay. Your morning ritual just got a whole lot better for your fat-burning goals!
Action Step
To make the most out of your daily cup of joe, skip the sugar and cream. Instead, go for a black or tiny amount of milk to prevent calories from adding up.
Additional resource – Here’s how to lose 100 pounds.
8. Consume More Vinegar
This pantry staple has a host of health benefits, including improving heart health and stabilizing blood sugar levels. But here’s the exciting part: it can also give your fat-burning efforts a significant boost.
Research has shown that incorporating vinegar into your diet can have some impressive effects. One study found that consuming one to two tablespoons (around 15 to 30 ml) of vinegar per day can lead to lower body weight, reduced waist circumference, and a trimmer belly over a span of 12 weeks.
But wait, there’s more! Another study discovered that adding vinegar to your daily routine could help you reduce your calorie intake by up to 270 calories.
Action Step
Start incorporating vinegar into your diet. You can use white vinegar in your salads and barbecue sauces for a tangy twist. Alternatively, try diluting apple cider vinegar with water and enjoy it as a refreshing beverage a few times a day. Vinegar might just become your new best friend on your weight loss journey
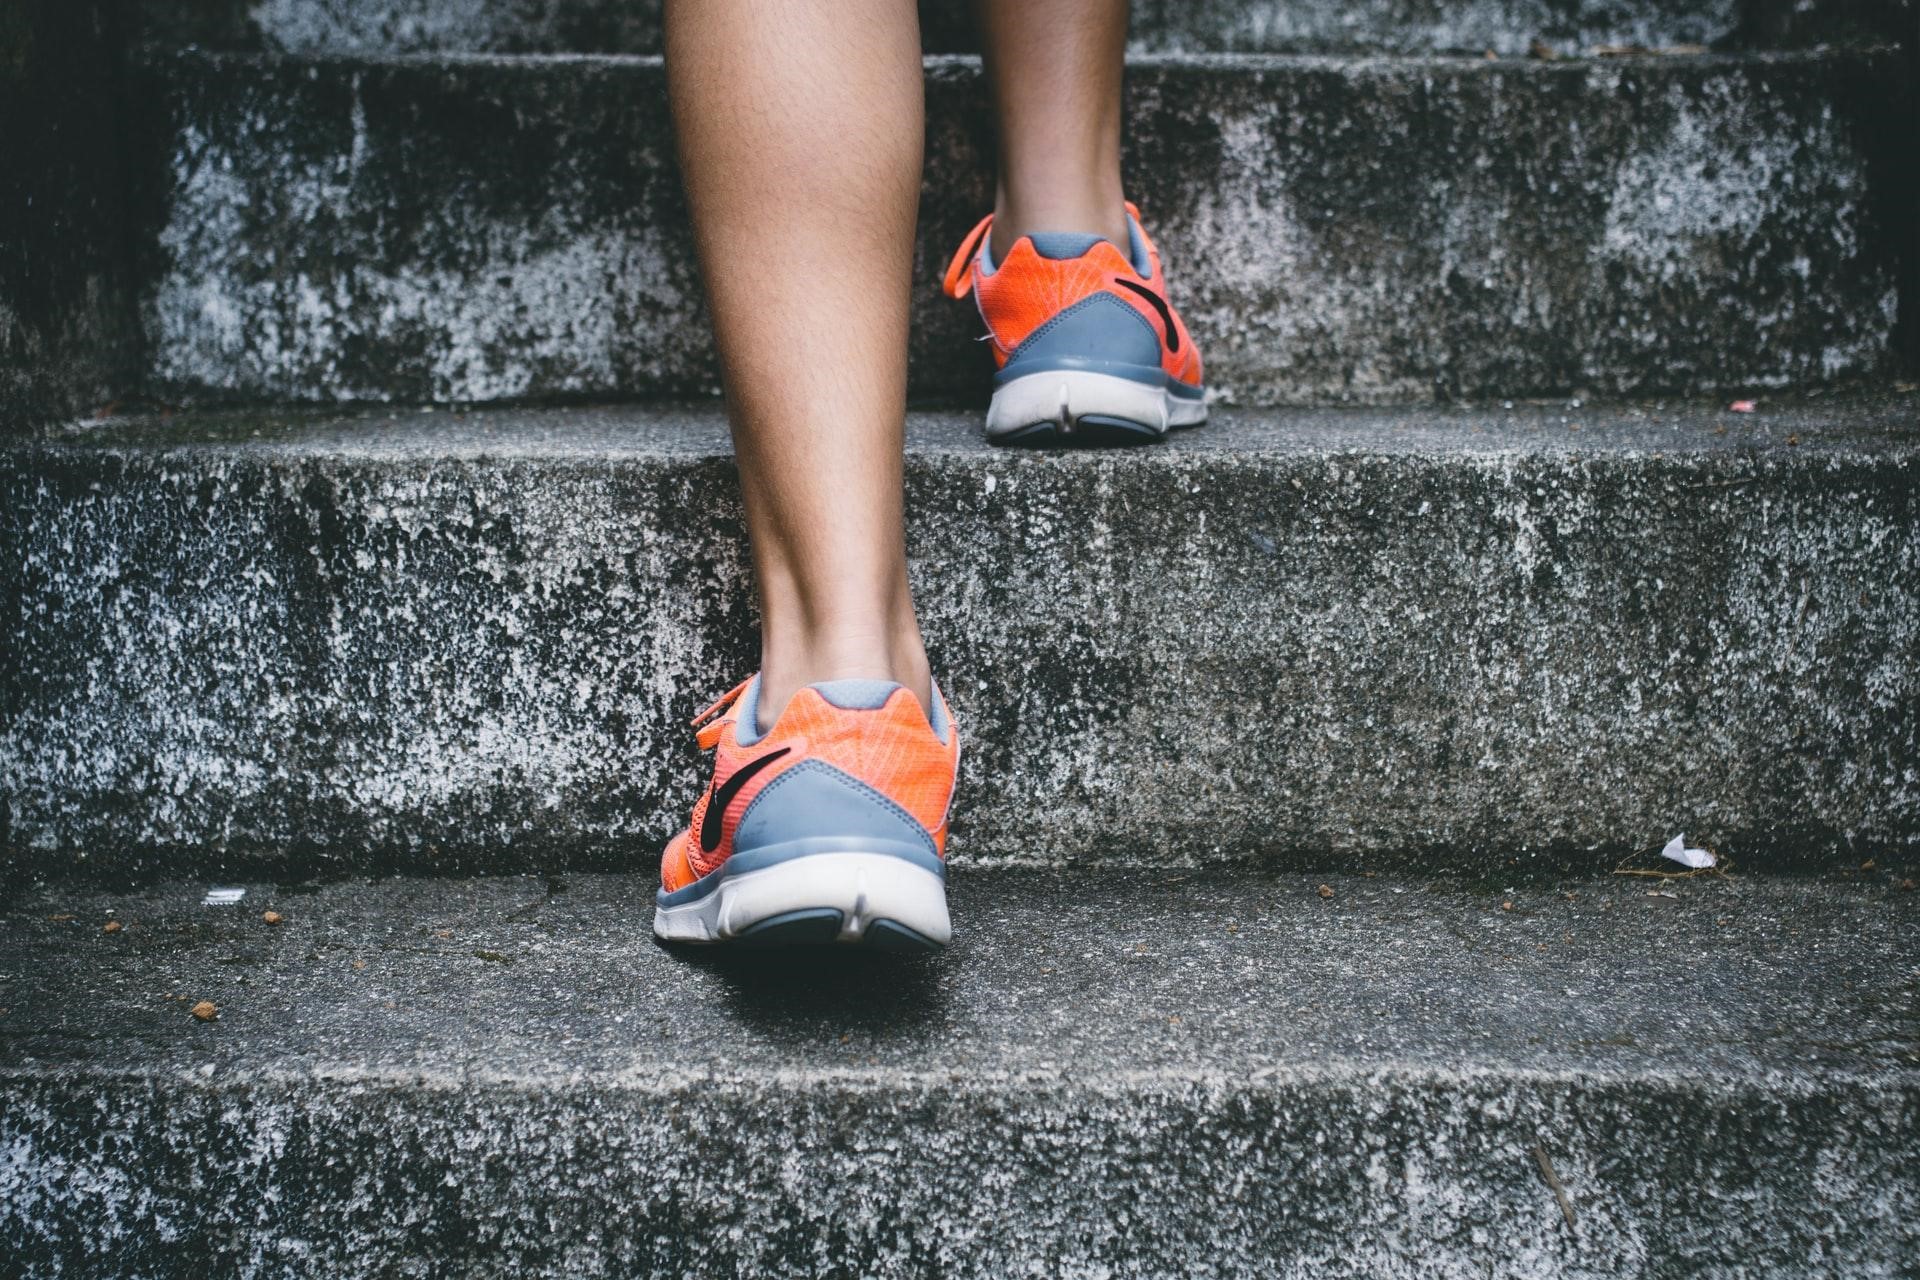
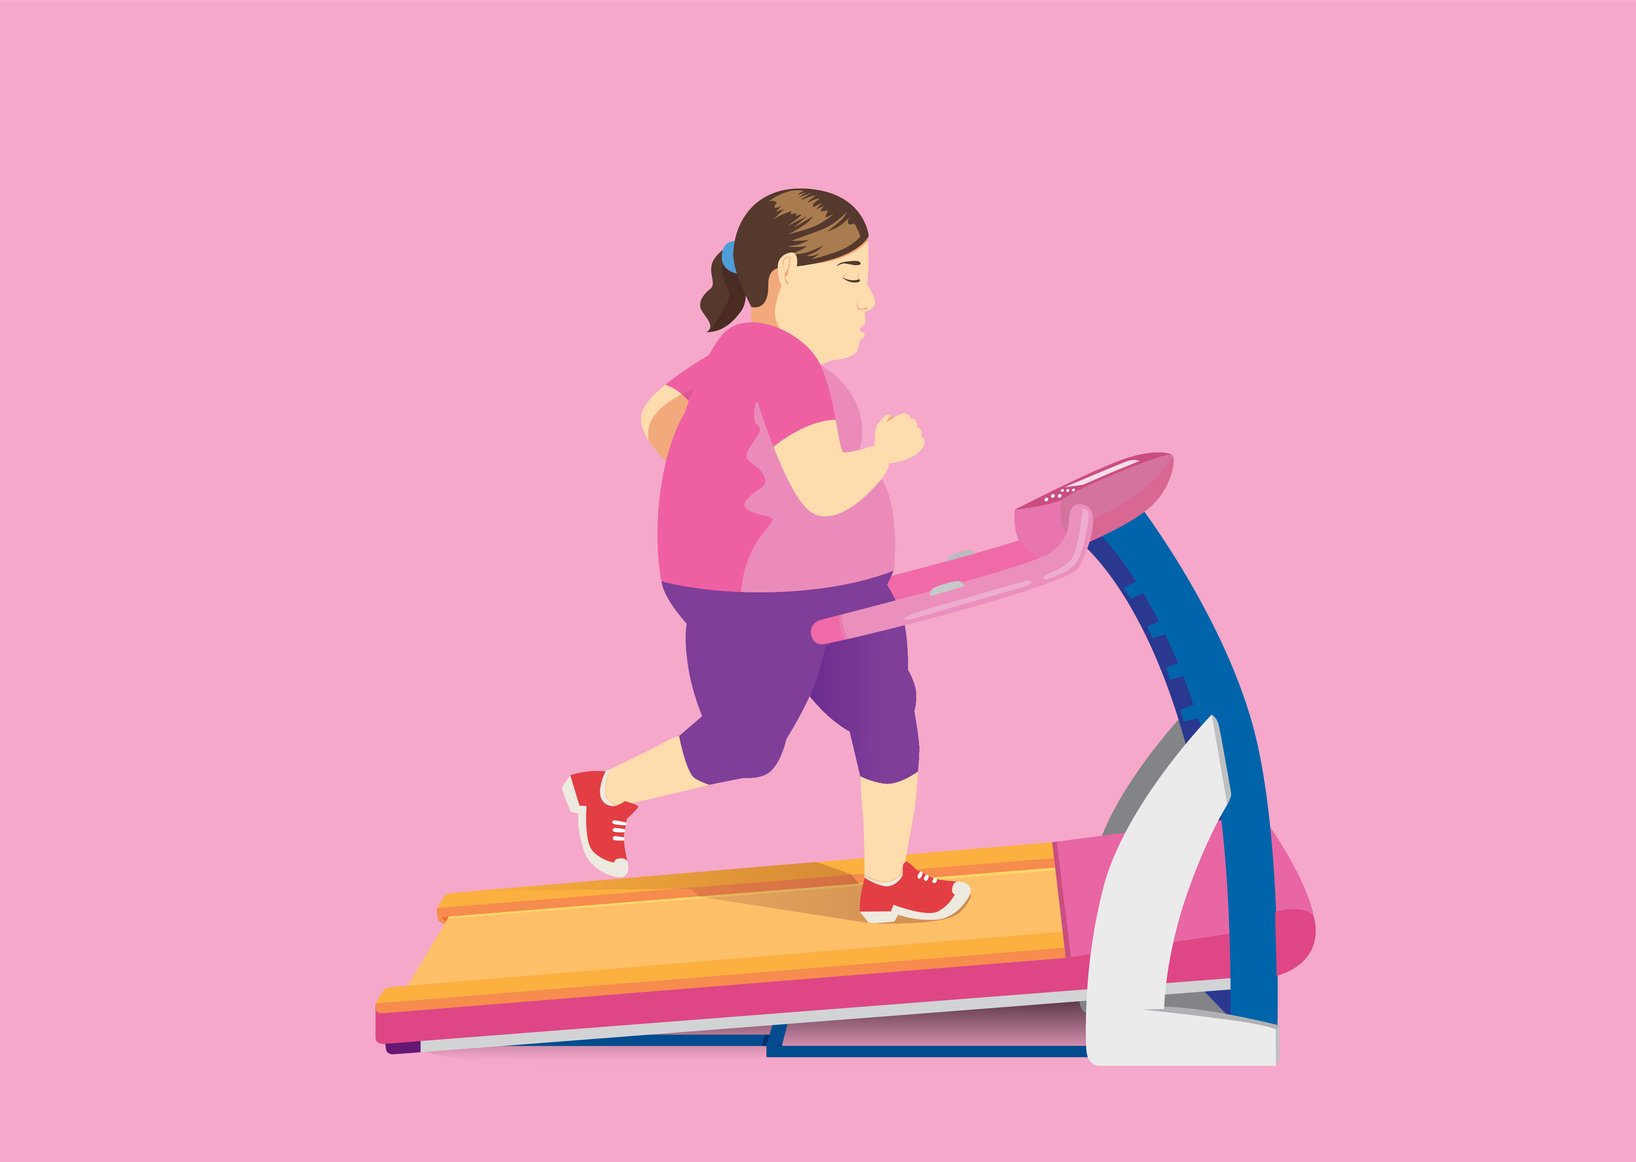
9. Do More Cardio
While diet plays a crucial role in your fat loss journey, don’t underestimate the power of exercise, especially cardiovascular workouts. Cardio isn’t just about torching calories; it’s also about boosting your heart and lung health, enhancing your endurance, and improving overall stamina.
Research has shown that increasing your cardio workouts can lead to a reduction in belly fat. There’s more to say about the significance of cardio, but that’s a story for another time.
Action Step
How much cardio to perform depends on your fitness level, training goals, and personal preferences, but most Research suggests between 150 to 300 minutes of moderate to intense aerobic training weekly. This means shooting for 30 to 45 minutes of mild to intense cardio three to four times per week.
Examples of good cardio include:
- Walking
- Running (Here’s how many calories you burn running one mile)
- Cycling
- Kickboxing
- Rowing
- Swimming
- Dancing
- Skiing
- Chasing your dog around
Additional resource – Running with diabetes
10. Lift Heavy Stuff
Strength training, also known as resistance training, is a must when it comes to building and preserving muscle mass. This type of exercise involves contracting your muscles against resistance to increase both muscle size and strength.
Studies have shown strong evidence of the positive impact of strength training on reducing body fat. For instance, one study concluded that strength exercises may help reduce belly fat in individuals with prediabetes, type II diabetes, and fatty liver.
In another study, resistance training led to a decrease in visceral fat among 78 participants with metabolic syndrome. Furthermore, a combination of strength training and cardio exercise resulted in a significant reduction in visceral fat in overweight subjects, research revealed.
Building muscle is also essential for a healthy metabolism. The more muscle mass you have, the more calories your body burns at rest. Research has even suggested that three months of strength training can increase calories burned at rest by up to 7 percent.
So, here’s your action step: It’s time to hit the weight room. Aim for three to four strength training sessions per week. Check out our comprehensive guide on how to get started. Get ready to build strength, increase muscle mass, and reduce body fat!
Action Step
It’s time to hit the weight room. Aim for three to four strength workouts per week.
Here’s the full guide on how to get started.
11. Try High-Intensity Interval Training
High-Intensity Interval Training, or HIIT for short, is a workout method that involves alternating between short bursts of intense exercise and brief recovery periods. It’s a highly effective way to reduce body fat, especially abdominal fat, and it outperforms low-intensity, steady-state exercise in this regard.
Let’s dive into the research to see how effective HIIT can be. In one study, participants who engaged in high-intensity interval training for just 20 minutes, three times a week, experienced an average fat loss of 4.4 pounds over three months, even without making any changes to their diet or lifestyle. Furthermore, they saw a 17 percent reduction in belly fat and a significant decrease in waist circumference.
Another study found that HIIT can burn up to 30 percent more calories compared to steady-state cardio exercises when performed for the same duration.
Action Step
So, here’s your action step: Incorporate HIIT into your fitness routine. It’s easy to implement. For instance, during your next run, try alternating between one minute of sprinting and one to two minutes of jogging for recovery. You can also mix bodyweight exercises like squats, push-ups, jumping jacks, plyo lunges, and burpees with short breaks in between. The harder you push yourself, the better the results you’ll achieve. Get ready to torch fat with the power of HIIT!
12. Sleep More
Eating well and staying active are crucial for your health, but achieving effective fat loss also requires proper recovery and, most importantly, quality sleep. Research has shown that inadequate sleep can lead to weight gain, especially in the abdominal area.
Sleep deprivation can disrupt your metabolism, increase appetite, and elevate stress hormones like cortisol, all of which contribute to weight gain. Studies have consistently demonstrated the importance of sleep for weight management.
One study found that people who consistently slept at least seven hours a night improved their chances of successful weight loss by up to 33 percent. In contrast, a 16-year study involving over 68,000 participants showed that those who slept less than five hours per night were much more likely to gain weight compared to those who slept over seven hours per night.
Action Step
Although sleep needs are different for everyone, most experts agree that at least seven hours is ideal for optimum health.
Quality also matters. To make the most out of sleep, do the following:
- Limit your intake of caffeine or heavy foods in the three to four hours before going to bed
- Develop and stick to a regular sleep schedule by going to bed and waking up at the same time, even on weekends.
- Sleep in the dark, relatively chill room with as little distraction as possible.
- Minimize your exposure to light and electronic devices to help the secretion of melatonin, the sleep hormone.
13. Chill
Stress can wreak havoc on your body, affecting both your appetite and fat storage. When you’re stressed, your adrenal glands release cortisol, commonly known as the stress hormone. Initially, this may reduce your appetite as part of the body’s fight-or-flight response. However, chronic stress can lead to persistently elevated cortisol levels, which can increase your appetite and cause overeating.
Moreover, research has linked high cortisol levels to the storage of abdominal fat. On a positive note, a study showed that participating in a two-month stress-management program led to a significant decrease in participants’ body mass index.
Action Step
Here are some of the best methods for managing stress include
- Breathing and relaxation technique
- Meditation
- Mindfulness
- exercise
- Yoga
- Outdoor activity
- Journaling
- Therapy
- Travel
14. Keep Track of Your Body Fat
You cannot improve on what you cannot measure. Reducing body fat is no exception.
If you want to succeed in reducing body fat, you must measure your progress. After all, you can’t improve what you don’t measure. Keeping tabs on your body fat percentages is essential to ensure that your efforts are paying off.
Feel free to use this tool to calculate your BMI and other important metrics.
Action Step
There are various methods to measure body fat percentage, but one of the simplest ways is to do it at home using skinfold calipers. These calipers measure the thickness of your skin at specific locations, providing an estimate of your body fat.
To get started with skinfold calipers, you can follow this tutorial:
Other methods for measuring body compoasition include:
- Dual-energy x-ray absorptiometry (DXA)
- Hydrostatic weighing
- 3D Body Scanners
- Bioelectrical Impedance Analysis (BIA)
- Bioimpedance Spectroscopy (BIS)
- Body circumference measurements
- Electrical Impedance Myography (EIM)
- Air Displacement Plethysmography (Bod Pod)
While some of these methods are more complex and typically conducted in a scientific setting, they may not necessarily be more accurate than skinfold calipers. In fact, skinfold calipers have an error rate of approximately 4 to 5 percent, while methods like DEXA scans have an error rate of around 3 percent.
The Conclusion
There you have it. If you’re serious about reducing body fat percentage, the methods shared in today’s article are enough to get started on the right path.
Please feel free to leave your comments and questions in the section below.
In the meantime, thank you for dropping by.