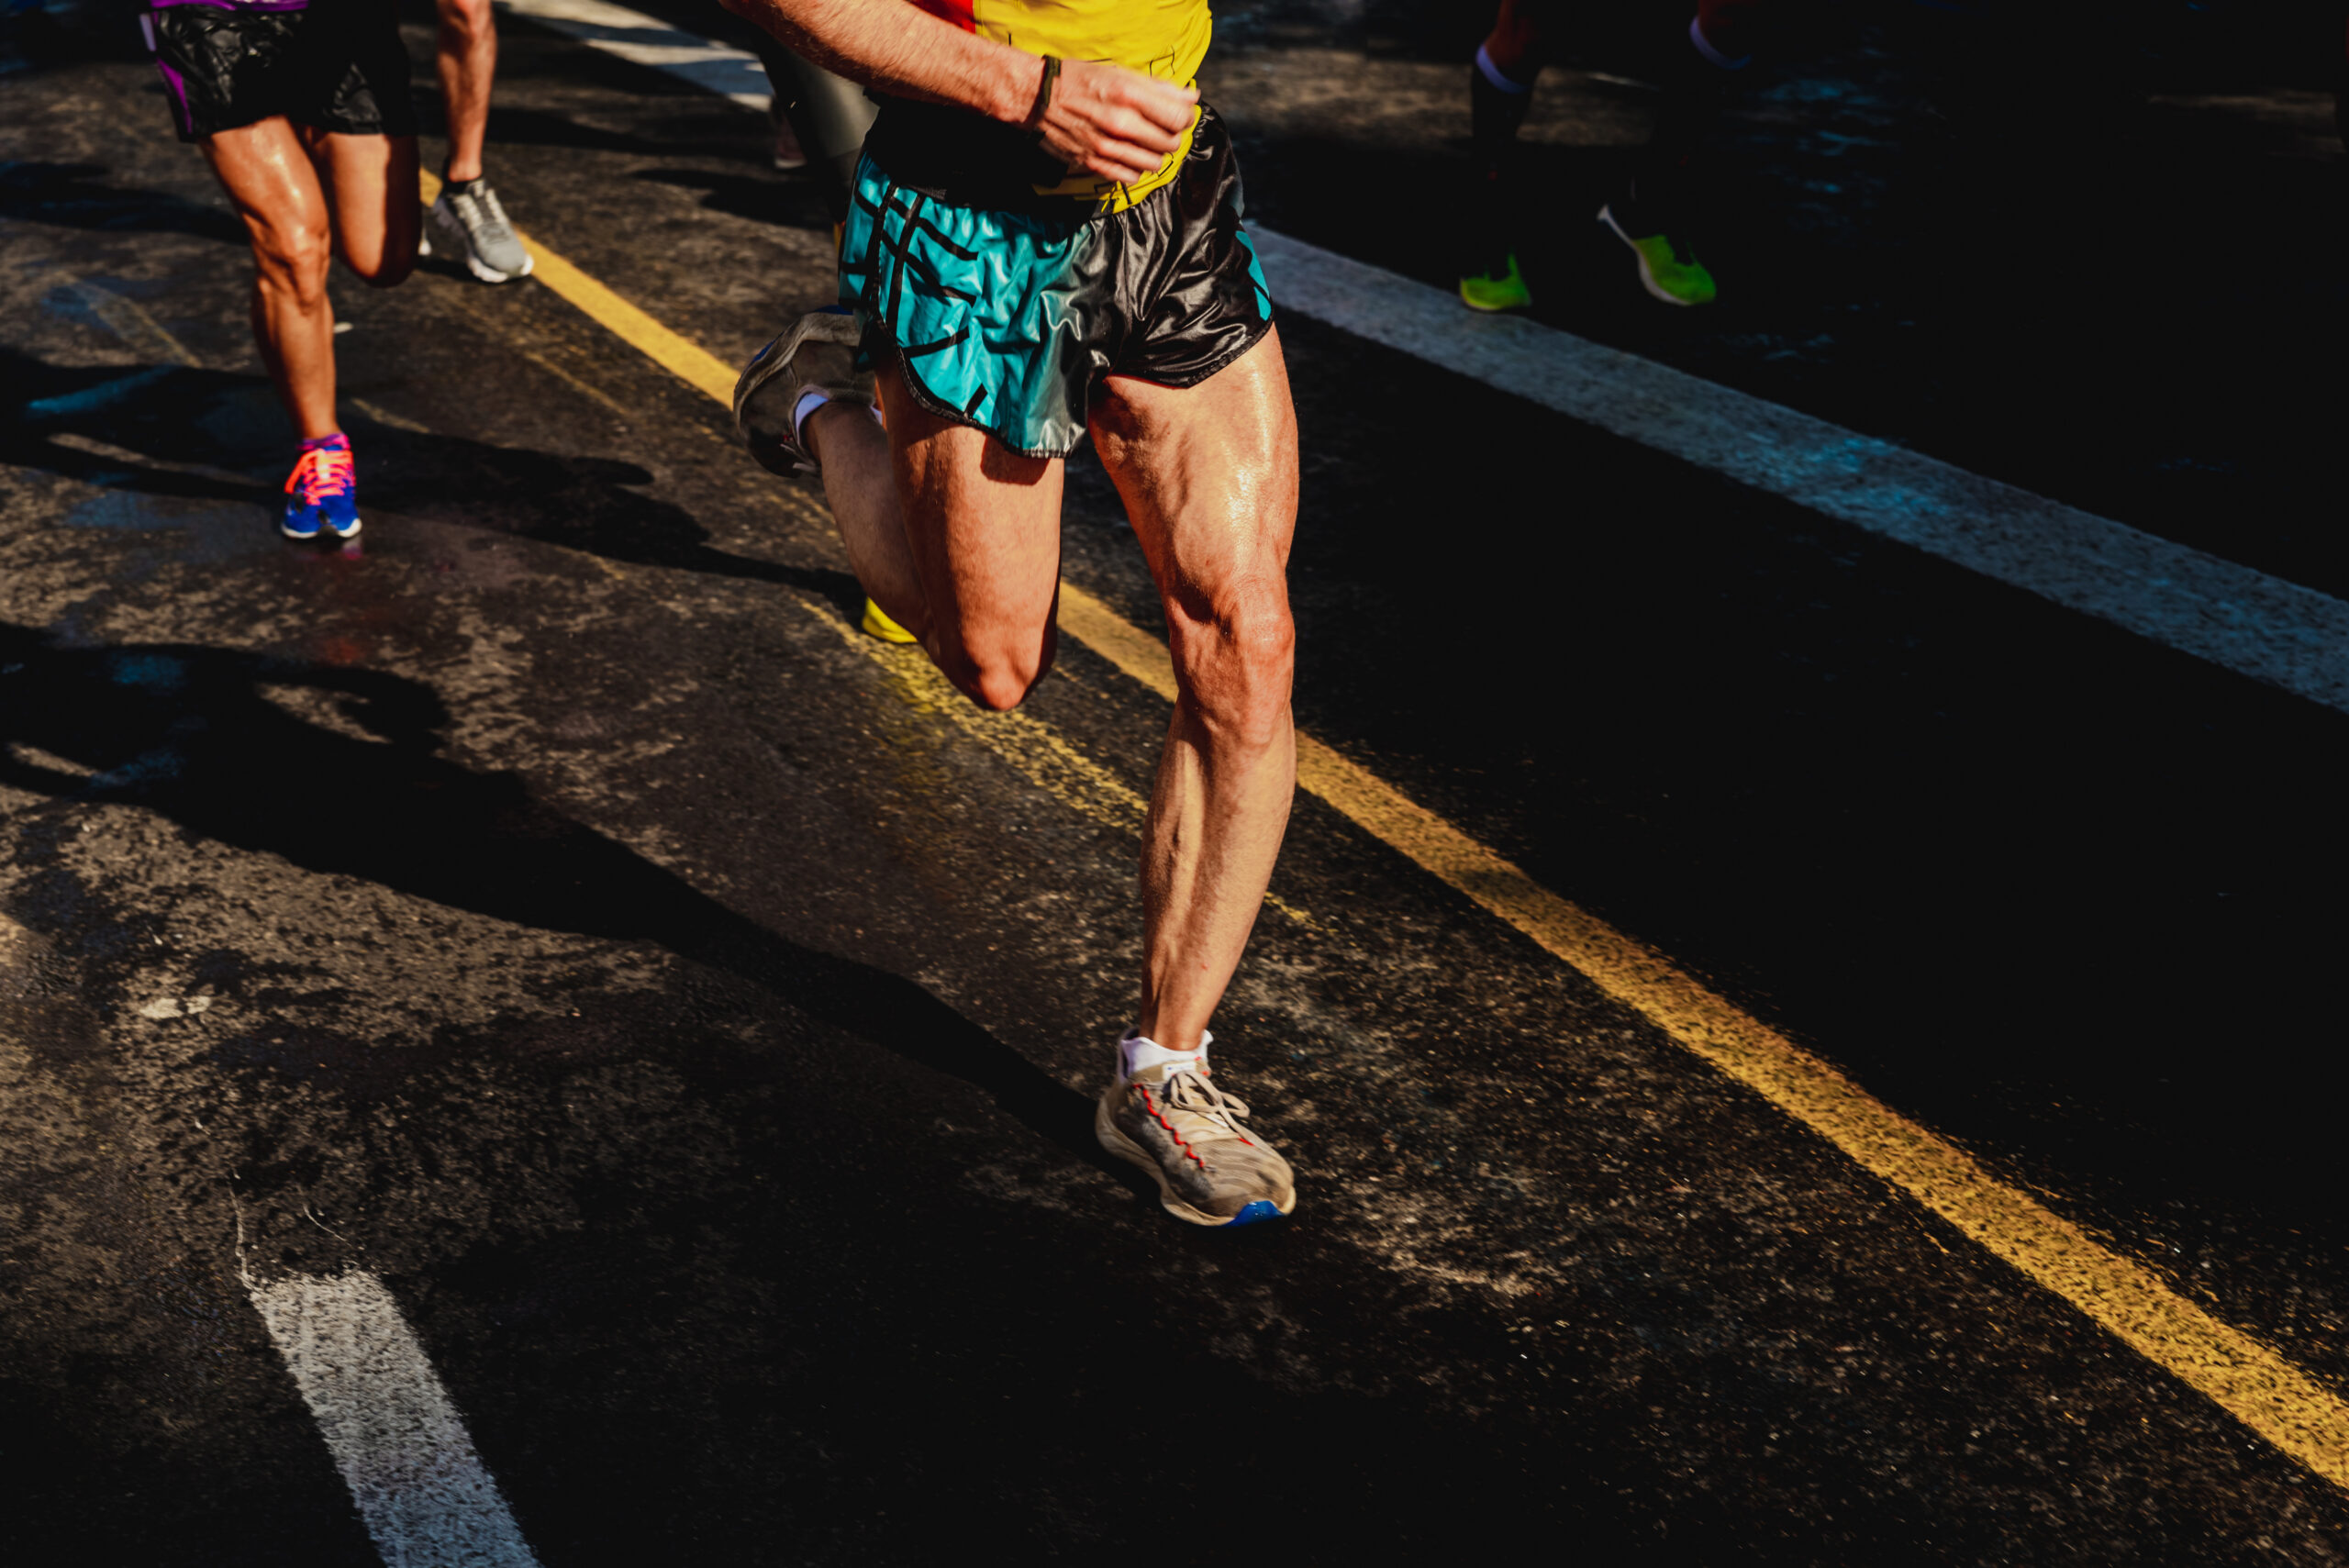
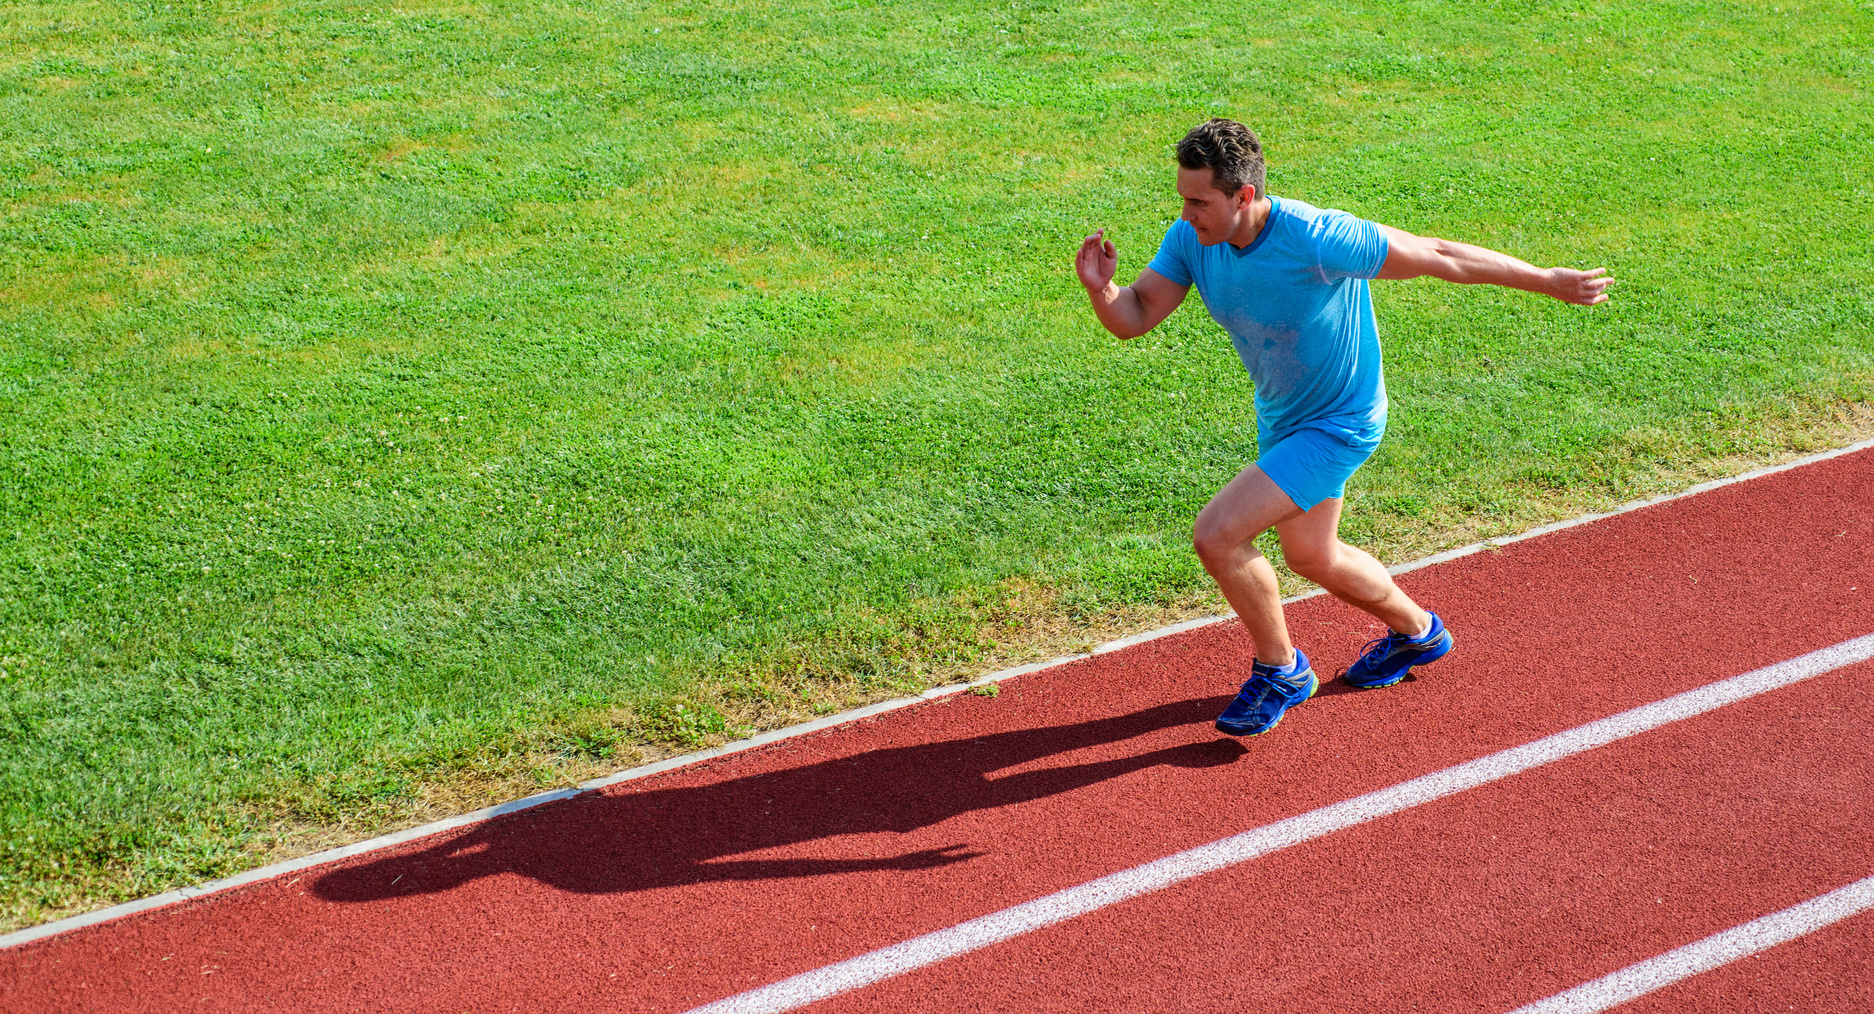
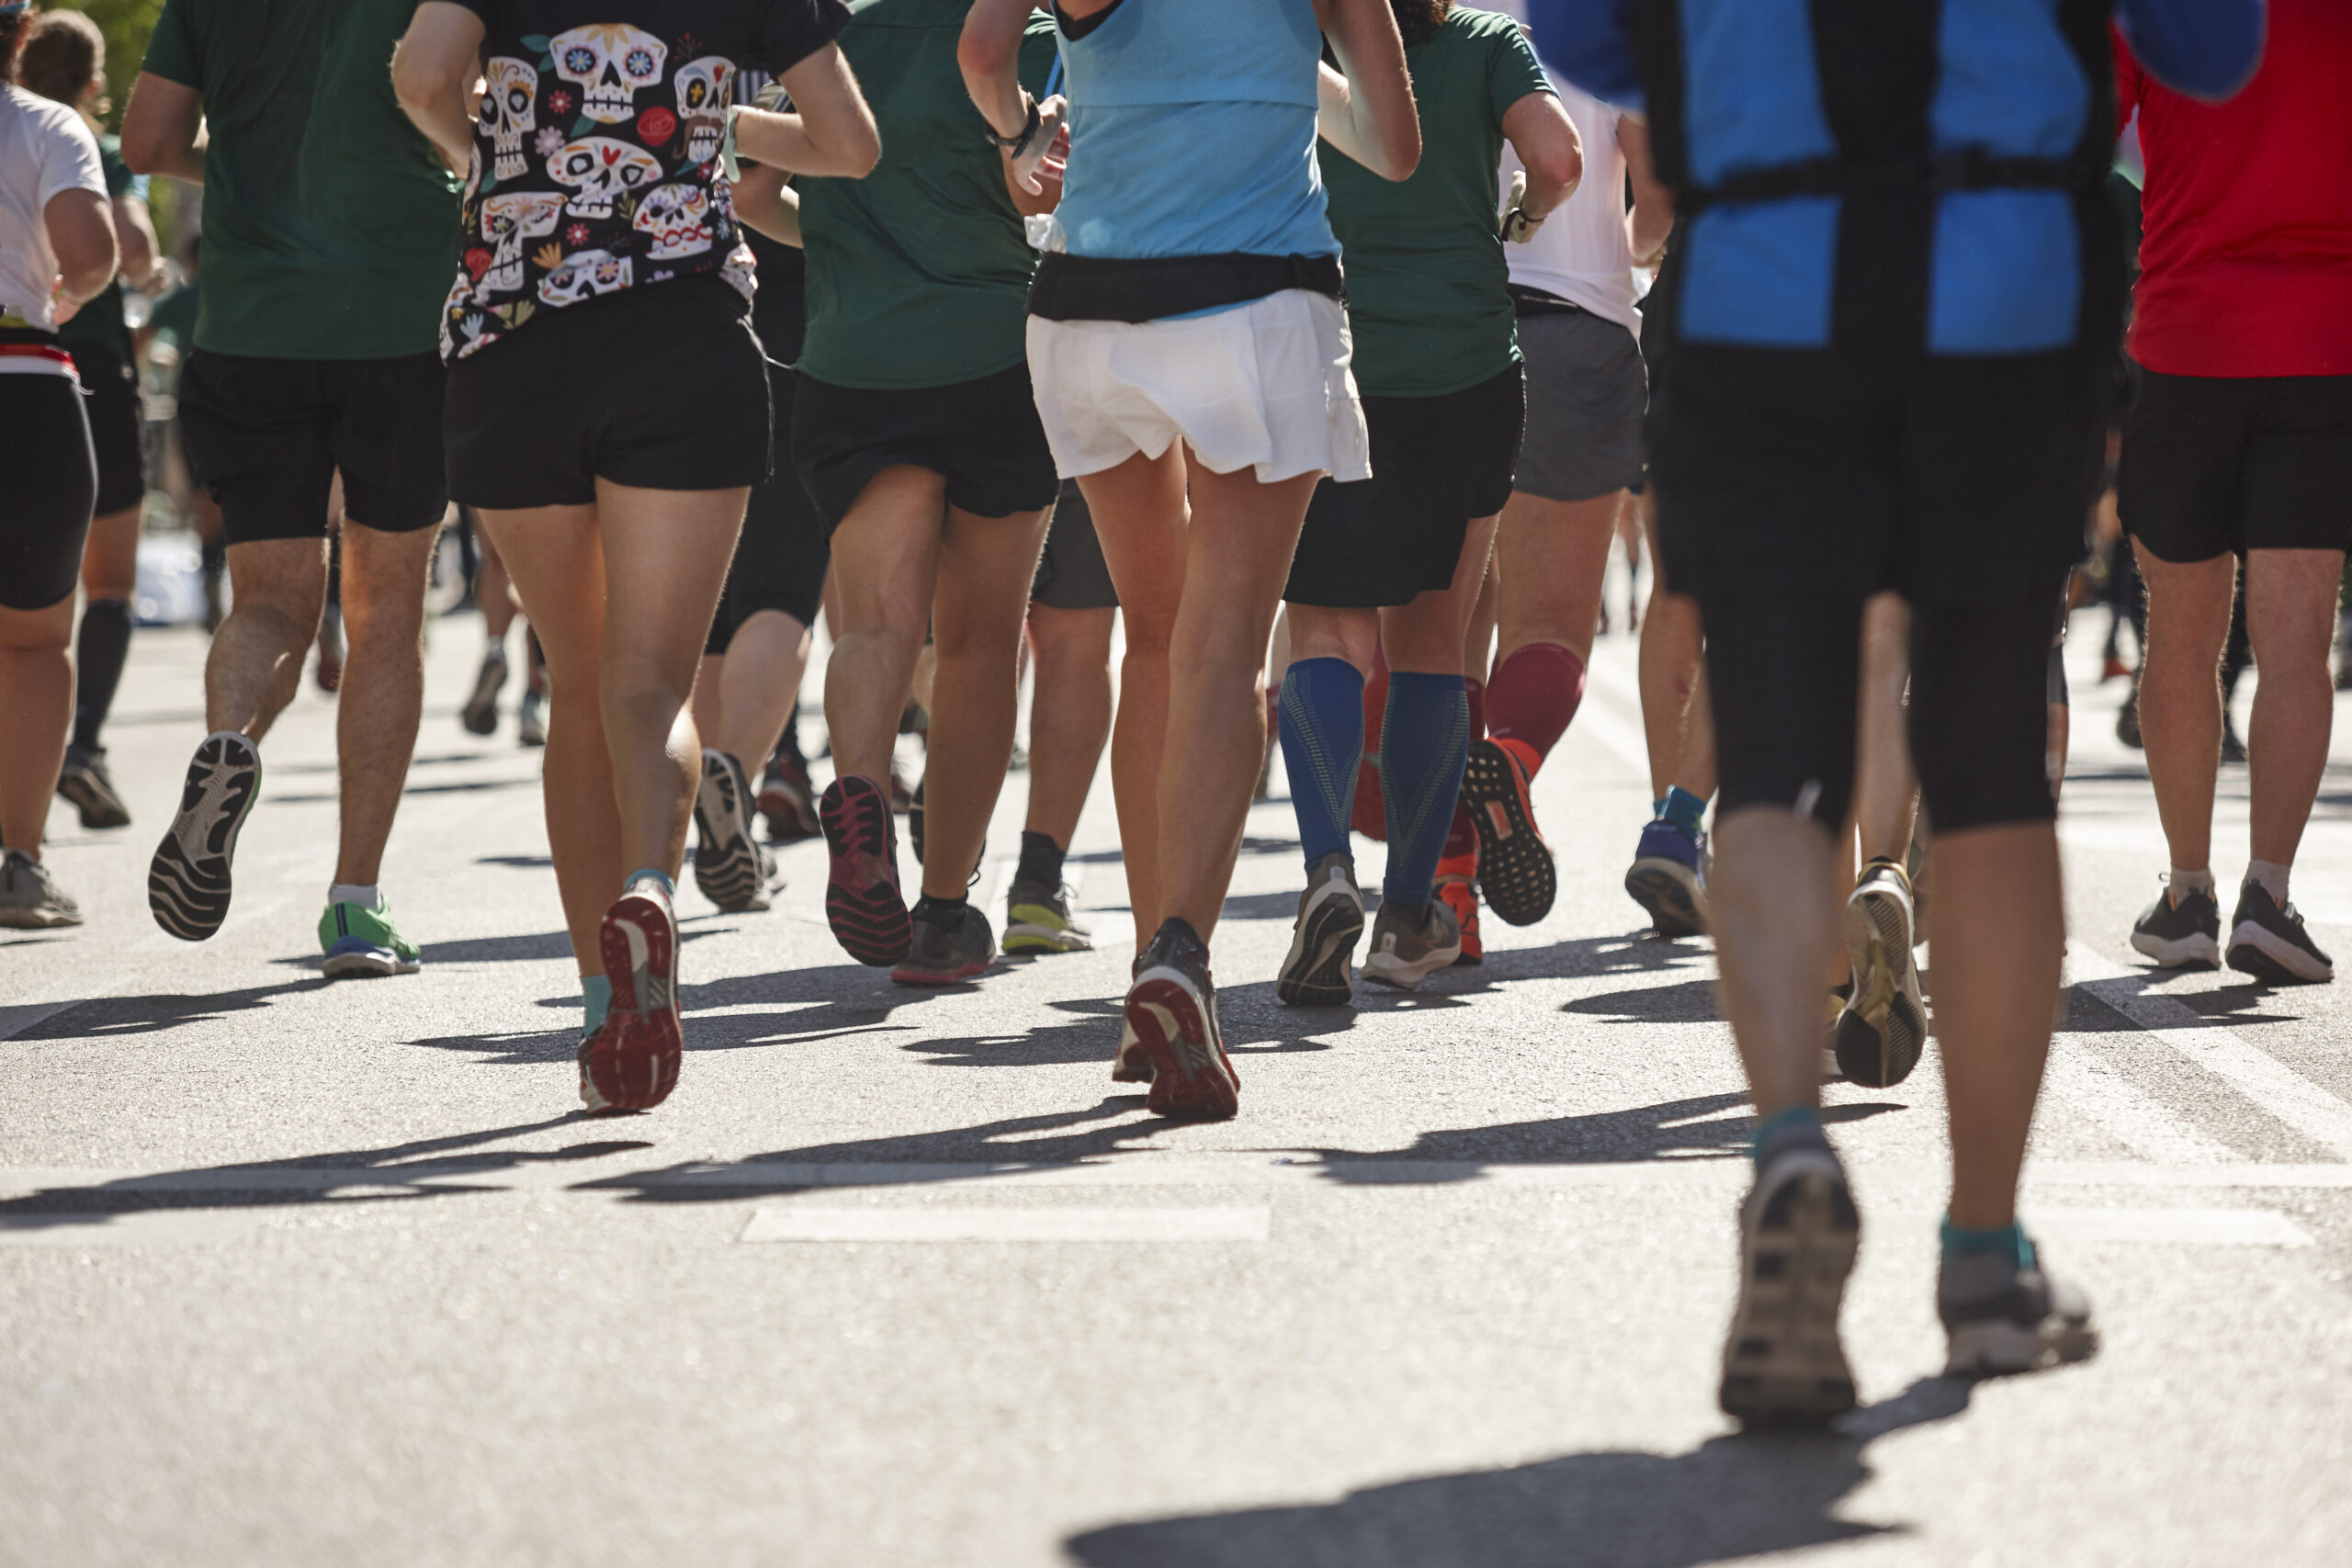
Here’s the deal: You could be running 50 miles a week, but if your feet are rolling the wrong way with every step, that mileage might just be wearing you down instead of building you up.
How your foot lands and moves—aka your pronation—can make or break your running.
It affects your comfort, your injury risk, and even what shoes belong on your feet.
Too many runners ignore it.
They think more miles = more fitness.
But if your mechanics are off, that’s like flooring the gas pedal with a wobbly wheel.
So let’s fix that.
This guide is your roadmap:
- What pronation is
- How to tell if you’re a neutral runner, an overpronator, or an underpronator (yep, there’s an easy test for that)
- What symptoms to look out for
- The best shoes for your foot type
- Some simple form-fixing exercises
- And even a few real-runner stories so you know you’re not alone
By the end, you’ll know how your feet move—and more importantly, how to help them move better.
What Is Pronation
Pronation gets a bad rap in running circles. But here’s the truth: pronation isn’t a problem—it’s part of the system.
Every time your foot hits the ground, it naturally rolls inward to help absorb impact.
That roll—ideally about 15%—flattens your arch just enough to soften the blow and get your foot ready to push off.
Think of it like built-in shock absorbers.
That’s normal pronation.
Where things go sideways is when you roll too much or too little.
- Overpronation = too much inward roll. Your arch collapses, your ankle dives in, and all the pressure shifts to the inside of your foot.
- Underpronation (aka supination) = not enough roll. Your foot stays stiff, weight rides the outside edge, and impact absorption goes out the window.
Either extreme can throw off your entire stride—from your feet to your knees to your hips.
But again, pronation itself isn’t the enemy. The trick is figuring out where you fall on the spectrum.
What Your Arches Say About You
Want a quick clue? Look at your arch shape. It often hints at how your foot moves.
- Normal Arch → You’re likely a neutral pronator. Your foot rolls just enough. Lucky you—most running shoes are built for this gait.
- Flat Arch → You’re probably overpronating. Your arch collapses inward too far. Stability shoes might be your friend.
- High Arch → You might be underpronating. Your foot stays too rigid. You’ll want cushioned shoes that absorb more impact.
No arch is “better” than another. I’ve coached fast runners with pancake-flat feet and others with high arches. It’s not about “fixing” your foot—it’s about working with it.
DIY Check: The Wet Foot Test
Want to know your pronation type without a fancy gait analysis?
Here’s a quick hack: the wet foot test. Simple, free, and surprisingly accurate.
Here’s how to do it:
- Pour some water into a shallow tray. Just enough to wet the sole of your foot.
- Step in with one foot and let it soak the bottom.
- Step onto a piece of cardboard, a brown paper bag, or a dry concrete surface.
- Check your print and compare it to these patterns:
- Full Foot (No Arch Curve)? Looks like a blob? That’s a flat arch → likely overpronation.
- Half Arch (Noticeable Curve)? Mid-range curve? That’s a normal arch → likely neutral pronation.
- Skinny Foot (Just Heel and Forefoot)? Barely see the middle? That’s a high arch → likely underpronation (supination).
And hey, if one foot prints differently than the other, go with the flatter side—it’s usually the one that causes trouble.
Shoe Wear Patterns: What Your Soles Are Secretly Telling You
Want to know what kind of runner you are? Don’t guess.
Flip your shoes over and take a look at the bottoms — they tell the truth.
Your running shoes act like a black box for your stride.
The wear pattern on the outsole (bottom of the shoe) shows you where your foot’s been hitting and pushing off.
It’s not about how pretty your form looks in the mirror — it’s about what your shoes say when no one’s looking.
Here’s what to look for:
Overpronation: Too Much Inward Roll
If the tread is chewed up along the inner edge — especially under the ball of your foot near the big toe — you’re probably overpronating.
That means your foot is rolling in too much with each step. You’re pushing off through the inside of your foot instead of a more balanced push.
Over time, that puts a lot of pressure on your knees, ankles, and arches.
Back-of-shoe test: Set your shoes on a table and look at them from behind. Do they tilt inward or look like they’re collapsing toward the big toe side? Classic sign of overpronation.
Underpronation (Supination): Too Little Inward Roll
Worn-out tread on the outer edge of your shoe — especially the heel and forefoot near the pinky toe — is a dead giveaway for underpronation.
In this case, your foot stays too stiff. It doesn’t roll in enough to absorb shock. So all the impact goes through the outside edge. Your arches stay high, and your ankles are often along for a bumpy ride.
🔍 Flat surface check: Place your shoes on a flat surface. Do they lean outward slightly? That tilt usually means your lateral (outer) side is doing all the work.
Underpronation (a.k.a. Supination) — What It Means and Why It Matters
Underpronation — also called supination — is when your foot doesn’t roll inward enough after it hits the ground.
Instead of rolling inward about 15% like it’s supposed to, your foot just kind of stays rigid and bounces off the outside edge.
Think of it like driving a car with overinflated tires and no shocks — stiff as hell, and every bump rattles your bones.
How Underpronation Can Mess You Up
When your foot doesn’t roll in properly, it can’t absorb shock like it should.
That impact has to go somewhere — and it usually travels up through your foot, ankle, shin, and knee. Here’s what that can lead to:
Arch & Heel Pain (Plantar Fasciitis)
With high, stiff arches and no roll, your plantar fascia gets stretched to its limits.
The result? Pain under your arch or heel that lingers long after the run is over.
Outer Foot Calluses or Pain
You push off from the pinky toe side — not ideal.
That part of your foot gets beat up over and over.
Runners with supination often build up calluses under the 4th or 5th metatarsals.
Ankle Sprains — Over and Over Again
Supinators are notorious for rolling their ankles. All your weight stays on the outside, so one bad step on the trail (or even the sidewalk) and boom — you’re down.
Shin Splints (Outer Shin Pain)
That impact you’re not absorbing? It radiates straight up your lower legs.
Many supinators deal with nagging shin pain until they fix their mechanics or get better support.
Toe and Knee Trouble
Some even get bunions on the pinky toe side (tailor’s bunions) from pushing off the outside edge every single stride.
And because the force isn’t balanced, knees and hips can start to ache too.
Shoe Clues Don’t Lie
Look at the tread:
- Worn heavily on the outer heel and forefoot?
- Midsole feels tilted outward?
- Inner sole looks barely touched?
That’s classic supination wear. And only about 10% of runners fall into this category — but they often don’t know it until something starts hurting.
Why You Might Be an Underpronator (And What to Do About It)
If you’re dealing with mystery shin pain, rolled ankles, or it just feels like you’re running on the outer edges of your feet, you might be underpronating.
That means your foot isn’t rolling inward enough during your stride, so you’re not absorbing impact like you should.
And yeah — that can mess with your knees, hips, and everything in between.
Here’s what usually causes it:
1. You’ve Got High Arches (Blame Your DNA)
The #1 culprit? A high, rigid arch — aka “pes cavus” if you want the fancy term.
That structure naturally sets your foot in a supinated (outward-leaning) position, so you don’t get that smooth inward roll other runners do.
One of my running friends explained to me that his arches were so high it was almost classified as a birth defect. He looked fine standing still — but kept twisting ankles until he switched his shoes. Once he did? He became less prone to the rolls.
2. Leg Length or Alignment Issues
Sometimes one leg’s just a little longer than the other, or there’s a weird alignment happening up the chain.
When that’s the case, one foot might start underpronating more to compensate. It’s subtle, but it adds up.
3. Old Injuries Changing Your Stride
Had a bad ankle sprain? Knee tweak? Hip pain? Your body remembers — and it may be protecting the injured side by altering your stride without you even realizing it.
That “protective” gait can turn into habitual supination over time.
4. Tight Calves or Achilles = Rigid Ankles
When your calves are tight as guitar strings or your Achilles is stiff, your ankle can’t flex the way it’s supposed to. That leads to a harder landing and often pushes your foot outward.
5. Shoes That Mess With Your Mechanics
If you’re wearing motion-control shoes made for overpronators — or shoes with crazy arch support — and you don’t actually need that?
Boom.
You could be forcing your foot to roll outward even more.
Also, walking on hard floors in unsupportive shoes all day can mess with your mechanics.
What to Do:
If this sounds like you, start by loosening those calves, working on ankle mobility, and checking your shoes.
You might need a switch. And if you’re really not sure? Book a gait analysis or see a PT who gets runners.
Best Shoes for Underpronators
Alright — if you’re a supinator, your shoes better be doing you some favors.
Your foot’s not absorbing shock like it should, so your footwear has to pick up the slack.
Here’s what to look for (and what to skip):
✅ Go for: Cushioned Neutral Shoes
You want softness and freedom — not control.
- Neutral shoes let your foot move naturally (important for underpronators).
- Look for words like “cushioned,” “plush,” or “max cushion” on the box.
- The idea is: your arch is stiff, so the midsole helps take on the impact.
👟 Popular picks: Brooks Ghost, Asics Gel-Nimbus, Saucony Ride, Hoka Clifton (if you like the marshmallow feel), Nike Pegasus.
✅ Flex & Width = Stability for You
- A flexible sole allows more natural foot movement.
- A wider toe box and platform gives you better balance — key if you’re always flirting with ankle rolls.
Avoid: Motion-Control or Stability Shoes
These are made for overpronators. That’s not you.
- Thick medial posts = bad news. They’ll shove your foot more outward, making your underpronation worse.
- Stay away from stiff arch supports that your foot doesn’t need — they can exaggerate the issue.
Orthotics: Maybe the Missing Piece
If you’ve got persistent pain or alignment issues, custom orthotics might help. They can:
- Encourage a little more inward roll (aka normal pronation)
- Distribute pressure more evenly
- Improve alignment and reduce hot spots or injuries
They’re pricey, but studies show 70–80% success in reducing pain for supinators.
Over-the-counter insoles are a budget-friendly place to start — just make sure your shoe has enough room for them.
Fixes & Exercises for Supinators
If your feet roll outward when you run (aka underpronation or supination), you’re not alone — but you’ve gotta be proactive about it.
Yeah, shoes matter. But so does the stuff you do outside the run.
You can’t just slap on cushioned kicks and hope for the best.
Here’s what I recommend — based on years of coaching, rehabbing, and messing this up myself.
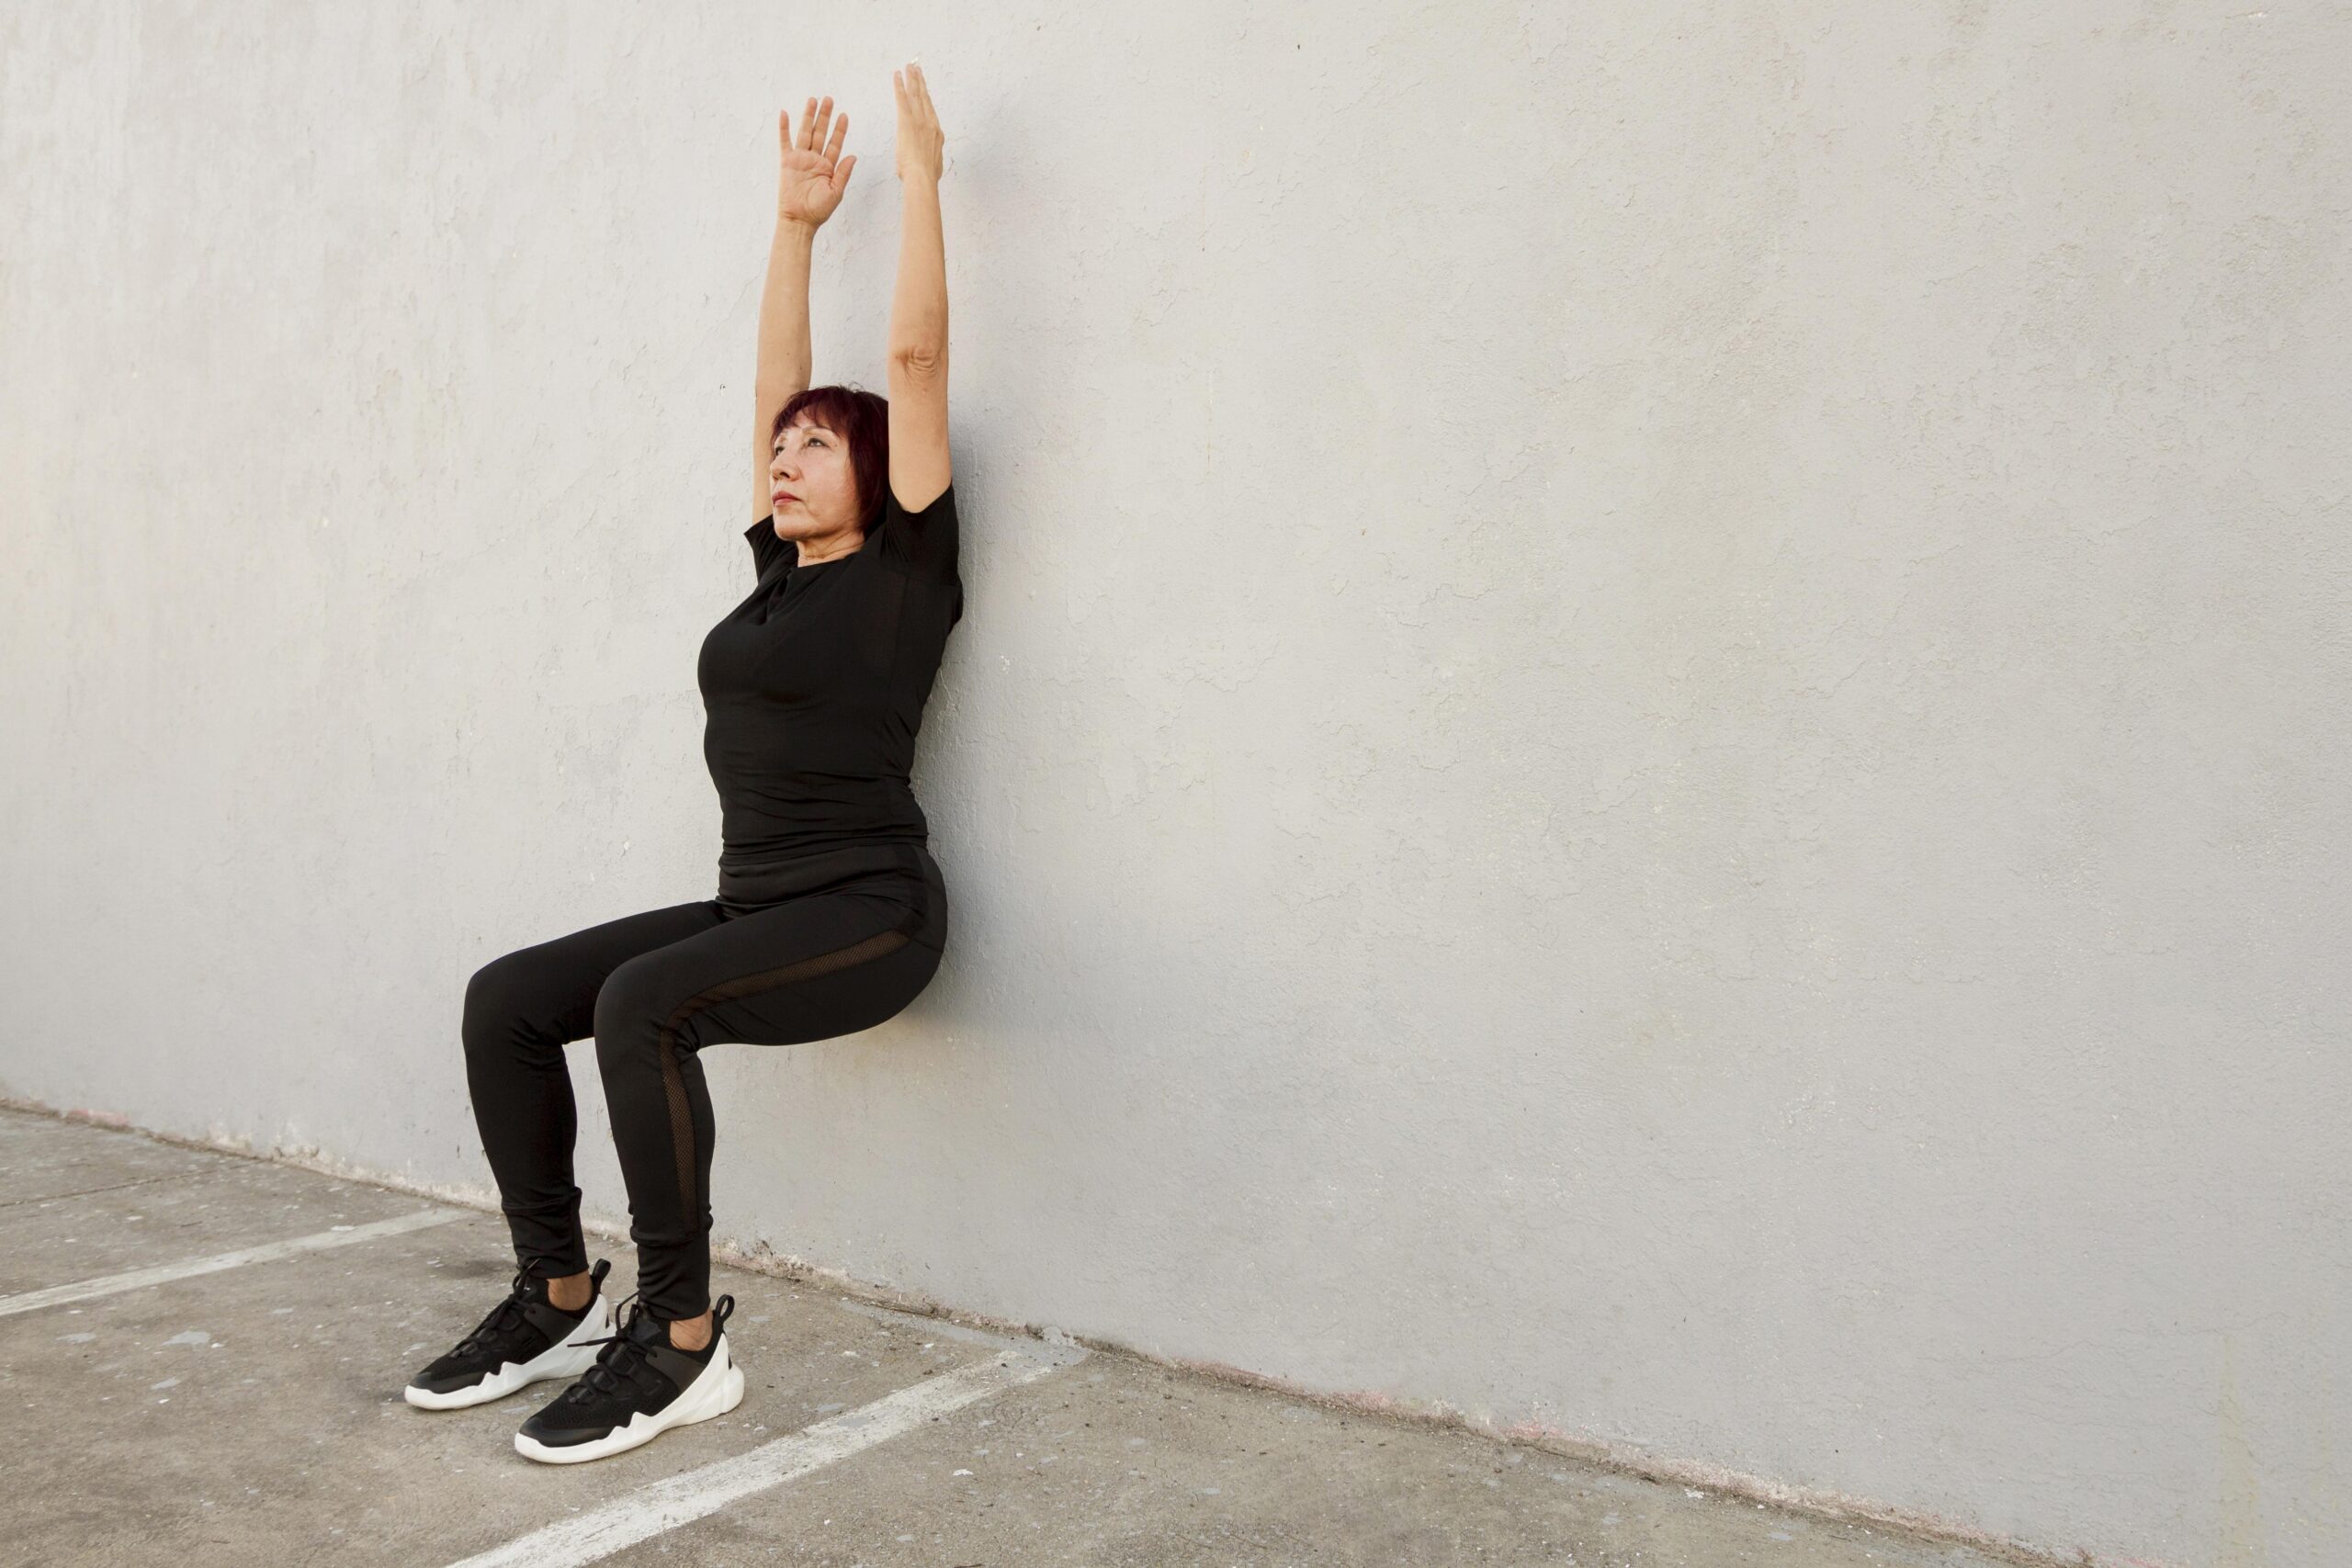
Start With Mobility – Free Up Those Ankles
Tight calves and locked-up Achilles? That’s a recipe for supination. You need your ankles to move if you want your foot to land better.
Try this:
- Drop your heels off a stair and hold that calf stretch.
- Foam roll your calves until they stop screaming.
- Hit those ankle circles and “draw the alphabet” with your feet — yes, it looks goofy, but it works.
- Use a resistance band to move your ankle in every direction — flex, point, twist.
Greater ankle mobility = a smoother inward roll = less stress on the outer edge of your foot.
Work On Balance & Control
Supinators are often wobbly, especially on uneven ground. If you’ve ever rolled your ankle mid-run, you know what I mean.
Fix that with simple but powerful drills:
- Single-leg stands (eyes open AND closed)
- Single-leg deadlifts
- BOSU or wobble board balance work
Strengthen Your Feet (Yes, You Can)
Your foot isn’t just a slab of bone. It’s packed with tiny muscles that need love too.
Do this:
- Towel scrunches with your toes
- Marble pickups (grab ‘em with your feet like a monkey)
- “Toe yoga”: lift your big toe while keeping the others down, and vice versa
- Roll a tennis ball under your arch every night — hurts so good
Foot strength makes your stride more adaptable and less rigid. That’s gold for supinators.
Don’t Skip the Glutes
Here’s the part most runners miss: weak hips = bad foot mechanics.
If your glute med is asleep, your whole leg might rotate outward — making that foot land all wrong.
Add these to your routine:
- Clamshells
- Side leg lifts
- Glute bridges
- Monster walks (with a resistance band)
A strong butt supports your knees and feet like shock absorbers. Don’t ignore it.
Overpronation Explained (AKA the Other Side of the Coin)
Now let’s talk about the flip side — overpronation.
Instead of your foot rolling outward, it collapses inward too much.
It’s like your arch gives up mid-stride.
If your footprint looks like a pancake (wet test, anyone?), or your shoes tilt inward on the floor, this might be you.
Overpronation is super common — about 70% of runners do it to some degree, especially beginners or folks with low arches.
The arch collapses, the ankle rolls in, and your push-off is mostly off the big toe. That puts a ton of strain on the inside of your leg.
Imagine a car with way-too-soft suspension — every bump makes it wobble.
That’s your foot if the arch can’t hold the line.
Overpronation: Signs to Watch For
You might be overpronating if you notice:
- Flat feet or fallen arches: No visible arch when standing. Ankles collapse inward. Footprint looks like a blob.
- Foot pain on the inside: Especially under the arch or heel (hello, plantar fasciitis).
- Shin splints (inner side): Pain along the inside of your shin? That’s your muscles fighting the roll-in.
- Posterior tib tendon pain: Soreness or swelling along the inside of your ankle.
- Bunions: Your big toe taking the hit every time you push off.
- Knee, hip, or even back pain: Your alignment’s off, and the stress travels upward.
- Shoes wear down on the inside: Look at the soles. Are the inner edges thrashed? That’s your sign.
The worse the overpronation, the faster those symptoms show up — especially if you’re ramping up mileage or wearing the wrong shoes.
What Really Causes Overpronation?
Let’s call it like it is: overpronation happens when your foot rolls inward a little too much with every step.
It’s common—especially if you’ve got flat feet, weak glutes, or worn-out shoes.
The good news? You can fix it—or at least manage it—once you know what’s behind it.
Here’s the lowdown on what causes your feet to cave in mid-run:
Flat Feet (Low Arches)
This one’s the biggie. If your arches are low or totally collapsed, your feet don’t have that natural spring or support.
So every time your foot hits the ground, it just rolls inward—over and over again.
It’s like trying to run on a soggy sponge.
Some people are born with flat feet. Others develop them over time (hello, weight gain, aging, or years of walking in crap shoes).
Either way, if you’ve got flat feet, odds are high you’re overpronating too—about 90% of folks with flat arches do.
They go hand-in-hand.
Hyperflexible Joints / Loose Ligaments
Got super bendy joints? You might be overpronating because your foot has too much play in it.
Younger runners and folks with hypermobility often fall into this group.
Their arches just don’t stay “up” under pressure. Think of it like trying to run on a trampoline—too much give, not enough support.
Weak Feet, Weak Hips
It’s not just about the feet. If your hips are weak—especially those glutes and abductors—your whole leg rotates inward.
That twist travels down to the foot, which collapses to try and stabilize.
Same deal if your foot’s small stabilizer muscles are weak. The arch gives out, and boom: overpronation.
Want to fix it? Strengthen your glutes and work your feet.
I’ve seen runners fix nagging shin splints just by adding clamshells, single-leg bridges, and some basic foot drills to their routine.
Tight Calves & Stiff Ankles
Here’s one that sneaks up on a lot of runners. If your calves are tight or your ankle mobility sucks, your foot can’t flex properly when you land.
So what does it do? It collapses inward to find that missing range of motion.
This gets worse when your legs are tired—like late in a long run.
That’s when your stride gets sloppy, and the foot starts rolling in hard.
Regular mobility work can help. Don’t skip your post-run stretch or foam roll.
Overuse & Fatigue
Even if your form is decent at the start, long miles on pavement with tired legs and zero arch support will eventually break you down.
Fatigue makes your muscles lazy—and when they stop firing, your arch stops holding.
Crappy, Worn-Out Shoes
Let me be blunt: old shoes = arch collapse central.
If your running shoes are shot, the cushioning’s dead, and the support is gone.
They might look fine from the outside, but inside, the midsole’s probably crushed. Especially if you overpronate, you need that structure.
Don’t wait until there’s a hole in the toe box. Replace your shoes every 300–500 miles—more often if you’re heavier or running mostly on pavement.
Best Running Shoes for Overpronators
You don’t need a miracle.
You need the right shoes.
The running industry’s been building support shoes for decades now—so let’s use ’em.
If your arches are collapsing mid-stride, your shoes should help keep you upright and aligned.
Here’s what to look for:
Stability Shoes (Mild to Moderate Overpronation)
These are the “workhorses” for overpronators.
If your gait’s a bit off but not full-blown collapse, start here.
Stability shoes usually have a medial post or firmer foam along the inside of the shoe to keep your arch from sinking.
They guide your foot into a more neutral roll and help spread out impact evenly.
Top picks:
- Brooks Adrenaline GTS
- ASICS GT-2000
- Saucony Guide
- New Balance 860
They’re not bricks—they’ve got cushion, comfort, and just enough support to keep you moving clean.
Motion Control Shoes (For Serious Overpronation)
If your arches are flatter than a pancake and your ankles roll in like crazy, you need the big guns.
Motion control shoes are firmer, stiffer, and built like tanks—in a good way. They have max support from heel to midfoot and often a straighter shape to stabilize your base. Not the lightest, but they do the job.
Good options:
- Brooks Beast (men) / Ariel (women)
- ASICS Gel-Kayano
- HOKA Gaviota
If you’re wiping out the inside tread of your shoes every 200 miles, these are for you.
Orthotics and Insoles: Worth It?
For some runners—especially with major overpronation—custom orthotics can be a game-changer.
If one foot’s more collapsed than the other, or if nothing else works, a podiatrist can mold an insert that supports you just right.
They’re not cheap (~$100–$200), but they can help wipe out shin splints, arch pain, and even IT band issues.
Not ready for customs? Try over-the-counter insoles like:
- SuperFeet Green
- PowerStep Pinnacle
- Currex RunPro
They’re a great halfway step—literally.
Feet Flat? Don’t Let Overpronation Wreck Your Run
If you’ve got flat feet or you overpronate when you run, listen up—because the wrong shoes can chew you up from the ankles up.
We’re talking knee pain, shin splints, screaming arches. But here’s the truth: most of it’s fixable. And it starts with one thing—getting out of shoes that weren’t built for your stride.
Don’t Run in Flimsy Shoes if You Overpronate
This should be obvious—but I’ve seen way too many runners logging serious miles in shoes that offer zero support.
If your arch collapses when you run, you need a shoe that holds you up, not one that lets your foot roll in like a wet sock.
Not sure what to buy? I’ve got a full guide on the Best Running Shoes for Flat Feet that breaks down stability shoes that work—and which ones are just gimmicks.
Strength Fixes for Flat Feet & Overpronators
Getting the right shoes is step one.
But if you really want to future-proof your stride? You’ve gotta strengthen the stuff that holds you up.
Here’s what to add to your weekly routine to support your arches and keep your form tight:
1. Short Foot Exercise (Arch Builder)
This one’s basic, but gold.
Stand up and try to “shorten” your foot by pulling the ball of your foot toward your heel—without curling your toes.
You’ll feel the little muscles in your arch (like the abductor hallucis) light up.
Hold a few seconds. Release. Repeat. Do it barefoot. Do it often.
Goal: Build a resilient arch that doesn’t cave at every step.
2. Big Toe Control
Your big toe is like a steering wheel for your foot. If it’s weak or stiff, your arch pays the price.
- Stretch it: Cross your leg and gently pull your big toe upward.
- Strengthen it: Press just the big toe into the floor while the others chill. (It’s harder than it sounds.)
This is “toe yoga” for runners. Master it.
3. Ankle & Calf Flexibility
Tight calves = bad mechanics. If your ankle doesn’t flex properly, your arch gets overloaded and starts collapsing to compensate.
- Stretch the gastroc (straight leg) and soleus (bent knee).
- Add ankle mobility work like deep knee-over-toe lunges.
- Do ankle circles Seriously.
More ankle range = less collapse. And fewer injuries.
4. Foot Control & Balance Drills
Your brain needs to learn how to control your arch in motion. Try these:
- Towel scrunches with your toes
- Foot doming (lift the arch without lifting your toes)
- Single-leg stands (level 1: eyes open, level 2: eyes closed, level 3: stand on a cushion)
Aim for 1 minute per side. Bonus points if your glutes kick in, too.
5. Hip & Glute Strength
Weak hips = knees collapsing in = feet overpronating. It’s a chain reaction.
Fix it at the top:
- Clamshells
- Monster walks with a resistance band
- Glute bridges
- Step-ups and lunges (with focus on keeping the knee over mid-foot)
Strong glutes = aligned stride = happy feet.
6. Posterior Tibialis Work
The posterior tibialis is your arch’s hidden MVP. It runs down your inner shin and holds up your midfoot.
Strengthen it with:
- Resisted band inversion: Loop a band around your forefoot and pull inward against the band.
- Calf raises with feet slightly turned in
- Ball squeeze calf raises: Hold a ball between your ankles while lifting your heels.
Let me tell you something about myself. I used to be super prone to shin splints, but after I started doing calf raises on the regular, my pain disappeared.
Common story. Simple fix.
Overpronation vs. Underpronation: Quick Comparison
Still not sure if your foot’s rolling too much or not enough? No sweat.
Here’s a side-by-side breakdown of the two most common gait issues. Use this as your cheat sheet before you dive headfirst into a shoe aisle.
| Feature | Overpronation (Too Much Inward Roll) | Underpronation (Supination – Too Little Inward Roll) |
| Foot Type | Flat feet or low arches that collapse under pressure | High, rigid arches that barely flex |
| Wet Test Footprint | Full foot outline, barely any curve – looks like a pancake | Heel and ball show up, big blank space in the arch area |
| Shoe Wear Pattern | Inner edge worn down (under big toe and inside heel). Shoes may tilt inward. | Outer edge is toast (outer heel, pinky toe). Shoes often tilt outward. |
| Common Injuries | Plantar fasciitis, inner shin splints, runner’s knee, bunions, hip pain. Overuse from too much motion. | Ankle sprains, outer shin pain, IT band flare-ups, stress fractures. Impact and instability are the enemies. |
| Best Shoe Type | Stability or motion-control shoes. Built to stop that arch collapse. Consider orthotics if it’s bad. | Neutral cushioned shoes. You want plush, flexible soles — skip the stiff anti-pronation features. |
| Typical Gait | Foot rolls inward like crazy. Pushes off the big toe. Knees may cave in. | Foot stays on the outer edge. Pushes off pinky toe. Ankles might roll outward. |
Heads up: If you’re in the middle — not flat-footed or rigid — you might have neutral pronation, which is the sweet spot. Even wear on your shoes, solid shock absorption, and usually fewer injury headaches.
What If You’re A Mix?
Yep, that’s a thing too. Some runners overpronate on one foot and run neutral on the other.
Or you might pronate more when you’re tired. Don’t overthink it.
The fix might be as simple as using an insole on one side or picking shoes that give a little extra structure where you need it most.
FAQs: Overpronation vs. Underpronation – Let’s Clear It Up
Q: Can I fix overpronation with shoes alone?
A: Sometimes, yeah. For a lot of runners with mild to moderate overpronation, switching to a proper stability shoe is a game-changer. I’ve seen runners go from constant knee or arch pain to totally pain-free—just by making that one switch.
But if you’re a severe overpronator? Shoes help, but they’re not a miracle cure. You’ll probably need a combo: shoes, maybe over-the-counter insoles, and some foot-strengthening or hip-stabilizing work. Think of shoes as your first line of defense, not the whole army.
🗣️ Coach’s take: Don’t stop at the shoe wall. If the pain keeps showing up, dig deeper.
Q: Can underpronation cause shin splints?
A: Absolutely. If you supinate, your foot doesn’t roll in enough to absorb shock. That force goes straight up into your lower leg—especially into the outside of your shin. That pounding wears out your stabilizing muscles fast and leads to inflammation.
So yeah, underpronation = higher risk for outer shin splints. And sometimes even bone stress injuries if it goes unchecked.
Fix it: Good cushioning, maybe some neutral shoes with shock-absorbing insoles, and working on balance and ankle mobility. It won’t fix everything, but it’s a strong start.
Q: Will compression socks help with pronation issues?
A: Not really—not for the mechanics. Compression gear is great for blood flow, muscle vibration, and post-run recovery. I use calf sleeves after long runs all the time. But they won’t magically fix how your foot hits the ground.
If your arch collapses or your foot rolls out, you need to address that with shoes, insoles, and strength work—not socks.
🗣️ Use them for: Recovery, support, long-haul comfort.
🚫 Don’t use them for: Changing your stride.
Q: Is barefoot or minimalist running better for pronation?
A: It can help, but only if you’re careful. The theory is sound—running barefoot encourages a more natural, midfoot strike and can build foot strength. That can help reduce overpronation over time.
But here’s the catch: if your feet aren’t ready for it, diving straight into barefoot running is a fast track to injury—plantar fasciitis, stress fractures, Achilles pain… take your pick.
If you want to experiment, start slow. Think barefoot strides on grass or foam pad balancing drills. Don’t ditch supportive shoes overnight.
🗣️ Coach’s bottom line: Barefoot running can build strength. But it’s not a fix-all—and definitely not a shortcut.
Q: Which is worse – overpronation or underpronation?
A: Trick question. Neither is “worse,” they’re just different beasts.
- Overpronation is more common and linked to things like arch pain, knee issues, and shin splints.
- Underpronation’s less common but can be sneakier—more ankle sprains, bone stress, and outer-edge injuries.
What is worse? Ignoring whichever one you’ve got. The most dangerous one is the one you don’t deal with.
🗣️ Coach’s take: Don’t stress about which is worse. Just figure out what your feet are doing, and act on it.
Final Word: Train Your Feet Like You Train Your Body
Pronation isn’t a flaw—it’s just how your foot rolls. Some roll in too much, some too little. Both need attention. Not panic. Just smart action.
You wouldn’t ignore poor posture or a weak glute, right? Same goes for how your feet move. Think of it like your running foundation—when it’s stable, everything up the chain works better.
🧠 You don’t need a degree in biomechanics.
💪 You do need to care enough to make small changes.
👟 The right shoes + simple exercises = huge difference.
🎯 Your Move: Know your pronation type? What changes have you made that helped? Or still figuring it out?
Drop a question or share your story—let’s keep runners helping runners.